
Finding every secret collectible can be a real headache when you are busy solving co-op puzzles with a partner. This puzzle pieces location guide breaks down the exact spots for all 12 hidden cubes across the Common Room, Research & Development, and later chapters.
You will learn the precise room layouts, what furniture to check, and a crucial warning about a lever that can permanently lock you out of backtracking. Grab your microphone and make sure your partner is ready to communicate before you start hunting.
Expect step-by-step directions through every zone from the main hub to the balcony lights. Keep your eyes peeled for small tables, ceiling fans, and computer panels as you progress.
We Were Here Tomorrow features twelve hidden collectibles scattered across its cooperative environments. This walkthrough covers every zone in chronological order to ensure you do not miss a single item.
Cable puzzle solutions often require precise coordination between the hook player and the cube player. Make sure to discuss your roles before attempting complex mechanical rooms.
All 12 Puzzle Pieces Locations
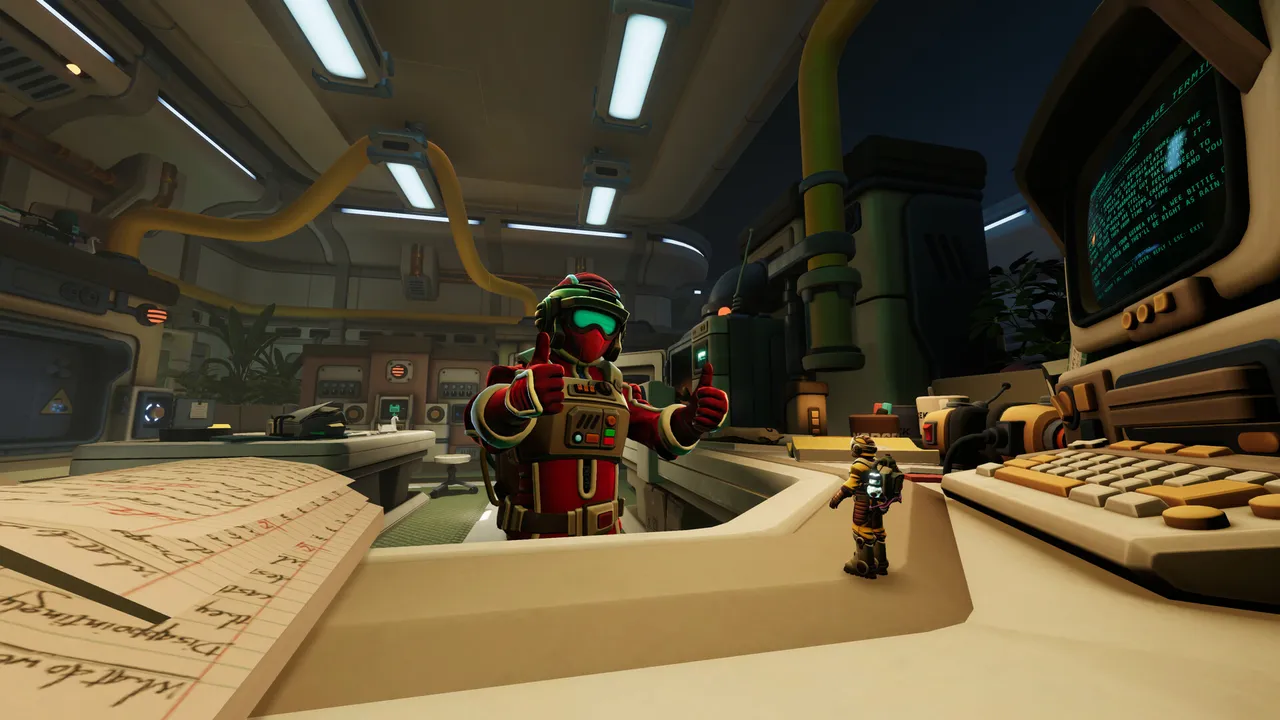
Common Room (the Hub) – Puzzle Piece 1 to 4
Puzzle Pieces #1 to 3
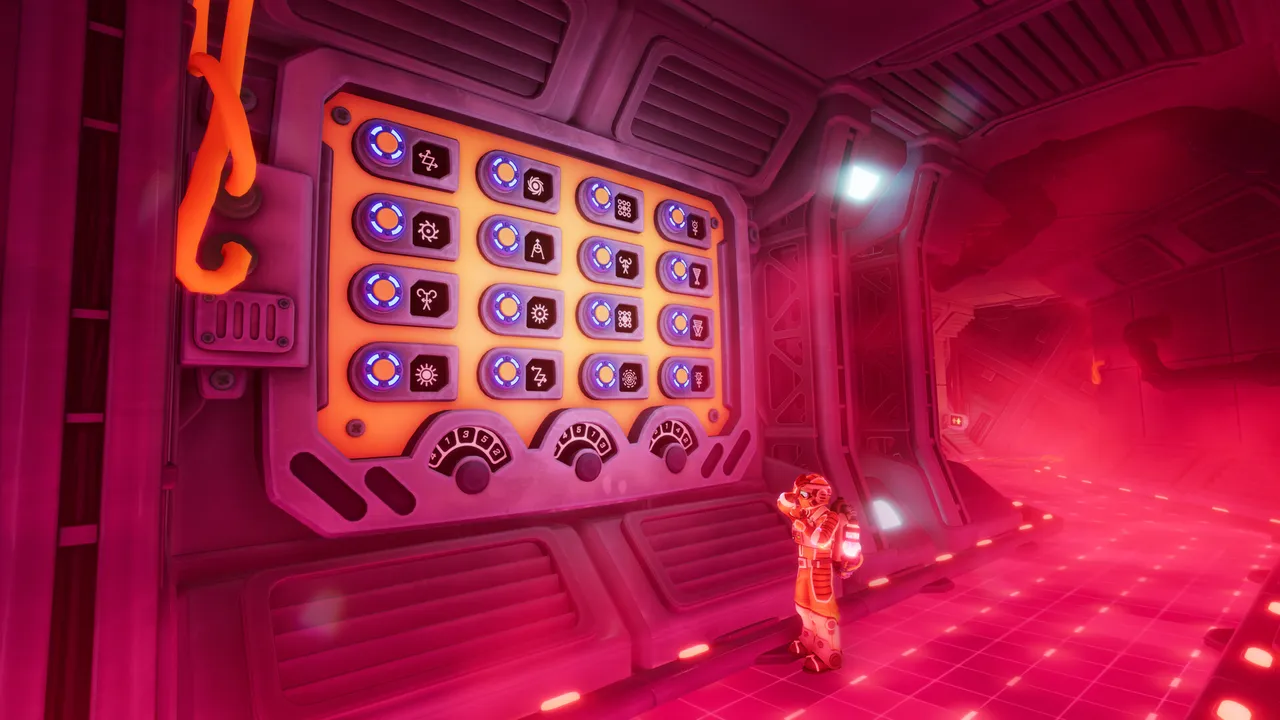
Head over to the small table holding the half-finished puzzle to grab your very first collectibles. The initial three pieces rest right underneath this table.
Puzzle Piece #4
Walk across to the dining table decorated with cakes and scientific test tubes. You will spot the fourth piece sitting right next to the notepad.
Research & Development Puzzle Pieces 5 and 6
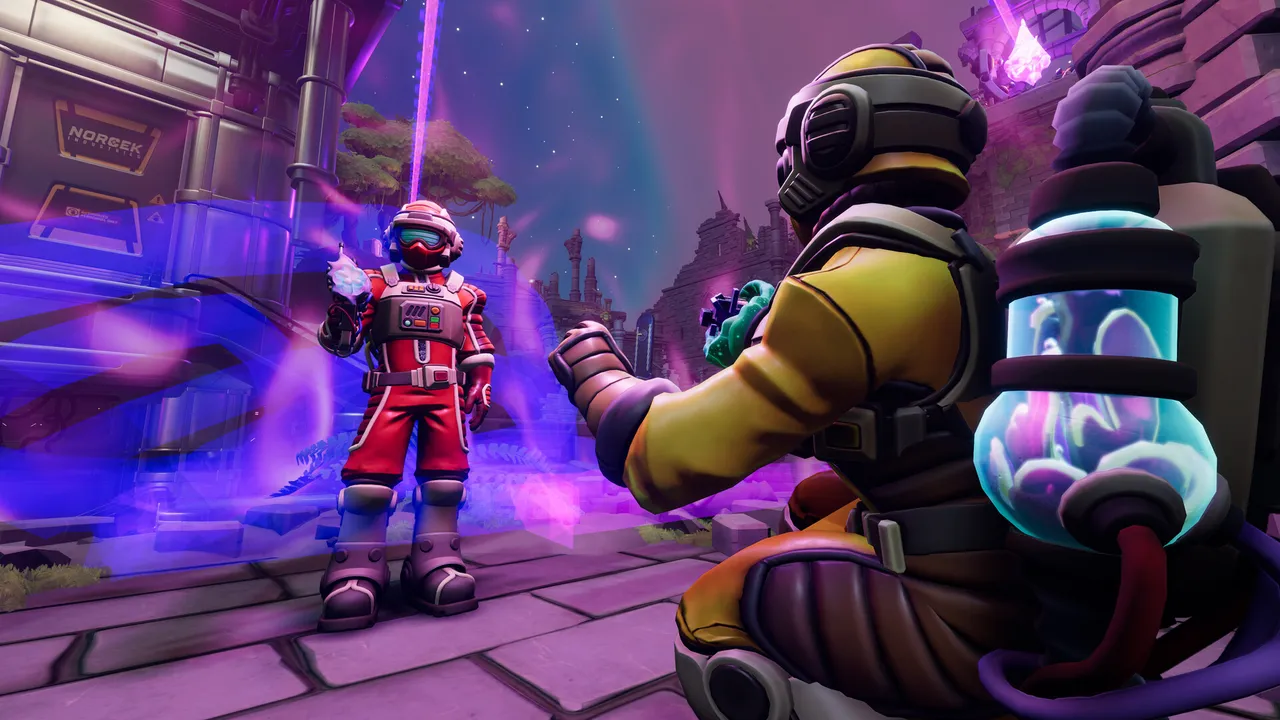
Puzzle Piece #5
Make your way into the two-story chamber featuring two key card slots that ultimately grant access to the Prototype Room.
Walk underneath the second-floor structure and inspect the laboratory counter positioned immediately to the right of the entrance.
Then I head underneath the second floor and look on the laboratory counter to the right of the entrance.
Puzzle Piece #6
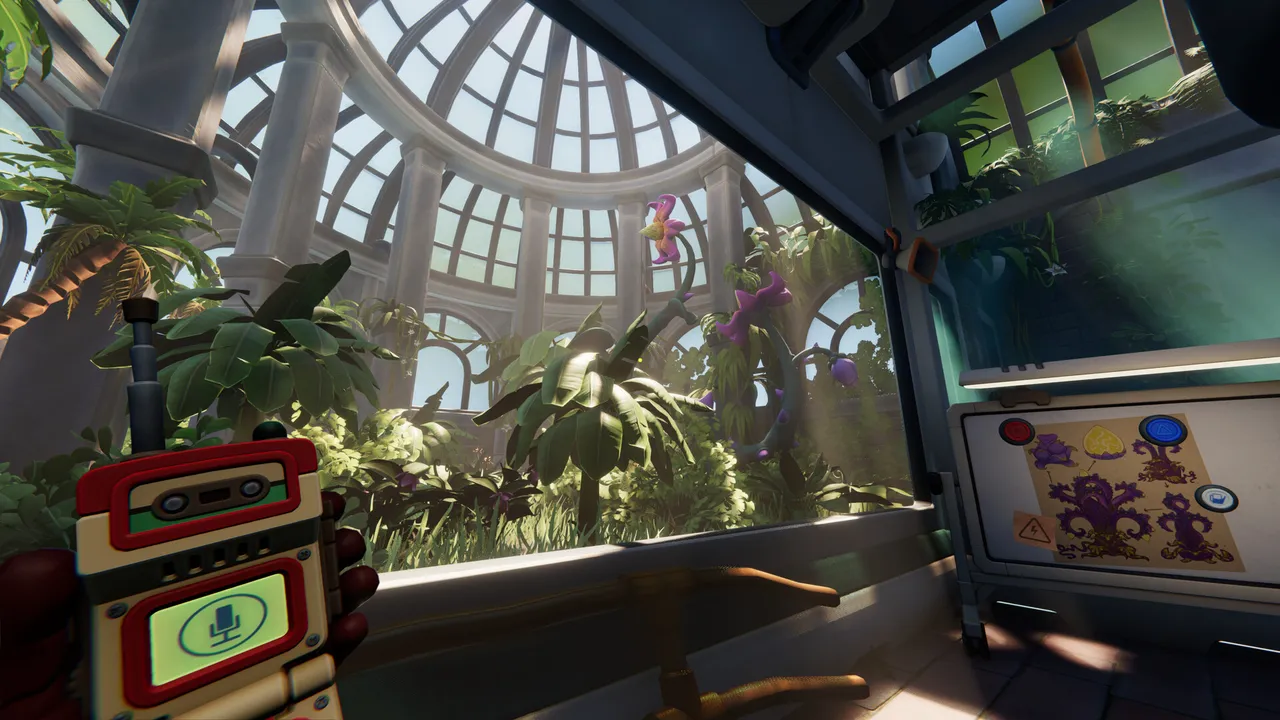
Ascend the staircase to the upper level of the research area. Check the compact cabinet sitting directly to the left of the stairs to claim piece number six.
Prototype Room
Piece #7
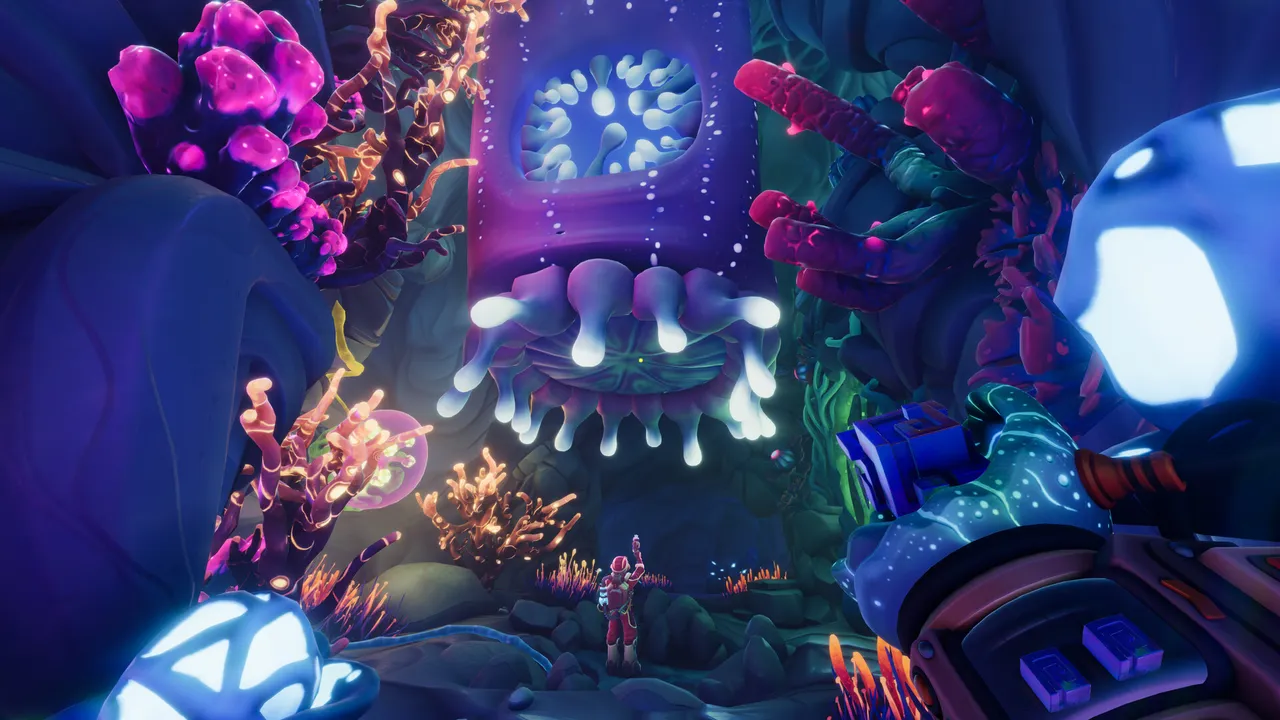
Ride the elevator up to the initial platform or climb the surrounding framework manually. Locate the rotating left ceiling fan where the next collectible rests.
The hook player can easily snatch this item while the fan keeps spinning. While the cube player can gum up the mechanism first, it is completely optional.
Pro tip: Save time by having the hook player grab spinning collectibles on the fly without stopping environmental hazards.
Puzzle Piece #8
Complete the prototype tutorial sequence and step inside the compact chamber. Pull the dual lever simultaneously with your partner before exiting through the door.
Inspect the wooden table positioned to the right of the entryway to find piece number eight.
Then I find the piece on the table to the right of the entrance.
Common Room (the way back to the Hub)
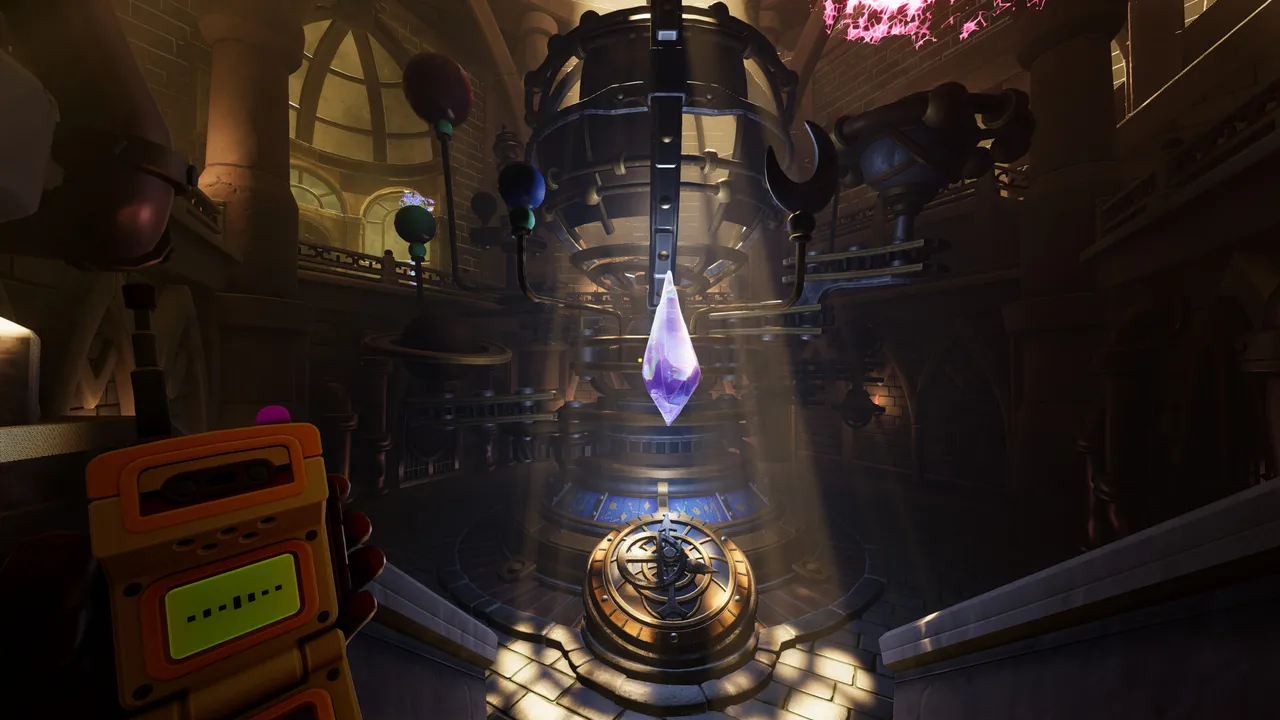
Puzzle Piece #9
Locate the doorway situated to the left of the previous table where you found piece eight. Head through and climb the nearby flight of stairs.
Search the storage boxes at the top until you find the one wearing a hard hat. The ninth piece sits right beside this container.
I continue towards the boxes and look for the one with a hard hat on it. The piece is right next to it.
The room before the funicular
Puzzle Piece #10
Important: Do not pull the dual-handled lever in the center of the room. Interacting with this specific lever permanently seals the doorway leading back to the Hub / Common Room and your jigsaw puzzle.
Climb up to the second level following the standard progression path. Look left near the locked Control Room to spot a computer terminal with the collectible resting on top.
The Hub Balcony – Puzzle Pieces 11 and 12
Puzzle Piece #11
Use the doorway located on the exact same floor as piece ten to step outside onto the outdoor balcony. Turn toward the right side of the deck.
Locate the computer terminal accompanied by a small cabinet on its left side. Search inside this cabinet to secure the eleventh collectible and remain in position.
Puzzle Piece #12
Pivot around to face the direction of the Common Room interior. Tilt your camera upward toward the ceiling light fixtures to spot the final missing piece.
Even if the visual cue is subtle, the designated spot marks the exact resting place of your twelfth collectible.
Check the overhead lighting fixtures carefully to ensure you did not overlook the final hidden item.
Keep communicating closely with your partner so you never miss a collectible in future co-op chapters.