
Every story showdown in this campaign demands disciplined parrying, careful ammo conservation, and constant elemental pressure. Following this complete valor mortis boss guide will get you through all ten mandatory encounters across the campaign in chronological order. You will never have to hunt down hidden side bosses, as every encounter stands directly in the critical story path.
Most new players hit a brutal wall when treating these fights like a standard hack-and-slash rather than a rhythmic duel. Mismanaging your stamina or wasting your Pistol rounds on armored plates rather than glowing weak points will quickly empty your healing reserves. Nailing your parry windows early turns intimidating multi-phase encounters into manageable stun opportunities.
Make sure you practice switching between the Pistol and Blunderbuss before stepping into boss arenas, and keep your Nephtoglobin gauge topped up whenever possible. Stocking up on Cleansing Vials will also save your run once status effects like Stasis and Poison start flying around.
There are no optional or secret bosses in the game. Every single encounter is a mandatory main boss required for campaign progression, meaning you cannot accidentally skip or miss any of the ten fights.
How to Beat General Lothaire, the Eagle-Bearer
| Detail | Info |
|---|---|
| Chapter | Chapter 2: Regroup (intro fight in Chapter 1: Revival) |
| Phases | 2 (separate health bars) |
| Key Weakness | Fire Transmutation & Pistol weak spots |
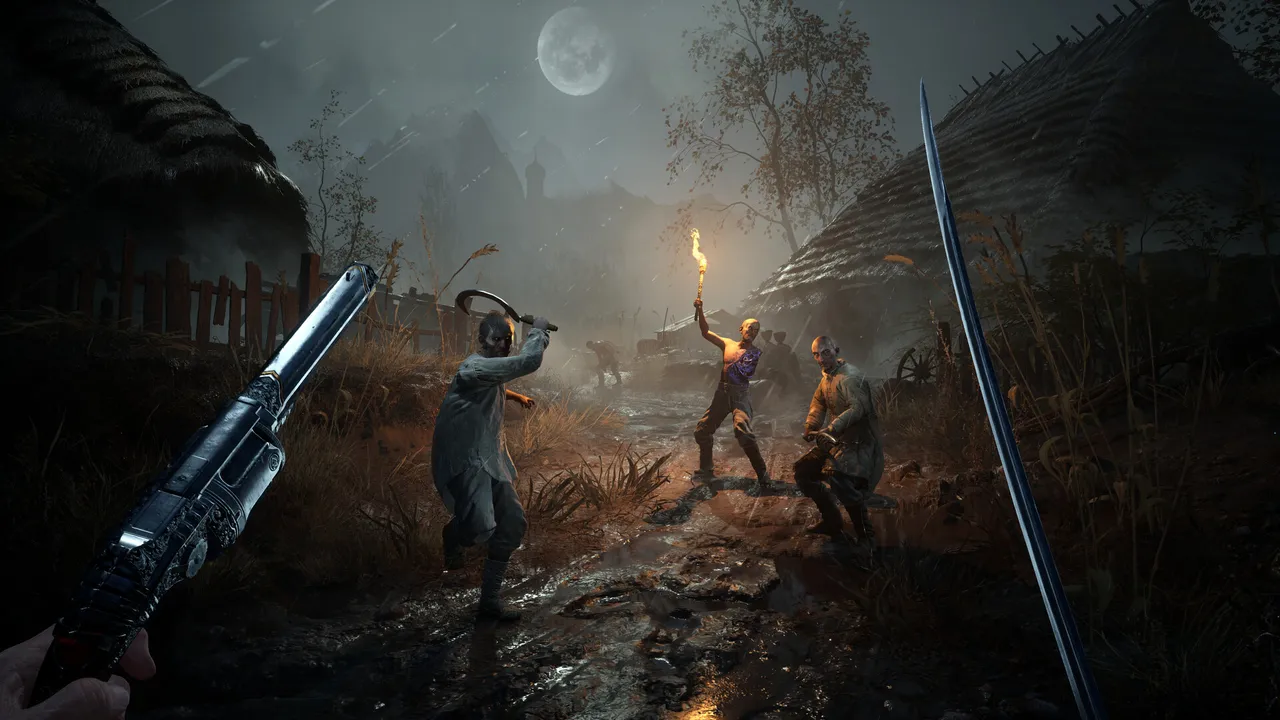
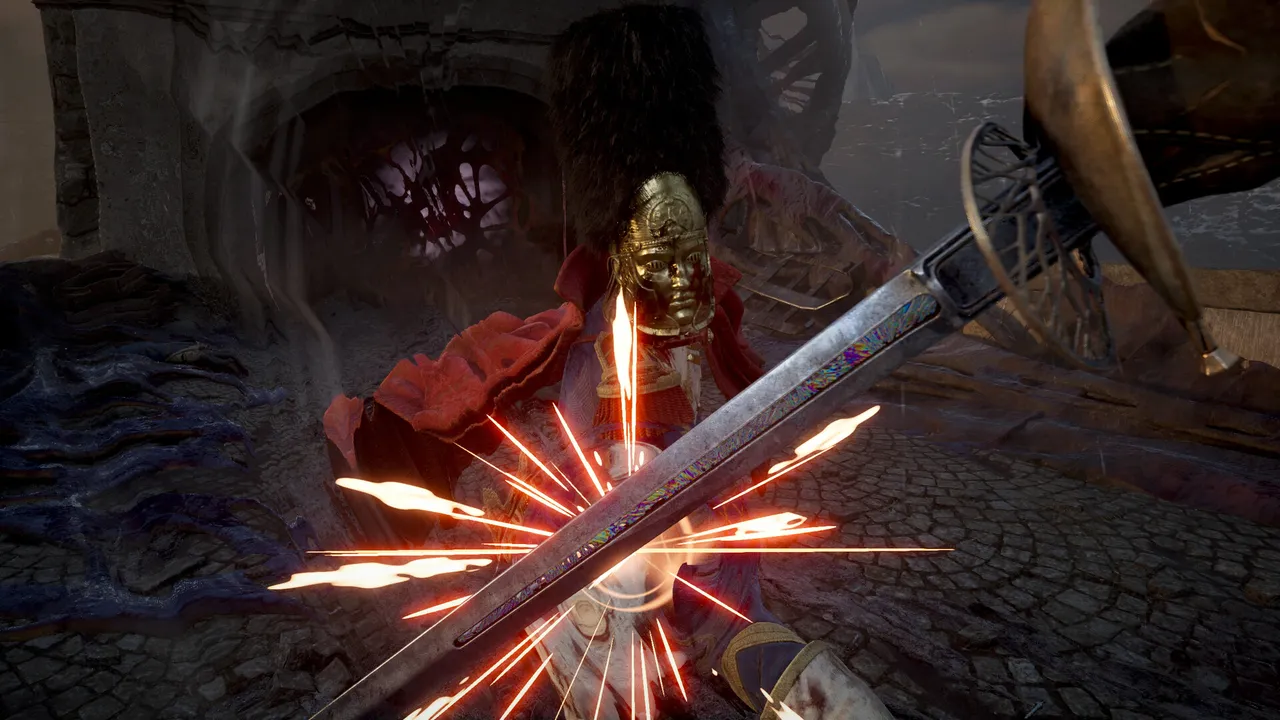
You first cross blades with General Lothaire, the Eagle-Bearer at the end of Chapter 1: Revival, but this initial bout is a scripted loss. The real battle takes place during Chapter 2: Regroup, where you must defeat him for good.
His moveset in Chapter 2 mirrors his introductory duel, but he now has two entire health bars. Treat this as an endurance fight and avoid wasting ammunition during defensive flurries.
During the first phase, Lothaire wields a sword and spear combo that tests your defensive timing.
- Melee combos: Deflect his standard swings with parries, but disengage whenever he flashes red for an unblockable attack.
- Shoulder guns: At the tail end of melee strings, he often pauses to fire. Watch for the golden flash on his shoulder, wait until it nearly vanishes, and dodge immediately.
To deplete his first bar quickly, ignite him with Fire Transmutation, then fire your Pistol directly at his exposed weak spots. Targeting these points spikes his stagger bar dramatically. Finish filling the stagger gauge with parries and normal melee strikes to trigger a high-damage stun attack.
Pro tip: If your Nephtoglobin meter is full right after landing a stun attack, immediately cast Fire Transmutation again to start the next stagger loop before he recovers.
Phase two begins with Lothaire discarding his blade for a mutated arm. He gains several dangerous new attacks you must respect.
- Arm sweeps & grabs: His mutated limb features wider unblockable swings and a command grab that shaves off most of your health. Back away when the arm winds up.
- Reinforcements: He regularly summons crawling soldiers from the soil. They die in a single strike, so clear them out quickly using quick Pistol shots or flame sweeps before they surround you.
Your offensive plan remains unchanged in phase two. Burn his freshly spawned weak spots with Fire Transmutation, shoot them with your sidearm, and parry his basic swings to initiate another critical stun strike.
How to Defeat The Iron Marshall
| Detail | Info |
|---|---|
| Chapter | Chapter 3: Rendezvous |
| Phases | 1 |
| Recommended Gear | Blunderbuss, Rapier |
You encounter The Iron Marshall as the climax of Chapter 3: Rendezvous. This brute serves as an introduction to heavy enemy types you will see regularly throughout later levels.
Because he later appears as an elite mob, his attacks are straightforward. He swings an oversized metal pipe in wide, predictable arcs that are simple to parry, so long as you step clear of his red unblockable swings.
Detonate the explosive red barrels scattered around the arena by shooting them when the Marshall steps close. The resulting blast sets him ablaze and leaves him momentarily stunned.
Pro tip: While he is staggered by burning barrels, circle directly behind him and fire your Blunderbuss into the massive pustule on his back for enormous posture and health damage, followed by rapid Rapier thrusts.
How to Defeat the Sphinx
| Detail | Info |
|---|---|
| Chapter | Chapter 4: Dark Descent |
| Phases | 2 (separate health bars) |
| Ailments | Stasis, Poison |
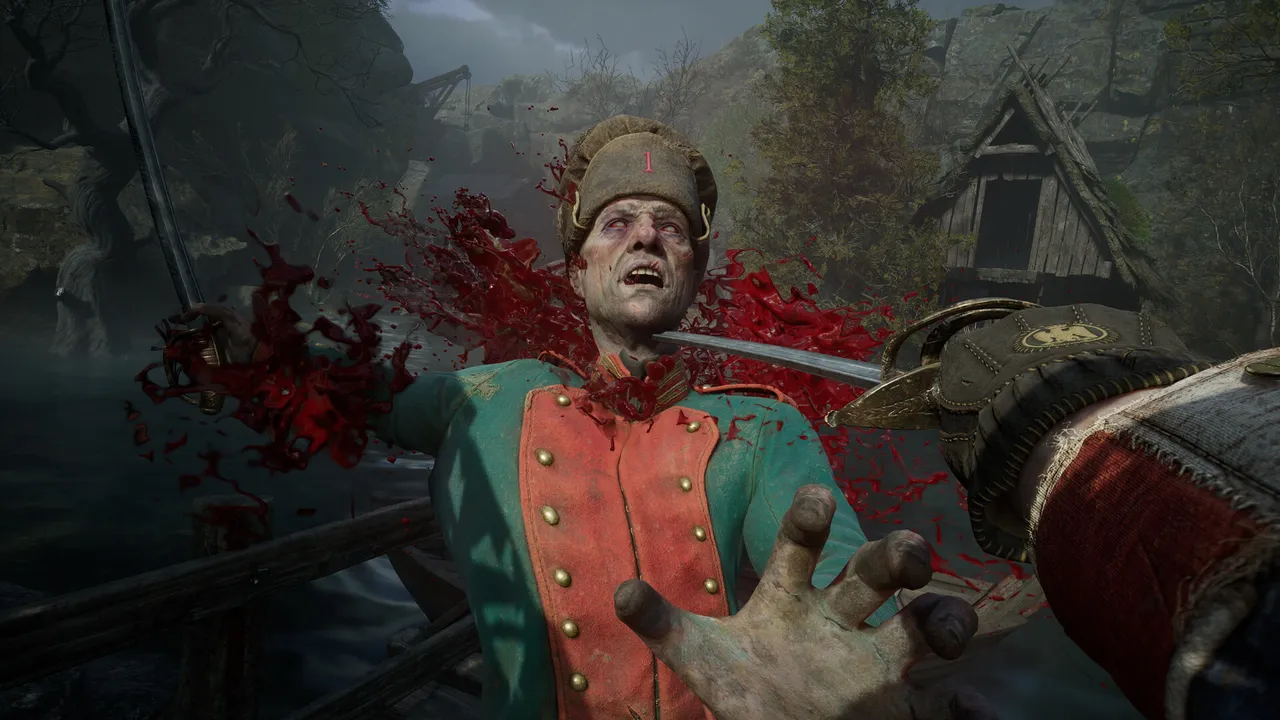
Guarding the end of Chapter 4: Dark Descent, the Sphinx is an agile beast capable of crippling your stamina and inflicting fatal poison.
Both phases feature vicious claw strikes that build the Stasis status if blocked or absorbed. Always aim for a crisp parry instead of holding block, because full Stasis significantly cuts your maximum stamina bar until it expires.
During phase one, the beast rotates between predictable melee strings and ground hazards.
- Claw swipes: Deflect these standard swipes to rapidly build the beast’s stagger bar.
- Earth pillars: When purple pillars erupt along the floor, dodge horizontally since they travel strictly in a straight line.
- Pounce: If it launches into the air toward your position, roll aside right before impact to dodge this unblockable slam.
- Tail orb: The boss raises its tail to form a floating orb that shifts from red to purple. Shoot it out of the air with your gun to stop it from releasing a shockwave along the floor.
Melee strikes and parries are your bread and butter here. While fire burns it slightly, the status falls off too quickly to justify burning all your Nephtoglobin, so stick to rhythmic weapon combos between claw deflections.
Shattering the first health bar destroys the Sphinx’s iron mask, revealing an exposed weak point across its face. The beast also gains hazardous ranged techniques.
- Purple laser: It will leap backward and sweep a beam toward you. Walk diagonally forward and to the side to slip inside the angle while firing your Pistol at its face.
- Bug swarm: When it tilts its head skyward and spews an insect cloud, sprint backward instantly. Letting the Poison bar fill results in an instantaneous death.
Capitalize on the exposed facial weak point whenever the boss pauses. If you have the confidence to dash in close, a point-blank Blunderbuss shot straight into its uncovered snout takes off massive chunks of health.
How to Beat Slaughtermill
| Detail | Info |
|---|---|
| Chapter | Chapter 5: Crime |
| Type | Puzzle / Platforming encounter |
| Key Mechanics | Stasis, Grapple points, Core eyes |
At the finale of Chapter 5: Crime, you face the Slaughtermill. This is a massive environmental puzzle boss where destroying designated weak spots dictates your progress.
Phase one takes place across a muddy exterior field. You must dodge emerging ground spikes, tracking tendrils, and crawling Carrion foes while targeting four specific nodes.
Destroy the first set of four targets in this sequence:
- Shoot the two eyes mounted on whipping tentacles.
- Hit the eye beneath the mill’s base when it lifts up to stomp.
- Grapple open the lower hatch to uncover the internal gears, cast Stasis to freeze the rotation, then grapple the second door to expose the fourth eye.
After destroying all four, the mill knocks you backward. Sprint forward through the shockwaves, grapple inside the structure, and blast the central eye cluster with your Blunderbuss.
Ejected outside again, you must shoot four more eyes while dodging launched explosive bodies. Hit the lower gear hatch, the node on the spinning blade, and two nodes on the flanking tentacles. Once finished, activate the Nephtoglobin barriers to shelter yourself against the wall of flames as you push forward.
Reaching the next area activates a checkpoint, sparing you from repeating the courtyard section if you die. Follow the platforming route to the left, using your grapple to swing across gaps.
Pro tip: Look below you before jumping to lower walkways and shoot the exploding corpses resting on the floor. Landing on them without detonating them first results in an instant kill.
At the final platform, the mill hangs suspended from the cavern roof. Dodge its flailing tendrils while shooting every weak point anchoring its limbs to the ceiling. Once severed, the central core eye opens wide, allowing you to empty your weapons into it until the mill crumbles.
How to Defeat Anna, the Bride Drowned in Tears
| Detail | Info |
|---|---|
| Chapter | Chapter 6: Punishment |
| Phases | 2 (add waves) |
| Key Tactic | Target prioritization |
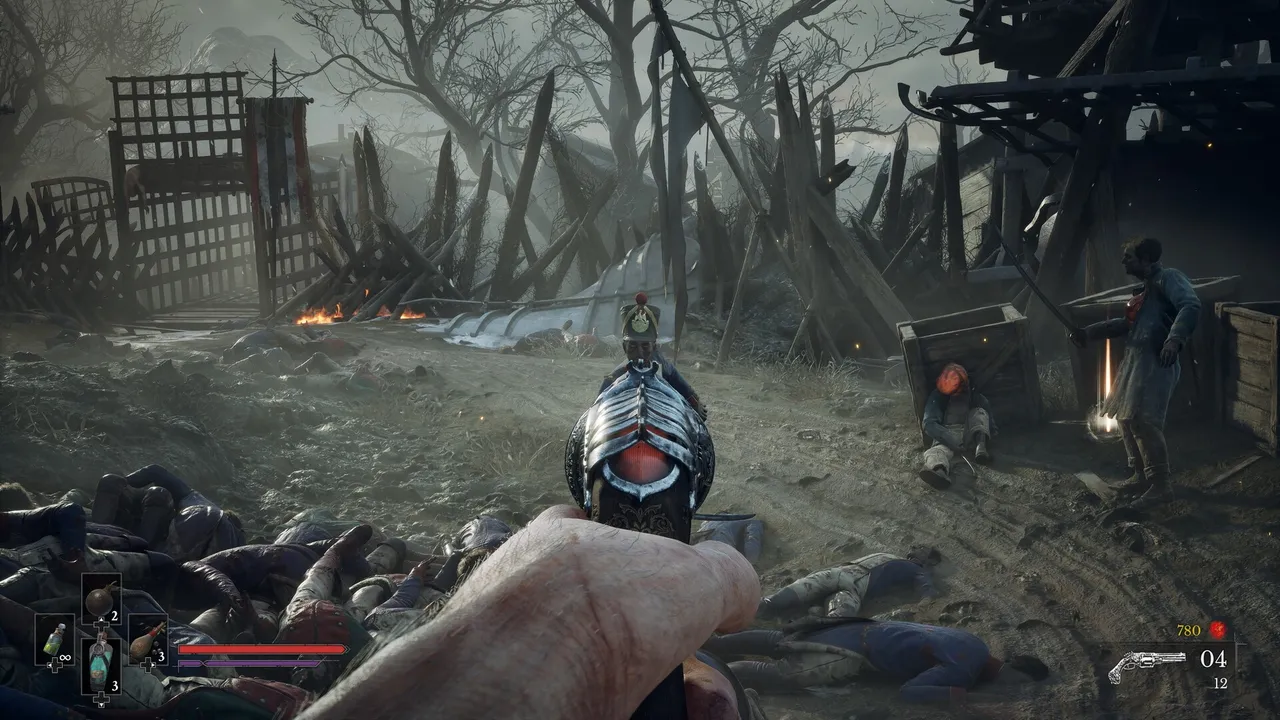
Kicking off Chapter 6: Punishment, Anna, The Bride Drowned in Tears challenges your crowd control against swarms of drowned villagers.
Anna fights alone at first, emerging from the water to throw an unblockable charge. Sidestep her rush, then lay into her with quick counter-attacks before she recovers.
- Counter string: If you stagger her slightly, she retaliates with normal claw swipes that you can easily parry.
- Submersion: Heavy damage causes her to dive underwater, repeating her unblockable ambush when she resurfaces.
Dropping her to half health causes her to submerge and spawn a wave of hostile villagers. Wipe these minions out immediately using broad melee swings so they cannot strike your back.
Pro tip: During her final low-health phase, she summons another villager wave. Rather than clearing them, burn down Anna directly, as defeating her instantly kills every remaining minion in the arena.
How to Defeat Justicar Aurelius
| Detail | Info |
|---|---|
| Chapter | Chapter 7: Witch Hunt |
| Phases | 2 (separate health bars) |
| Archetype | Eternal Guardsman variant |
At the opening of Chapter 7: Witch Hunt, you fight Justicar Aurelius. He acts as an upgraded variant of the elite Eternal Guardsman enemies encountered throughout the world.
Aurelius possesses two complete health bars representing his human and mutated forms. If you previously completed the Oathbound quest, his attack patterns will feel very familiar.
Phase one is a pure sword duel. Aurelius uses standard three- and four-hit blade combos that can be cleanly parried into full stagger states. If you struggle with his timing, practicing against wandering Guardsmen in earlier areas provides an identical rhythm.
Depleting his first bar triggers his monster transformation, mutating his arm into a massive bludgeon.
- Arm swipe combo: When he extends his mutated arm forward, he is preparing a rapid two-hit strike. Parry or dodge back immediately.
- Delayed jump slam: He leaps high into the air for an unblockable plunge. The hang time on this attack is deceptively long, so delay your dodge roll until he actively begins falling.
Keep applying Fire Transmutation to chip his health down while you focus on defense. Even in his mutated form, his primary sword swings remain identical to phase one, meaning you can still parry him into repeated staggers.
How to Defeat Experiment 83
| Detail | Info |
|---|---|
| Location | The Outskirts (Chapter 7: Witch Hunt) |
| Phases | 1 |
| Weak Spots | Chest and back blisters |
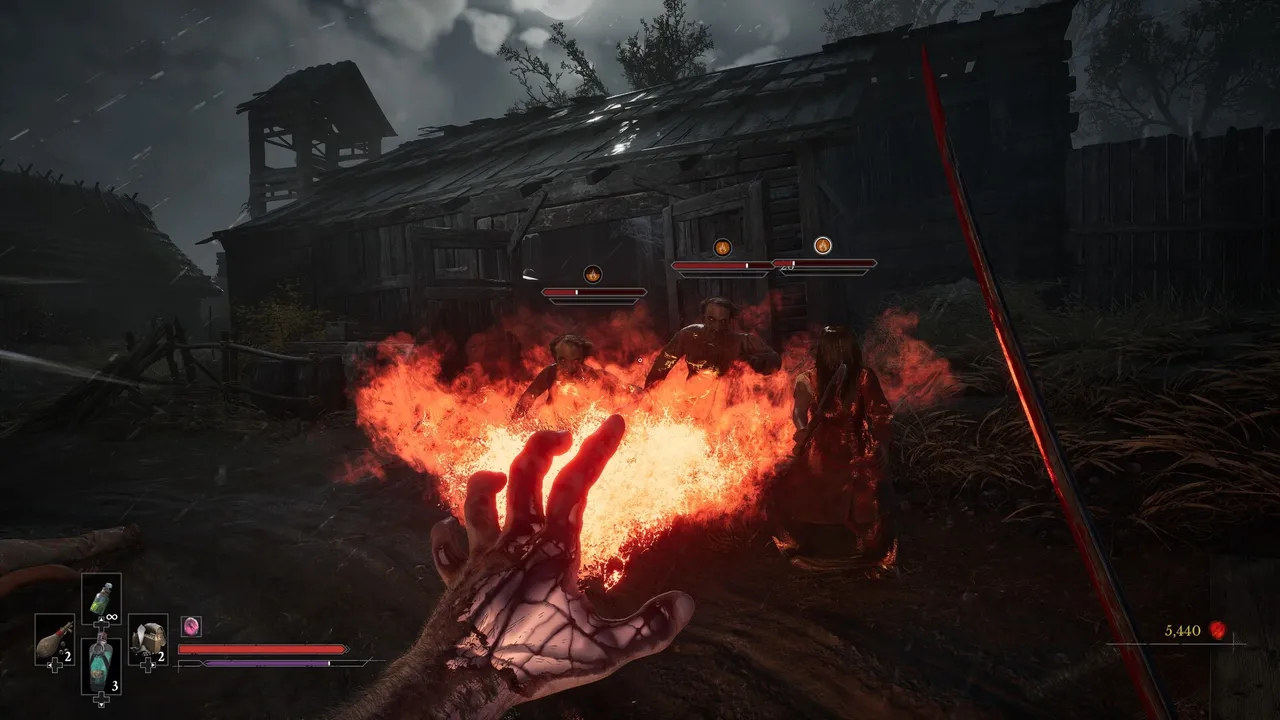
Midway through Chapter 7: Witch Hunt, at the far edge of The Outskirts, you encounter the terrifying monstrosity known as Experiment 83.
The arena consists of cramped corridors, making space management critical. Experiment 83 relies on wide lunging swipes and an extended unblockable grab. Whenever it roars and charges forward with open claws, dodge diagonally past its flank, turning around to unleash heavy strikes while it recovers.
Pro tip: While it has a weak spot on both its chest and back, the narrow hallway makes reaching the back node difficult. Keep your focus on shooting the frontal chest blister with your Pistol to build stagger safely.
How to Defeat The Orphan
| Detail | Info |
|---|---|
| Chapter | Chapter 8: Blasphemy |
| Phases | 2 (separate health bars) |
| Status Hazards | Poison gas vents, toxic beam |
At the end of Chapter 8: Blasphemy lies The Orphan, an aggressive two-phase boss sharing qualities with Volunteer enemies.
Phase one takes place in an upper chamber riddled with toxic vents. Stay clear of the green steam while dodging sword strikes.
- Leap strike: If you pull too far away, the Orphan leaps across the room. Roll forward beneath the jump.
- Submerged sword: The arena turns red and the boss disappears. Watch the blade cresting through the ground and roll just as it reaches your feet.
Igniting The Orphan with Fire Transmutation is your best offensive plan here. The boss frequently pauses idly between blade combos, giving you plenty of time to reapply burn damage and restore your Nephtoglobin meter with melee hits.
Phase two drops you both into a lower cellar where the boss switches to brutal bare-knuckle boxing.
- Fist flurries: Parry these punches to fill its posture bar, but stay alert for an unblockable strike tucked into the middle of the combo.
- Pipe pull: When it tries to rip a metal pipe from the arena wall, quickly cast Fire Transmutation to stagger it and interrupt the weapon grab.
- Toxic chest beam: A green sphere charges in its torso before firing a concentrated laser. Strafe and dodge continuously to one side until the beam ends.
Maintain continuous flame damage with Fire Transmutation throughout the second phase. Because its punch timings are very distinct, prioritizing parries here will yield frequent stagger windows for massive burst damage.
How to Defeat Nephtis Superioris
| Detail | Info |
|---|---|
| Chapter | Chapter 9: In Ruins |
| Phases | 1 (escalating moveset) |
| Unique Trait | Active self-healing |
Serving as the leader of the Eternal Guard, Nephtis Superioris challenges you at the end of Chapter 9: In Ruins. While he has only one health bar, he possesses an escalating moveset and can heal himself.
Nephtis will aggressively retreat to patch his wounds if you grant him breathing room. You must stay glued to him to interrupt healing animations and maintain pressure throughout the entire fight.
His primary offensive pattern is an extended multi-hit sword chain. He will execute the full combo as long as you remain close, presenting an ideal chance to chain deflections together and quickly stagger him.
Watch his off-hand weapon and magic capabilities closely during the opening half of the fight.
- Left-hand gun: When he raises his firearm on your right, sidestep immediately before he pulls the trigger.
- Stasis shockwave: If he drops to both knees, jump over the expanding wave. Getting caught inflicts immediate Stasis, requiring a Cleansing Vial from your inventory to restore your stamina capacity.
Once Nephtis drops below half health, he adds deadly variations to his repertoire. His Stasis shockwave now fires two consecutive waves that require two well-timed jumps. Worse, he will crouch with an ignited sword before unleashing a stage-wide unblockable dash slash that you must dodge through.
Keep parrying his melee combos rather than relying on fire, as the burn wears off too fast on him. Chase him aggressively whenever he rolls away, using those moments to punish him while he attempts to reload or regenerate health.
How to Defeat The Entity
| Location | Lantern Caverns > Ancient Lair (Chapter 11: Reflection) |
|---|---|
| Phases | 2 (separate health bars) |
| Archetype | Teleporting swordsman & summoner |
To face the final boss, The Entity, interact with the sealed stone gateway in the Lantern Caverns > Ancient Lair once you reach Chapter 11: Reflection.
The Entity features two full phases and extensive sword combos reminiscent of Nephtis Superioris. Being sharp with your deflect button trivializes much of the fight, letting you bait his aggression into fast staggers.
Phase one alternates between close-quarters dueling and ranged teleportation tricks.
- Tentacle launch: He teleports high into the air and shoots two homing tendrils. Stay at a distance and roll aside as they reach you.
- Four-shot volley: If he hovers and points both arms outward like a firearm, prepare to dodge four consecutive projectiles.
- Illusion clones: When he warps nearby and spawns two duplicates, immediately shoot them with your Pistol or burst them with fire. They die in a single blow.
The most reliable tactic is igniting him with Fire Transmutation as you backpedal, then immediately parrying his incoming sword string while the burn ticks away his posture. Once stunned, execute your heavy critical strike.
Depleting his first bar triggers an intermission where The Entity hovers mid-air and talks while summoning clones one by one. Swap to your Pistol, eliminate each duplicate the moment they materialize, and grab the ammunition packs they drop before the boss touches down for the second phase.