
Slotbound is a strategic game that blends mechanics and tactical decisions. You’ll need to balance unit management, resource allocation, and wave challenges to make progress. Leveling up your units, particularly focusing on a few key fighters, is essential to overcoming the tough waves that can end your run.
As you navigate the game, it’s easy to get tripped up in the mechanics. Many players initially lose runs because they’ don’t prioritize their healer or mishandle spins. Understanding the differences between wave types and how to effectively manage your resources will make a massive difference in your overall success.
Before diving in, make sure you’re ready to commit to leveling up a core team. Stock up on Gold and get familiar with the unit types, as your initial moves can set you up for a stronger experience right from the start.
Complete Slotbound Guide
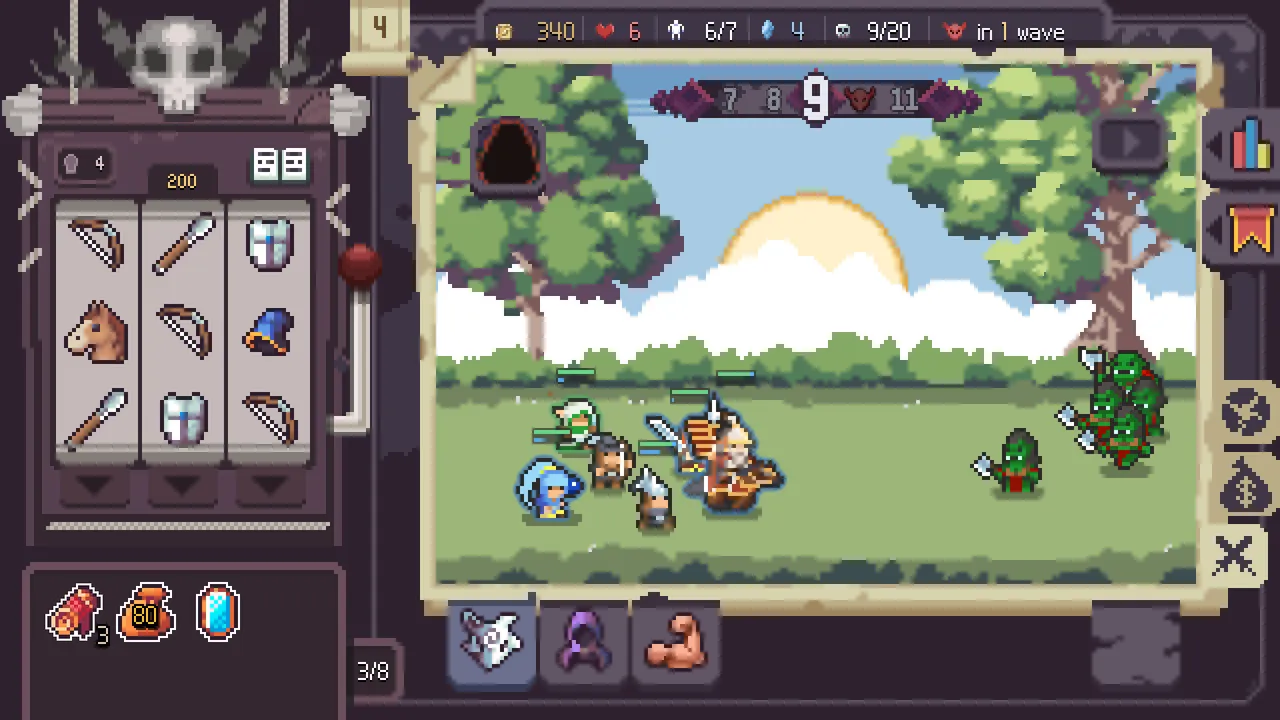
My 5 Best Tips Before Start
- Waves 5 and 10 are the real fights. If I lose either one, my run ends, regardless of how many lives I have.
- I feed my spins into one or two units instead of trying to keep everyone.
- I lock my carries before holding the Absorb button.
- I get a Mage early and promote it to Healer. Every Normal clear I make has one.
- I spend my Originite after every run, even if I lose.
The sections below explain each point and include the runs behind my strategies.
Before I Start
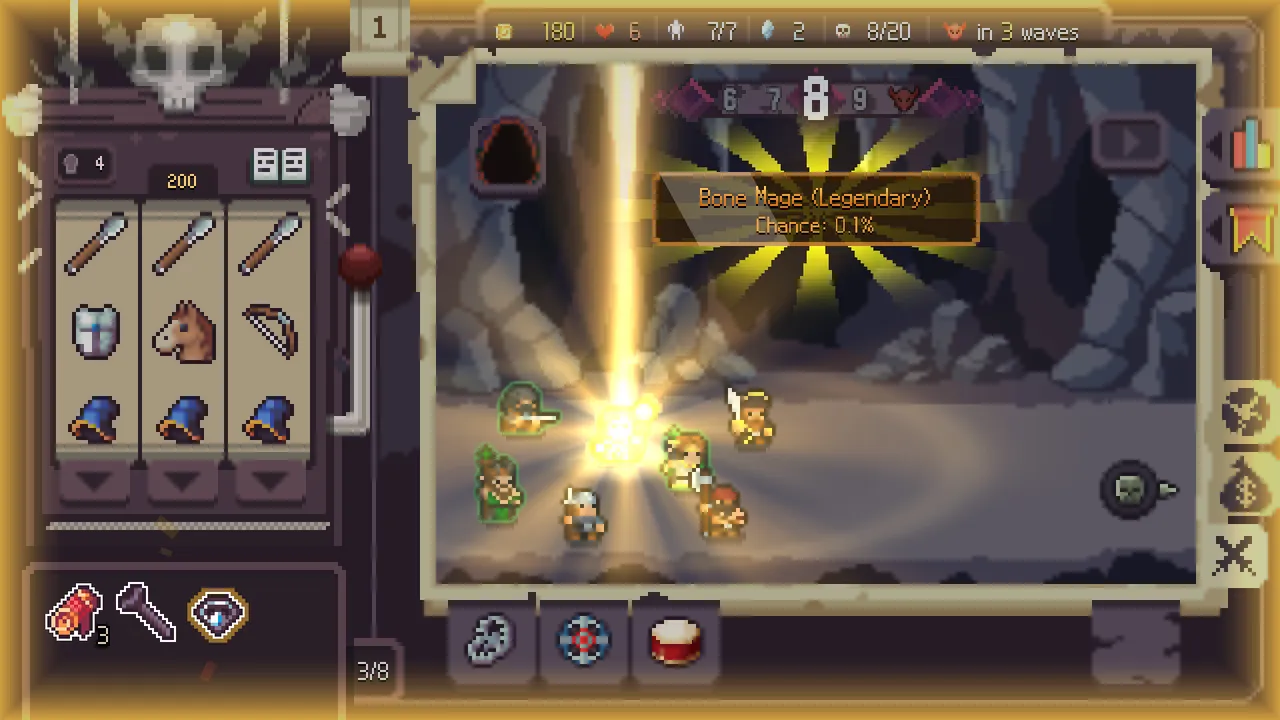
I put a lot of hours into Slotbound since launch: Easy clears on all six stages, Normal clears on five of them (six Normal wins in total), and an Open Forest Hard run that ends on wave 29. This guide covers everything I know so far.
Front Line on the Right, Shooters on the Left
On a new save, only Open Forest is available. I pick Easy and complete the tutorial when the game offers it.
What I start with: 450 Gold, 5 lives, room for 5 units, and 6 spins per wave. The first spin of a wave costs 100 Gold, and each additional spin that wave costs 50 more.
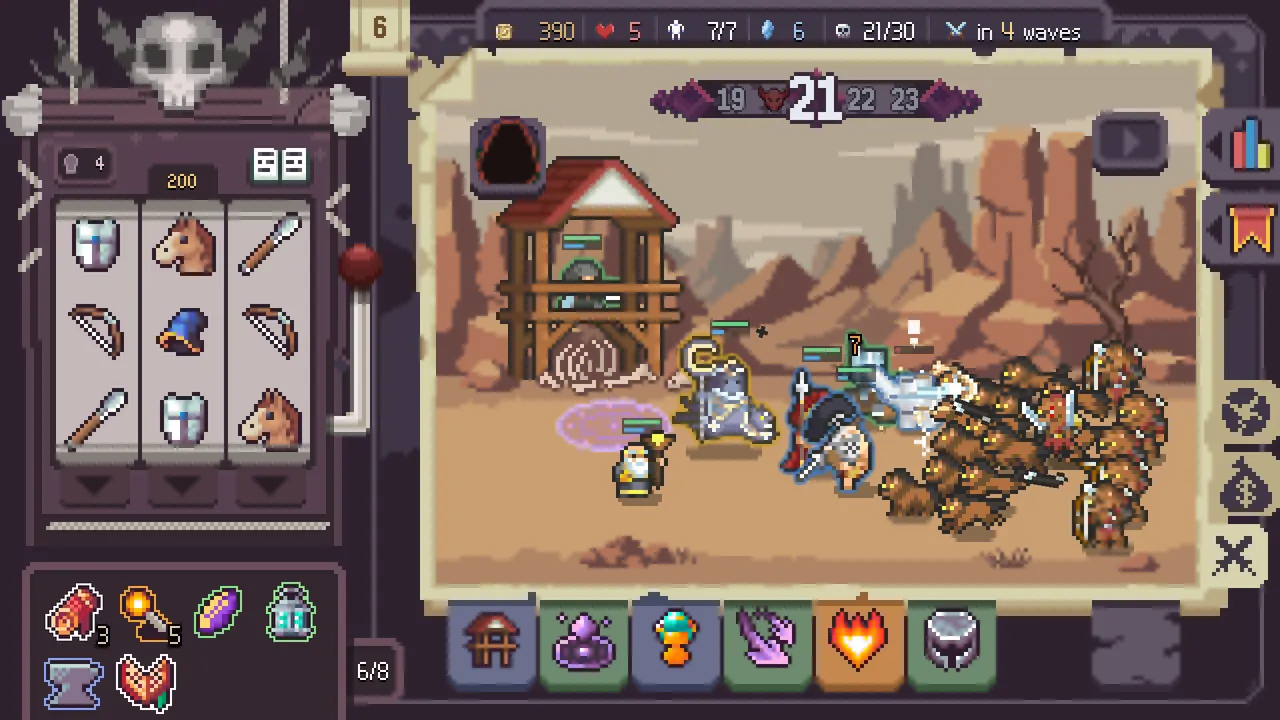
How the machine pays: The 3×3 grid pays on the three rows, three columns, and both diagonals. Three matching symbols on one line summon a unit of that class:
- Bow = Archer
- Shield = Warrior
- Spear = Spearman
Where I put my units: Enemies enter from the right, so I place my melee unit on the right as the front line and keep my ranged units behind it on the left. Once everything is in position, I press the skull button at the bottom right (or Enter), and my units fight automatically.
Nudge is free. When a spin misses by one symbol, I look at the arrows underneath the reels. A Nudge drops that reel one step and brings a new symbol in at the top. It costs no Gold or spins, and I get one per wave.
Since the 17 November update, I can also use keys 1, 2, and 3 to Nudge the three reels. During wave 2 of my tutorial, one Nudge on the middle reel completes a row of shields and gives me a second Warrior.
My first core arrives after my fifth spin. The scroll above the machine counts down to it.
I get three random cores and choose one, or pay Essence to reroll. I always read all three options before making my choice.
Feed One or Two Units, Not Everyone
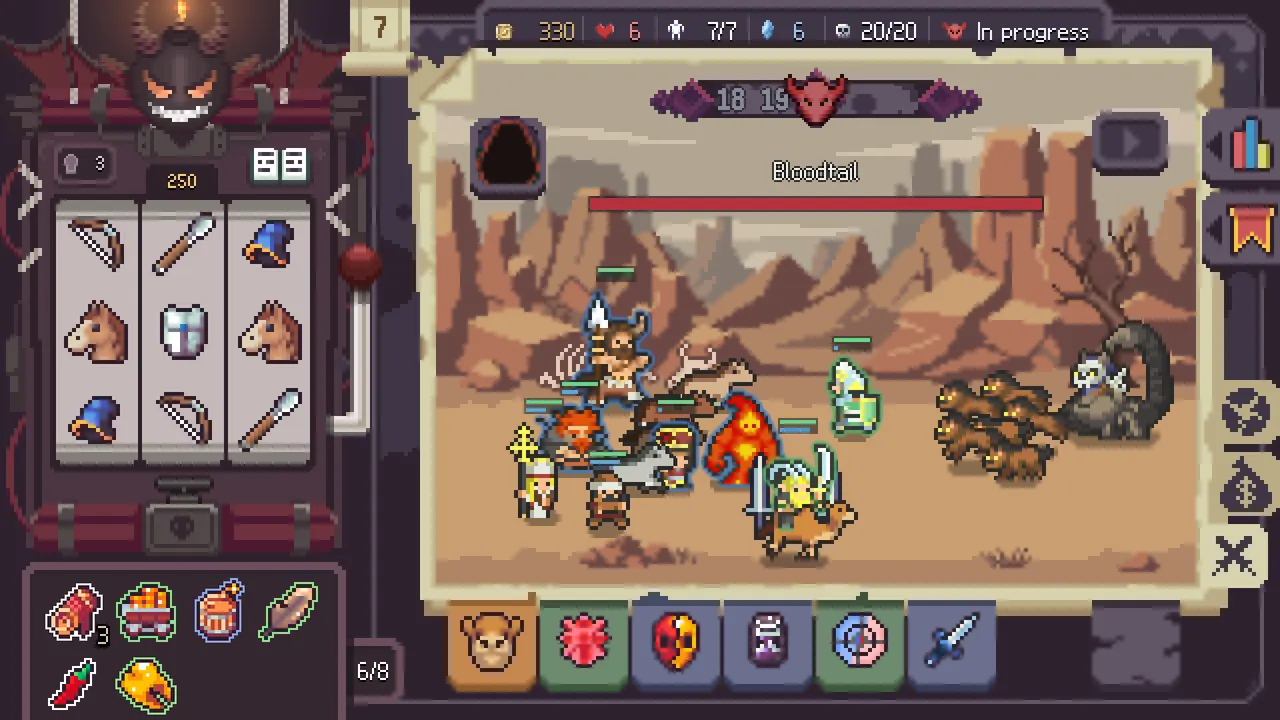
Absorb (A, or the dark hole at the top left of the battlefield) is how I grow my units. I drag one unit onto another, and the unit I drop it on gains a level and can take the eaten unit’s imprint. The unit I feed disappears.
This is how I handle the early game: spins give me cheap level 1 units, and I feed them into the one or two units I plan to keep. During my tutorial, I feed two Spearmen to my Archer, bringing it to level 4 with Pierce III.
Going over the unit limit: Sometimes a lucky spin summons more units than my limit allows. The machine turns red and refuses normal spins until I absorb enough units to get back under the limit.
The battle can still start, so it’s not a disaster. I just absorb some units before my next spin.
Level 5 is the first big moment. At level 5, my unit promotes, and I choose between two subclasses. My first Archer offers Crossbowman or Patroller.
Get a Mage early. A Normal Mage promotes to Healer at level 5. I always try to get one for Normal difficulty (more on that below).
Lock My Carries Before I Hold Absorb
This mechanic costs me units more than once.
When the unit I’m feeding already has all its imprint slots filled, the Absorb menu adds a third button: Hold to Absorb. Holding it makes my unit eat one unit after another, regardless of class, turning each imprint into Absorb levels.
The number in brackets shows how many units it takes: the one I drag plus every other unlocked unit.
Early in an Open Forest Normal run, I hold this button on a level 2 Cavalry. It eats my other two Cavalry and my Duelist, leaving me with just one unit on the field.
My fix: lock my carries first. I right-click a unit and click the lock next to the “i” in its panel. Locked units are skipped.
During a Lost Ruins Hard run, I lock my Archer and Mage before holding the button. It eats exactly the two spare Archers and leaves my important units alone.
Waves 5 and 10 Are the Real Fights
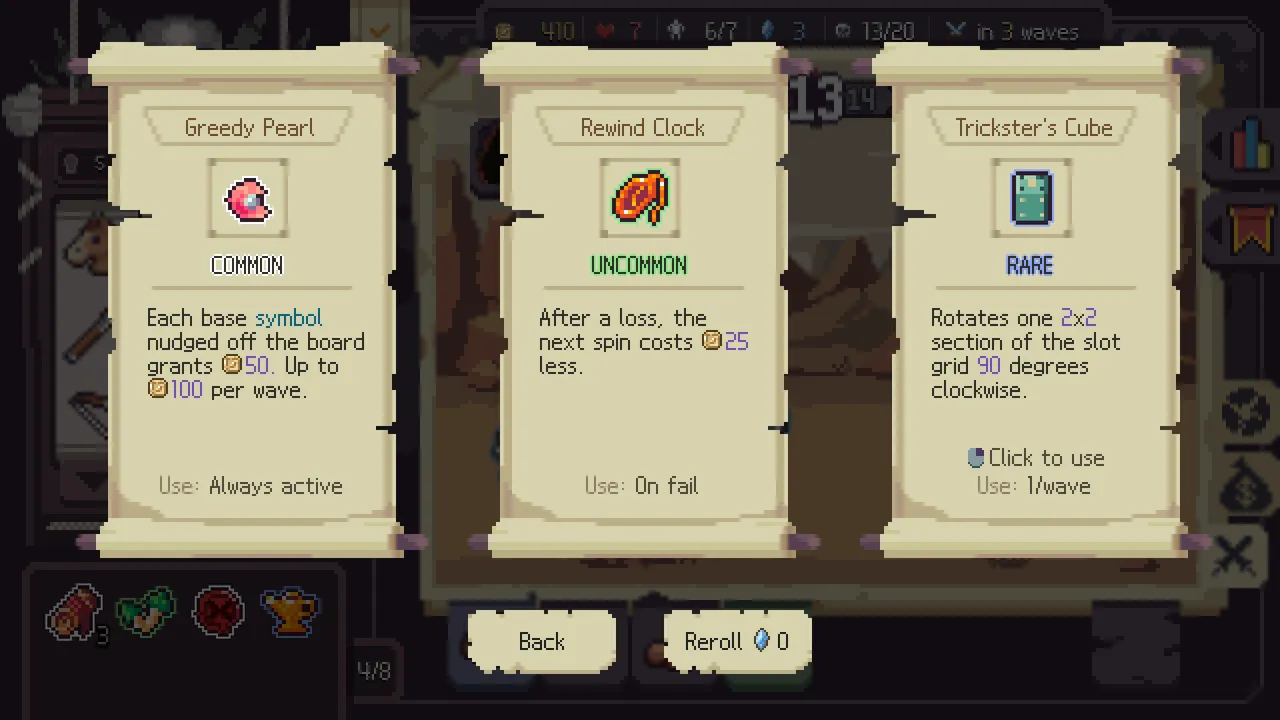
At the top right of the screen, I can see the countdown to the next special wave: crossed swords for a Judgment and a horned head for a boss.
Lives only protect me on normal waves. If I lose a Judgment or boss wave, my run ends.
Before wave 5, I check three things:
- I have someone in front to take hits (a Warrior or Cavalry).
- I have at least one promoted unit dealing damage.
- On Normal difficulty and above, I have a healer behind my front line.
My Crimson Hell Normal runs show what happens when I skip these requirements. Four of my ten runs end on wave 5.
Every one of those teams has two promoted units or fewer when the Judgment arrives. Two have no healer, and one has only a single unit in front.
Bring a Healer to Normal
Every Normal clear I make includes a healer. I use a Healer or a High Priest once it promotes further.
On Wasteland Normal, my High Priest heals 448 against the wave 20 boss Bloodtail. On Lost Ruins Normal, two High Priests heal 769 and 548 against Spine Tyrant.
Beyond that, my successful runs follow one of two strategies:
- Four or five units grown together. Three of my six clears end with every unit at roughly the same level (level 13 to 18 on Open Forest and 20 to 21 on Deep Cave). Two or three front units hold the boss, and nobody falls too far behind.
- One carry. Two of my Deep Cave clears focus almost everything on a single unit. My Raging Cavalry reaches level 81 and deals 8,918 damage in the final wave.
First core: Double Ledger is my first pick in four of my six clears. After the first win from a spin, the symbols drop and refill, allowing one spin to win twice.
Read the whole results screen. Best Unit doesn’t always mean the biggest damage dealer. I check Last Damage, Damage Taken, and Last Healing to see which unit actually carries the fight.
Plan my time: Apart from the tutorial run, my Easy clears take 24 to 32 minutes, while my Normal clears take 47 to 68 minutes.
I Spend Originite After Every Run
Originite is the purple crystal on the results screen, and I keep it between runs. I spend it in the upgrade tree (UPGRADE on the main menu) before starting my next run.
My first clear gives me 12 Originite. I use it to buy Collection, a chance at Advanced units, a sixth life, and more starting Gold, with 1 left over.
Since the 16 November update, I also receive Originite for the waves I win, even if I lose the run. So I always check the upgrade tree after a defeat.
How the campaign opens up: An Easy clear unlocks Normal for that stage (20 waves). A Normal clear unlocks the next stage, which starts again on Easy.
If anything in this guide doesn’t match your game, let me know in the comments and I’ll fix it.