
Navigating all routes and endings in Heartfall: A Tale in Three Lives comes down to identifying key dialogue forks across twelve numbered storylines ranging from Route 0 to Route 11. Reaching each conclusion requires knowing exactly when to stay loyal to Scar, flee with Joel, or help Impulse assemble his arcane music box.
Because many central storylines branch away during the opening day, an early conversational slip can lock you out of multiple achievements before you realize what happened. It is surprisingly easy to fall back into the standard survival timeline when trying to explore an alternate branch.
Before jumping into a run, establish separate manual save slots at every session checkpoint and right before major confrontations. That quick habit prevents hours of repetitive dialogue skipping and gives you immediate access to divergent conclusions.
All Routes, Endings, and Achievements Overview
The story branches are grouped from Route 0 through Route 11, followed by exact action steps for confirmed endings. Keeping dedicated save files at major junctures is the best strategy, especially for branches that splinter off during Route 0.
Route Status and Tracking:
Each achievement listing reflects current unlock confirmation and reproduction testing:
- Bold entries represent achievements with fully verified unlock steps detailed below.
- Italicized entries indicate reached endings whose exact prerequisite choices remain unconfirmed.
- Underlined entries mark identified achievements with proposed unlock paths currently under verification.
- Standard text highlights identified narrative endings awaiting complete walkthrough data.
Storyline Routes and Requirements
Route 0: Have We Been Here Before
Enter this storyline by setting fire to the Mystic Tree alongside Scar, triggering his death with a creeper, swearing loyalty to him, and spending the first night in his camp.
- So That's How It Went
- That's Not How It Went
Route 1: The Dark Forest
Establish your own base, burn the Mystic Tree with Scar, defeat him via a creeper explosion, and pledge your loyalty. Afterward, return to your personal base and refuse to leave despite your prior oath.
- Alone, Beloved: An unlocked ending where the exact fatal decisions causing Grian's demise remain unconfirmed.
- Die, Together
Route 2: Dog-Eat-Dog World
Follow the standard Route 0 path throughout day one, locate Martyn within the village, and vent your frustrations when he asks about your situation.
Internal file labels designate these events under the identifiers Ren WhoDunnit and Dogwarts Deception, creating some overlap with Route 5.
- All For Naught
- Almost Home
- Back Where It Started
- I'll Be Waiting
Route 3: Live, Laugh, Divorce
Opt to construct your own individual shelter. When Jimmy and Scott track you down and propose an alliance, accept their offer and accompany them.
- Happily Egger After
- Hate Loses
- Hate Wins
- Love Loses
- Love Wins
Route 4: Ashes and Alliances
Assist Joel in taming wild wolves in the forest, then agree to his proposal to construct a shared cabin.
- A Lonely Death
- A New Family
- A Violent End: Likely connected to remaining beside Cleo and BDubs, though preventing Joel's fall requires further testing.
Route 5: Should Have Aimed for the Hand
Progress through Route 0 on day one, encounter Martyn in the settlement, and initially air your complaints regarding Scar. Retract your words by claiming it was merely a joke. When Martyn approaches you again after the tree illusion, agree to commit a crime with him.
Similar to Route 2, internal data links these choices to the Dogwarts Deception and Ren WhoDunnit script branches.
- Can we go to the desert?: A single narrative choice branch that appears very direct once reached.
Route 6: The Cow Heist
Begin on the Route 0 timeline, but prior to gathering base crafting items, speak with Scott and Jimmy and agree to assist them on their livestock raid.
- Perennial Garden
- Scorched Earth
Route 7: Welcome Home, Ally
Speak with Jimmy after departing the village and promise to aid him, then continue along the Route 0 path. When the prompt appears upon going to sleep, choose the option to Remember.
- It's Us Until The End
- To Have Your Alliances, and Keep Them Too
- Together in the Desert
- What Else Did You Expect
Route 8: Music is Magic
Upon exiting the library, speak directly with Impulse, locate all the components he asks for, and aid him in assembling his music box.
- Dal Segno al Coda
- Dal Segno al Fin
- Fallen Companions
- Self-Inflicted Solitude
- Solitude
Route 9: The Court of Last Chances
Stay within the Route 0 sequence until day three arrives. Head straight into the flower forest and interact directly with the goose.
- A Home Where You Are: An ending reached where Scar avoids death despite pursuing a tragic path.
- Dusk Til Dawn
- Minutes Past Midnight
Route 10: Any-fin is Possible
During day one, interact with the wooden sign positioned by the pier and keep fishing continuously until you haul up a book.
- Bass Friends Forever: True Pacifish
- Fish or Be Fished: Fishmaster
- Goodbye Krill World: Fishing Anonymous
Route 11: Wolf in Sheep’s Wool
Examine the stone carving along the shoreline right by Grian's starting spawn point. Keep staring at it until its eyes blink.
- A Promise Fulfilled
- Never Alone Again
Unused Script Entries
Internal scripts contain references to ending hooks that lack formal achievement triggers. These appear to function as developer debug checks rather than obtainable achievements.
- catch_all: Generic fallback script marker.
- impy_ending: Unlinked narrative test state.
- scar_ending: Unlinked route completion tag.
Detailed Walkthroughs for Confirmed Endings
The instructions below cover the verified choices required to reach each specific ending achievement. Major plot spoilers for late-game confrontations appear throughout these sections.
How to Unlock So That’s How It Went

| Detail | Info |
|---|---|
| Route | Route 0: Have We Been Here Before? |
| Key Character | Scar |
| Required Item | Flint and Steel |
| Unlocked Achievement | So That's How It Went |
To initiate this sequence, speak to Scar right after exploring the library and agree to ignite the Mystic Tree. Retrieve the Flint and Steel from the mountain cavern situated near Tango.
When night falls in the village, guide a creeper into Scar to trigger his death. Apologize by swearing your loyalty until your first life expires, accompany him to the desert, and spend the night there.
Keep distinct save files across each chapter, as Route 0 acts as the parent branch for several alternative storylines. This chain mirrors the original survival narrative closely, requiring you to deliberately bypass specific early temptations.
- Livestock Heist: Decline Jimmy and Scott when they ask for assistance in the woods, choosing instead to collect base resources.
- Village Grievances: Refuse to complain excessively about Scar when encountering Martyn, and decline to follow him.
- Forest Scheme: Say no when Martyn appears along the forest path offering to commit a crime after the magic trick.
- Martyn's Axe Strike: Select do not take the blow when attacked at Dogwarts. Taking the hit kills you prematurely and invalidates this achievement.
Following Dogwarts' defeat, only BigB, BDubs, Impulse, Scar, and Grian survive. Scar bribes BDubs with a clock and commands him to execute BigB, followed by Impulse.
After Scar strips your green life and BDubs falls, face Scar in the desert wasteland. Defeat him in the duel, leap from the cliff edge, and perish to unlock So That's How It Went.
Pro tip: Always confirm your survival during Martyn's ambush by dodging, or you will lock yourself onto the alternate failure ending.
How to Unlock That’s Not How It Went
| Detail | Info |
|---|---|
| Route | Route 0: Have We Been Here Before? |
| Key Character | Scar |
| Required Item | Flint and Steel |
| Unlocked Achievement | That's Not How It Went |
Begin identically to Route 0 by collecting the Flint and Steel from Tango's mountain cave and torching the Mystic Tree alongside Scar. Slay him with a creeper during the night phase in the village, pledge your life to him as an apology, and spend the evening resting in the desert.
Maintain backup saves between every session. Refuse Scott and Jimmy's cow expedition, refrain from venting to Martyn while gathering building supplies, and reject his criminal schemes following the tree demonstration.
The critical narrative split takes place during the Dogwarts clash. When Martyn charges with his axe, explicitly select choose to take the blow. This drops you down to red life early and permanently diverts the story away from the historical timeline.
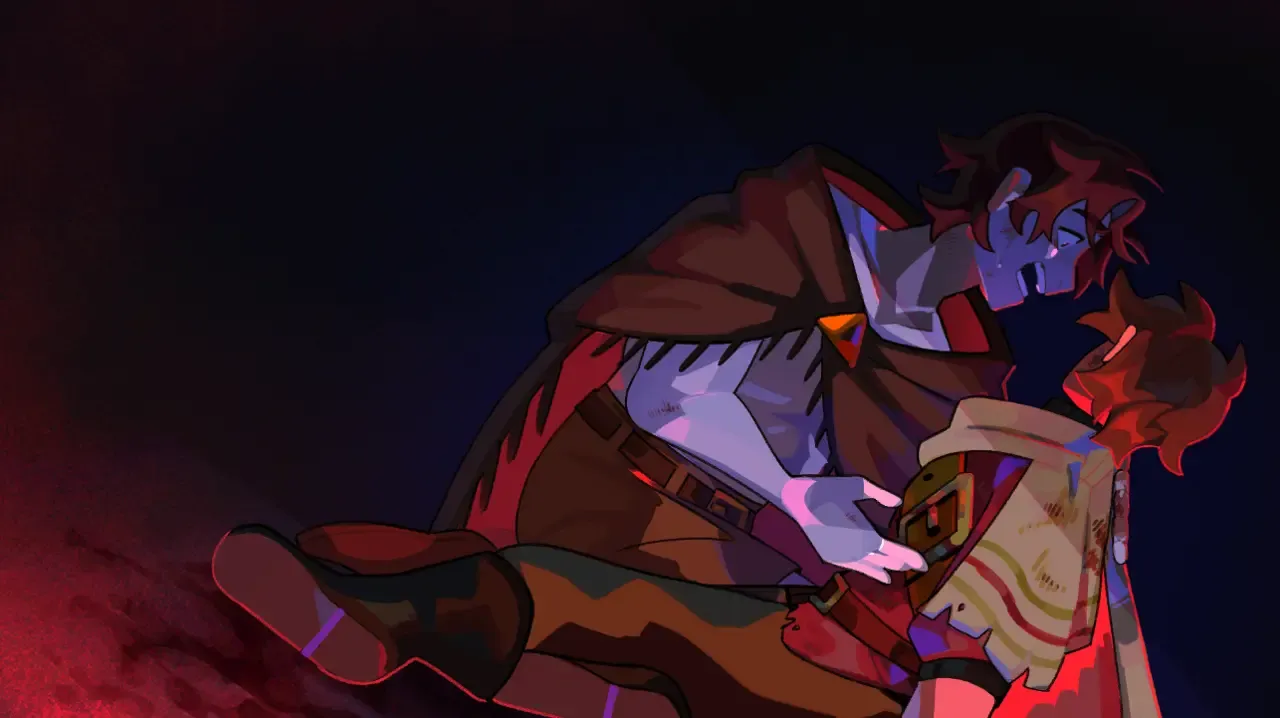
Scar survives that specific clash and regroups with you following your respawn. As the final skirmish at Dogwarts concludes, both characters meet their demise together, unlocking That's Not How It Went once the credits conclude.
How to Unlock A Lonely Death
| Detail | Info |
|---|---|
| Route | Route 4: Ashes and Alliances |
| Key Character | Joel |
| Major Decision Point | Session Five Night / Session Six Morning |
| Unlocked Achievement | A Lonely Death |
To begin Ashes and Alliances, head into the forest west of Jimmy's position after leaving the library. Locate Joel struggling with wolves and assist him until several animals are successfully tamed. Talk to him a second time and accept his invitation to build a cabin together.
Be aware that this narrative arc contains intense depictions of violence and blood throughout the later sessions.
The route proceeds without major branching opportunities up to session six. Joel loses his first life in Tango's Dare to Flare contest, while you lose your own life to an aggressive wolf. Neither death can be averted through dialogue choices.
Fire eventually consumes the cabin during the night, reducing Joel to red status. Though both of you initially escape, Joel rushes back inside for the wolves and perishes alongside most of the pack. You later discover Cleo ignited the blaze over withheld Mystic Wood.
Cleo and BDubs provide sanctuary at the Crastle. Mutual pressure from Dogwarts eventually unites everyone into allies. You drop to red status after intercepting a lethal strike meant for Joel, forging a deep mutual bond of self-sacrifice.
Before the final showdown with Dogwarts, Joel and Grian tour the map seeking assistance from Etho, Scar, Jimmy, and Scott. That evening, your quartet huddles around the campfire and resolves to face the morning as a united family.
Be certain to save when prompted on the night of session five. The conversational prompt appearing immediately the following morning determines whether you receive this achievement or an alternate conclusion.
On the morning of session six, meet Joel outside the Crastle walls. When prompted to either stand with the fortress defenders or abandon the battle, select run away with Joel. This decision locks you into the ending immediately.
Upon attempting to hide with Scott, you learn Jimmy is already dead, and Scott chases you off as deserters. Retreat to the coast, where Martyn tracks you down following the slaughter of every other faction. Joel intercepts Martyn's axe swing and dies; with your partner gone, offer no resistance and let Martyn finish you to claim A Lonely Death.
How to Unlock Dal Segno al Coda

| Detail | Info |
|---|---|
| Route | Route 8: Music is Magic |
| Key Characters | Impulse, Pearl |
| Required Item | Red Jasper Music Box |
| Unlocked Achievement | Dal Segno al Coda |
Initiate Music is Magic by talking to Impulse immediately outside the library. Collect wood from the nearby woods and recover diamonds inside the beach container. Deliver both supplies, then agree to reveal the discovery you uncovered within the village house.
Take note that this specific narrative arc features heavy psychological themes and explicit scenes of body horror.
Spend the remainder of day one cooperating with Impulse. When Pearl appears at twilight, promise to supply her with rations to secure her trust. Over the coming days, continue gathering library texts to uncover the island's secrets.
Impulse, Pearl, and Grian eventually relocate to the Crastle. Using recovered texts, Impulse mounts the Red Jasper onto his contraption to manipulate time. While it cannot mend mortal wounds, it successfully restores shattered armor.
During a desert skirmish involving Cleo, BDubs, and Pearl, you can either side openly with Crastle or feign loyalty to Dogwarts without impacting the plot. Martyn ambushes your party regardless of conversational stance.
When Martyn strikes, command tell Pearl to run. This step is vital because Pearl does not possess multiple respawns; if struck down here, she is permanently removed from the narrative. Once Impulse turns red, accept the music box from him.
After retreating from the desert, regroup at the settlement. When the main battle concludes, track down an isolated Martyn in the village alongside Pearl and execute him.
Return to the Crastle to find Scar slain. A grief-stricken BDubs executes Impulse in a blind rage.
Choose to kill BDubs in retaliation immediately. When Pearl begs you to activate the mechanism to reverse time and restore Impulse, agree and choose to rewind the music box to unlock Dal Segno al Coda.
How to Unlock Fallen Companions
| Detail | Info |
|---|---|
| Route | Route 8: Music is Magic |
| Key Characters | Impulse, Pearl, BDubs |
| Condition | Ensure Pearl dies |
| Unlocked Achievement | Fallen Companions |
Start on Route 8 by delivering the forest lumber and beach diamonds to Impulse. Reveal the house secret to him, cooperate throughout day one, and deliver provisions to Pearl when she emerges at night.
This storyline path includes strong body horror elements during late-stage island investigations.
Assist Impulse with research until you reach the climax. Unlocking Fallen Companions mandates that Pearl dies, which can be accomplished through two different choices.
First Method (Desert Skirmish): When Martyn attacks in the desert, instruct Pearl to attack him rather than telling her to flee. Remain silent while she struggles, allowing Martyn to kill her on the spot.
Second Method (Crastle Finale): Keep Pearl alive until BDubs strikes down Impulse. Instead of striking down BDubs, try reasoning with him. When Pearl attacks him, step in to restrain her; your distraction allows BDubs to kill her.
Either method secures the exact same result. After Pearl perishes and the subsequent narrative sequence wraps up, you unlock Fallen Companions.
How to Unlock Self-Inflicted Solitude

| Detail | Info |
|---|---|
| Route | Route 8: Music is Magic |
| Key Character | Pearl |
| Prerequisite Ending Path | Dal Segno al Coda divergence |
| Unlocked Achievement | Self-Inflicted Solitude |
Enter Route 8 by delivering the wood and diamonds to Impulse, sharing the village house discovery, and keeping Pearl alive. Mirror every decision from the Dal Segno al Coda route right up until the duel at Crastle.
This storyline sequence contains body horror and psychological distress warnings during the final encounters.
Slay Martyn in the village with Pearl, then return to the Crastle. Once BDubs murders Impulse, eliminate BDubs in retaliation. Pearl will once again plead with you to activate the artifact to rewind time.
At this moment, express your doubts and repeatedly refuse to play the music box. Stand firm and reject every single prompt asking you to reconsider until the dialogue choices vanish.
Following a fierce argument, Grian smashes the music box to pieces so nobody can tamper with it. Disgusted and heartbroken, Pearl abandons the sanctuary forever, unlocking Self-Inflicted Solitude as you stand alone among the ruins.
How to Unlock Solitude
| Detail | Info |
|---|---|
| Route | Route 8: Music is Magic |
| Key Character | Impulse, Pearl |
| Timing | Evening of Day One |
| Unlocked Achievement | Solitude |
Begin Music is Magic as normal by harvesting wood from the woods and collecting diamonds along the beach. Hand both to Impulse and describe the relic found inside the village cabin to establish the partnership.
Content warnings for this narrative line feature body horror depictions.
Follow Impulse's instructions throughout day one until Pearl reveals herself at dusk. When she requests food, choose to refuse to help her repeatedly. She will storm off in frustration.
Return to the settlement and talk with Impulse. Because he already shares a connection with Pearl, he declares you untrustworthy and casts you out of his camp, unlocking Solitude on the spot.
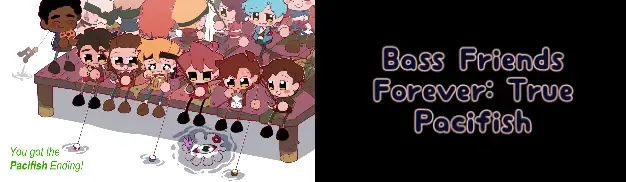
How to Unlock Bass Friends Forever: True Pacifish
Easily the most bizarre sequence in the entire game, this pacifist fishing storyline discards every standard conflict rule in favor of pure surrealism.
| Detail | Info |
|---|---|
| Route | Route 10: Any-fin is Possible |
| Key Activity | Dock Fishing & Gift Delivery |
| Core Condition | Deliver every gift before sleeping |
| Unlocked Achievement | Bass Friends Forever: True Pacifish |
To trigger Any-fin is Possible, interact with the pier signpost on day one, then cast your fishing line repeatedly until you reel in a book.
This storyline includes content warnings for unreality, depersonalization, scopophobia, and trypophobia, despite its lighthearted comedic tone.
Spend every waking day casting your rod. Whenever an unusual treasure surfaces, deliver it to the character it belongs to before heading to bed. Scar is usually nearby if you need hints regarding who owns a particular catch.
- BigB receives the cookie item.
- Ren receives the electric guitar.
- Skizz receives the bizarre giraffe carving.
Every ally who receives their gift joins your pier fishing group the next morning. Characters trade humorous backstories, BigB administers cookie trivia tests, and Scar eventually presides over a dockside wedding for Scott and Jimmy.
A slug-shaped Watcher repeatedly surfaces to command an end to fishing, but you simply toss it back into the water. When Martyn arrives furious about the lack of violence, fish up a manga volume and hand it to him to instantly neutralize his aggression.
Next, fish up a guitar and deliver it to Ren at Dogwarts. The gift melts his hostility, prompting him to bring an entire concert stage down to the shoreline for an impromptu rock solo.
Once Scar joins the pier gathering, the Watcher returns in an intimidating form demanding bloodshed. Place Scar's flowers onto the creature's head and offer it your fishing pole, prompting the entity to ask for angling lessons instead.
This peaceful resolution triggers the final scene and unlocks Bass Friends Forever: True Pacifish. The golden rule for this branch is simple: always deliver each gift before sleeping so the next pier visitor arrives on schedule.
How to Unlock A Promise Fulfilled
| Detail | Info |
|---|---|
| Route | Route 11: Wolf in Sheep's Wool |
| Starting Landmark | Stone statue by starting pool |
| Key Objective | Collect three altar fragments |
| Unlocked Achievement | A Promise Fulfilled |
To enter Wolf in Sheep's Wool, approach the stone monument standing behind the water basin where Grian awakens at the start of the adventure.
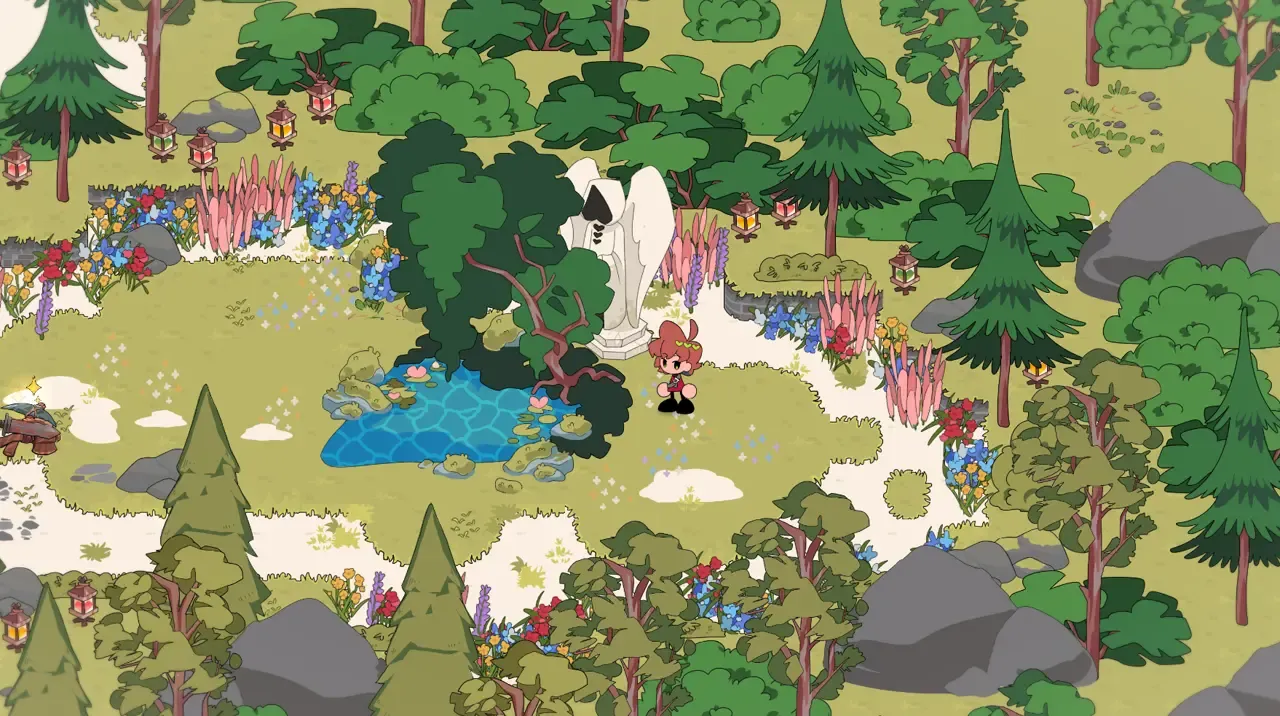
Because the carving lacks any sparkle indicator, step directly against it and hit your interact button. Inspect it repeatedly until you receive an option to stare directly into its face.
Ignore the warnings and keep staring until the carving blinks. Proceed west along the beach to locate an altar, then accept the task to find its missing fragments.
Collect the three altar fragments from the woods, inside the house containing the directory board, and within the mountain cave. Bring all three parts directly back to the carving.
Content warnings for this occult storyline include deep horror, body horror, starvation, derealization, trypophobia, and scopophobia.
Beyond this ritual, the storyline runs on fixed rails until the final scenes. Make time to converse with Jimmy, Martyn, and BigB along the way, as their shared unease adds rich narrative color while you ride the story out to its dark conclusion.