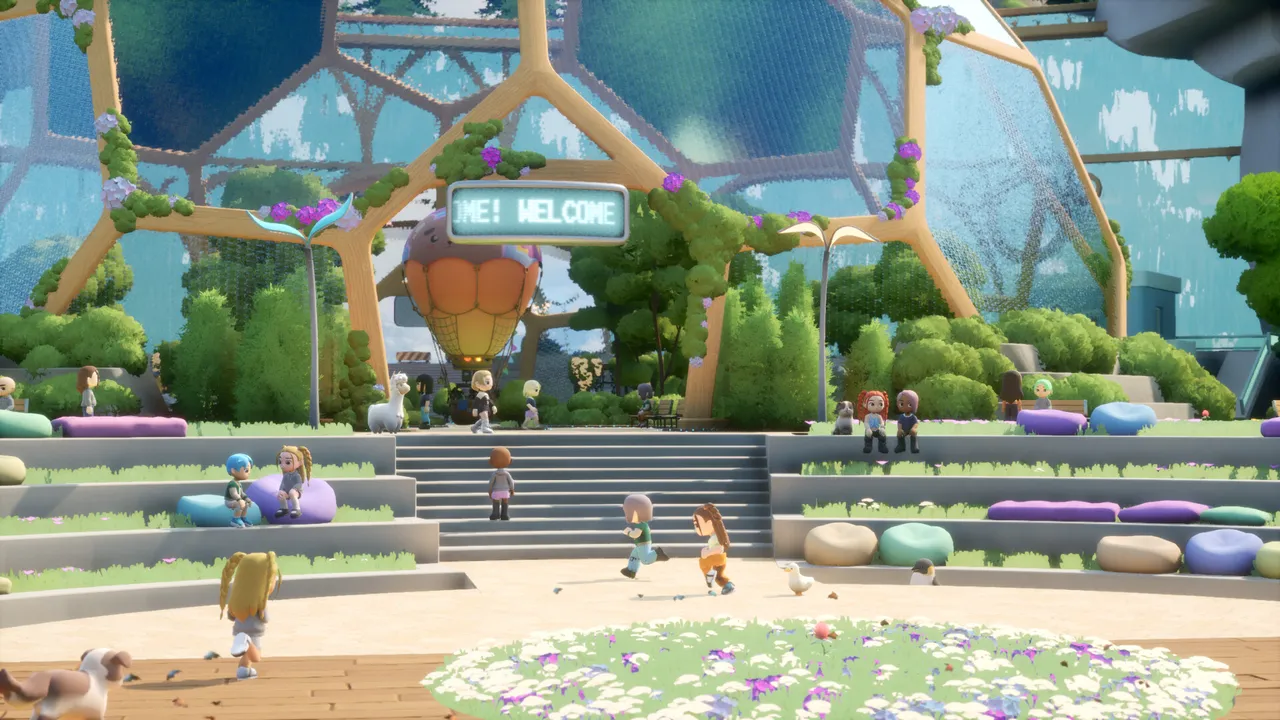
You’ll step into the vibrant area of Gridfall as you progress in Loftia. Before diving in, make sure you craft the Bounce Shoes, which are essential for navigating this new environment. You’ll also be busy with repairs, so upgrading your project station and crafting repair kits is crucial for success.
As you explore, expect to encounter challenges that might trip you up, like gathering the right materials. The game flows in a way that encourages exploration while ensuring you’re well-prepared, so you won’t waste resources. Trust me, missing a key item can lead to a frustrating setback.
Preparation is key here, so focus on collecting Aluminium Bars, Banana Leather, and Resin early on to craft those Bounce Shoes and make your life a lot easier when traversing Gridfall.
To learn more about the game, check out the Steam page.
Crafting The Bounce Shoes
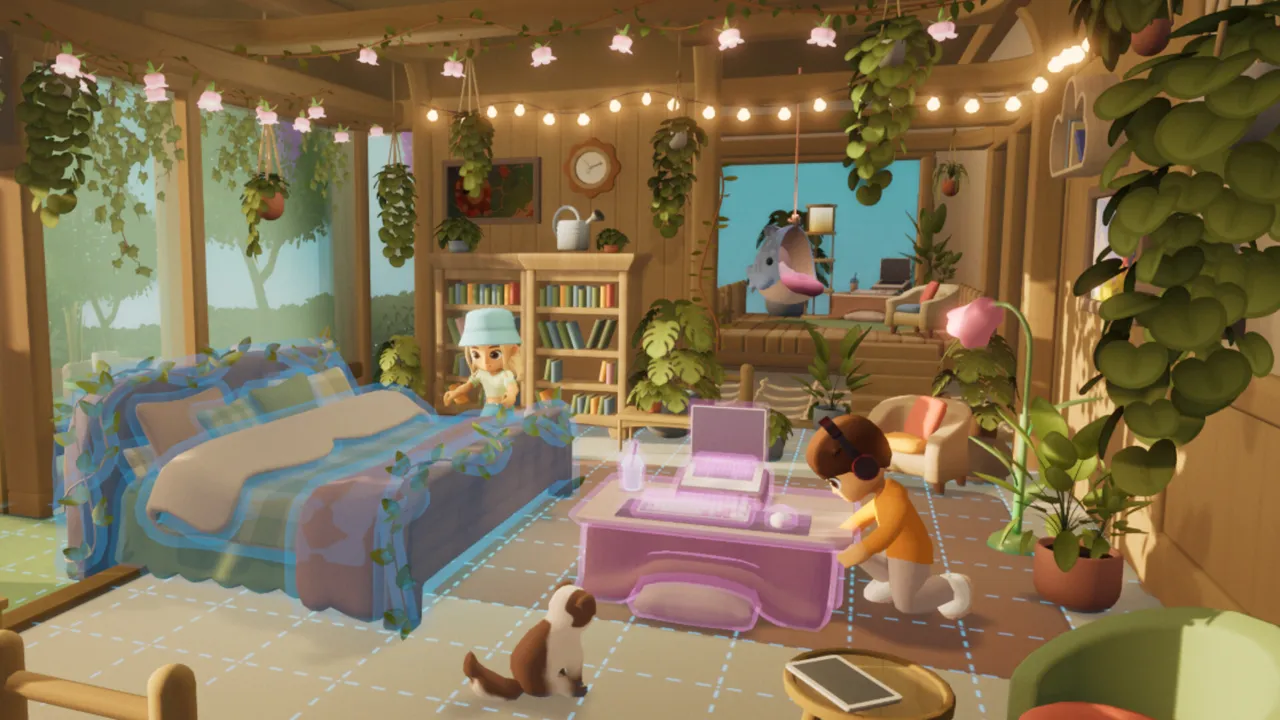
To prepare for Gridfall, start by crafting the Bounce Shoes. You’ll unlock this recipe once you finish a page at the Central Lake research station. For the Craftcore recipe, make sure to gather plank, metal plate, plastic sheet, and rubber.
Gathering Echo Weave requires processing linen from flax and creating jute fabric from jute. First, upgrade your refining stations to unlock these options.
Additionally, collect rattan and plant fiber. Head into the overgrowth area to fish for Murky Waters fish as well.
To craft the Bounce Shoes, you’ll specifically need an Aluminium Bar, Banana Leather, and Resin. Find Resin by tapping trees in the Overgrowth.
For Banana Leather, refine some bananas you collect. The Aluminium Bar is produced by refining Bauxite ore.
You can acquire Bauxite ore by breaking nodes found in the caves located in the Overgrowth and Hanging Gardens. One specific cave is tucked away on the southern part of the central lake, just behind a waterfall — a must-remember spot for resource gathering.
Visiting Gridfall
Once the Bounce Shoes are ready, return to the Hanging Gardens. Speak to Herb first, then connect with Cliff.
This will grant you access to Gridfall. Use the tram to reach your destination.
After arriving, head upstairs and chat with Cliff again. Then proceed a bit further to deliver a crate to Mita.
Keeping The Lights On
Make your way towards Milo and strike up a conversation. Clear the trash pile obstructing his area to uncover a wrench — your new tool for repairs.
Now, you need to locate and repair three lamp posts scattered across Gridfall. You don’t have to find the specific ones mentioned; they are generally located throughout the area.
One lamp post is in Neon Alley right near the grid. Approach it with your wrench to make the repair, and you’ll receive some rusted metal as a reward.
The second is located in Patwork Plaza, close to some bicycles and a bus stop. The last is in the northeastern corner of the Historical Quarter near traffic lights.
After repairing the lamp posts, report back to Milo. Your next mission requires crafting repair kits, which means upgrading your project station to level three first. Don’t forget you can find electronic scraps by breaking an old television for needed materials.
Return to Gridfall and focus on repairing two Hydroponic machines that resemble glass containers with plants. These broken machines can be found near Milo’s shop against a wall adorned with flowers. Completing this will net you Rust Resistant Alloys as a byproduct—a bonus for your efforts.
More parts coming soon.
Thank you for reading part three of our Loftia walkthrough. Keep an eye out for our upcoming sections for more tips and insights!