
You can obtain the True Holy Sword Akunra in Queen’s Domain by heading through key locations like Rotting Cavern and the Temple while collecting seals. Knowing the path and how to gather the required seals is essential for completing this quest successfully. Be prepared to navigate the area methodically, as rushing can cost you valuable resources.
This journey primarily involves traversing through the cave structure and using a bit of strategy to avoid pitfalls or enemy encounters that might deplete your dash. To set yourself up for success, ensure you have your dash charges ready and know the location of the key seals.
Now, let’s break down the steps to reach the Akunra sword and gather the seals you’ll need.
Queen’s Domain – All Book Locations and Pandora Blade Guide
True Holy Sword Akunra Location Guide
1. I Start from the Point & The Cave
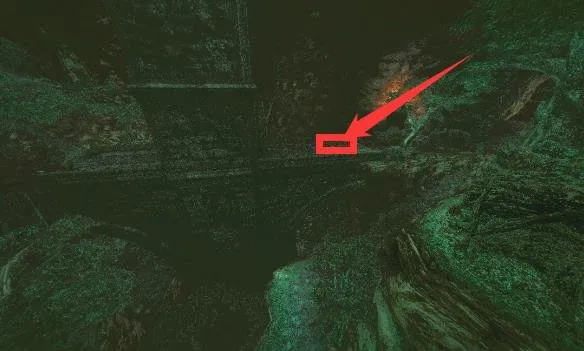
I use this location as my starting point since it’s the easiest to find.
Approaching the ruined stone structure, I enter the cave (indicated by the red box).
I keep going through the cave, following the path ahead (red arrow).
At the end of the cave, I find an opening. I immediately turn right and enter the dark passage (follow the red arrow).
2. I reach Rotting Cavern
Moving forward, I come across the teleport for Rotting Cavern, which marks the halfway point of my journey.
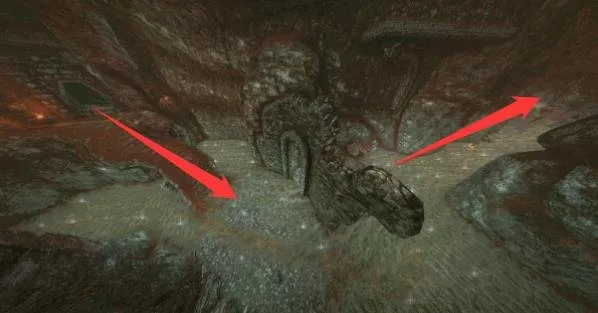
Note: Avoid rushing when heading to the teleport. Enemies or hazards might hit me during a dash and negate my dash charges.
3. How I clear the Location & The Temple
I systematically clear the area to access the passage leading further into the Temple. Here’s how I navigate:
- Find the Passage: Look for the narrow route near the pillars (follow the red box).
- Traverse the Ruins: Continue through the underground remains (red arrow).
- Large Cavern: Arrive at a large, open cavern with water; take note, the path branches left and right, follow the red arrows.
- Floating Head Encounter: Proceed past a floating, statue-like head with a diamond underneath.
- Rocky Ledges: Ascend across rocky ledges and cliffs to proceed (follow the red arrows).
4. How I find the Seals (Lenses)
I collect one more lens by picking up the green glowing item in the distance. This allows me to start the search for the remaining seals.
2 Seals Under Tower of Knowledge
- First Seal: Located in the statue room filled with green orbs.
- Second Seal: Found in the boss room, amidst scattered bones and a statue.
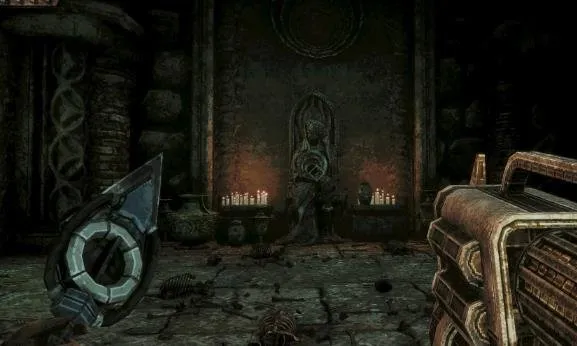
2 Seals on Isle of Neasied
Underneath the teleport, I discover a hidden room.
First Secret Wall: Follow the red box to reveal the first secret wall.
Second Secret Wall: Again, follow the red box for the second secret wall.
1 Seal in Deimpo Mausoleum
At the stairs beneath the teleport, there’s a secret room waiting (follow the red line).
1 Seal in Record of Sins
I proceed through a dark corridor, heading towards the green glowing archway to find the seal.
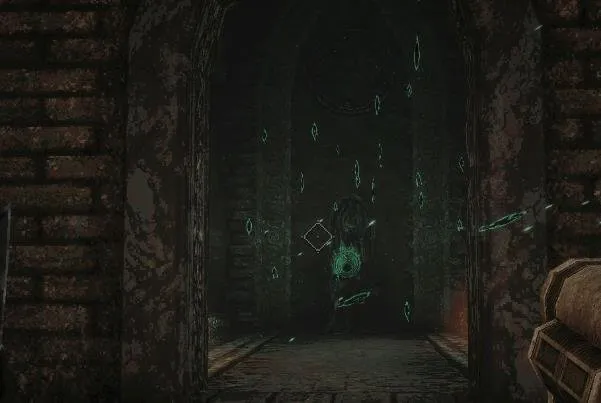
1 Seal in Rotting Cave
First, I need to add a lens to my mask as previously mentioned to make this seal appear. Once that’s complete, I follow the red arrow to locate it.
1 Seal on Fish-man Island
I navigate to the water area near the cliffs and palm trees, following the red arrows to reach the island.
Finally, I return to the statue room with the floating green runes and candles to finish up the last step.
Reward
As a reward, I receive an assault rifle equipped with an underbarrel grenade launcher.
How I get Jigeki’s Lens
This section is about how to collect all the components of the Jigeki Key to obtain Jigeki’s Lens. Without this lens, the seals cannot be removed, so gathering these is crucial. Additionally, this lens is necessary for accessing the door in the Temple of Puwema.
1st Lens – Deimpo Mausoleum
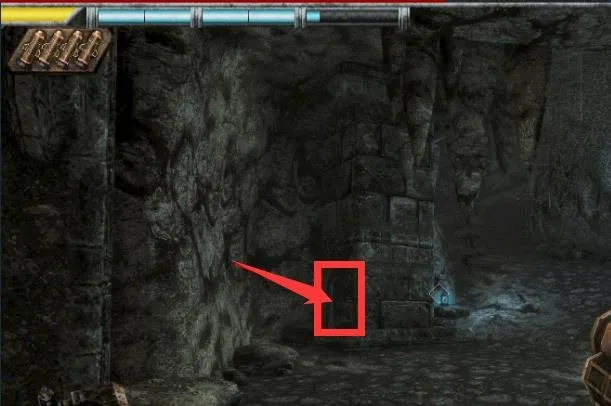
The first lens is located in Deimpo Mausoleum; I follow the screenshots to navigate there.
2nd Piece – Rotting Cavern
The second piece is also found in Rotting Cavern. As I run through the rotting water, a large fish chases me. I must defeat it to obtain that piece.
3rd Piece – Ancient World
In the Ancient World, the third piece is hidden beneath the bridge.
Where to Place the Pieces
I climb to the top of a cliff on Fish-man Island to find where to place the collected pieces.
Here, I also need to gather 4 Ceremonial Stone Tiaras, which are located nearby and to position them in the right order.
From left to right, the correct order is:
- 1st: Red, White, White.
- 2nd: White, Red, White.
- 3rd: All White.
- 4th: White, Red, Red.
How to Reach the Location
I refer to the screenshots to navigate to the top of the cliff.
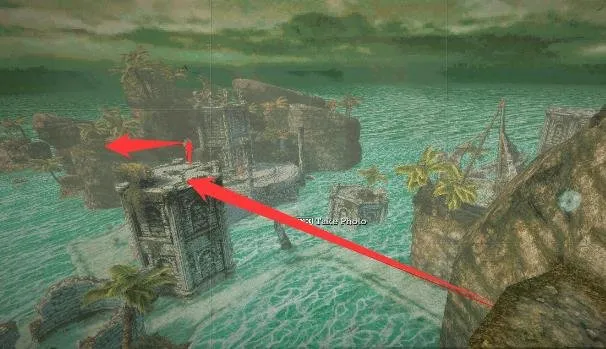
Using the Cestus, I perform a high jump to reach the upper area.