
After encountering the Hunt for the second time, he taunts Soul, challenging him to come and find him at the Great Waterfall, where he will be waiting. This sets the stage for some intense encounters and critical quests.
Along this journey, you will navigate through quests that lead you toward Pangzhen, as explained by Yu’er. Players often find themselves getting sidetracked or misplacing their focus in the early game, but tight navigation and exploration can yield valuable resources.
To make the most of your journey, ensure to secure the Dread Axe early on, as it’s crucial for breaking enemy shields and progressing through tougher encounters.
As you embark on this chapter, keep pushing forward toward the Great Waterfall. You’ll also be progressing through the Apprentice Healer tale, where you’ll need to:
- Continue Searching for the Great Waterfall
- Progress the Apprentice Healer tale
- Obtain the Focus Pill Medicine
- Start the Deep in the Valley story
- Reach the Sha-Chi Tower
- Complete Purge the Sect tale
- Enter the Steel Tower and reach the Hunt’s hideout
- Start the Severed Mindseal tale
- Progress the Severed Mindseal tale
- Start the Pillars of Kunlun story
- Settle the score with the Hunt
- Defeat the Hunt, Hunter of the Order: First Phase
- Defeat the Hunt, Sixfold Scythe: Second Phase
- Continue Searching For The Great Waterfall
- Progress The Apprentice Healer Tale
- Obtain The Focus Pill Medicine
- Start Deep In The Valley Story
- Reach The Sha-Chi Tower
- Complete Purge The Sect Tale
- Enter The Steel Tower And Find A Way To The Hunt’s Hideout
- Start A Severed Mindseal Tale
- Progress A Severed Mindseal Tale
- Start The Pillars Of Kunlun Story
- Settle The Score With The Hunt
- Defeat The Hunt, Hunter Of The Order: First Phase
- Defeat The Hunt, Sixfold Scythe: Second Phase
Continue Searching For The Great Waterfall After exiting the camp where you met the Hunt, cross the bridge. You’ll be confronted by shield-wielding enemies; take note that the posture bar indicates the shield’s durability with a blue hue. Use the Dread Axe to break both enemies’ shields and deal with them effectively. Once they’re defeated, drop down into the valley below to explore and gather resources.
Progress The Apprentice Healer Tale
After dropping down to the stream, follow the path to discover a quest item near the water. Collect the Blood-Stopper Vine, which is one of three herbs needed by Yu’er. Don’t forget to check the other end of the stream for a chest filled with upgrade materials.
Obtain The Focus Pill Medicine
Return to the bridge and head left, toward the iron chains. Destroy them, and make your way to a lookout point that offers a stunning view of the red forest. Here, you can grab a book and a golden chest containing the Focus Pill, which is critical for your healing arsenal.
This medicine reduces Sha-Chi consumption by 30% and restores 30% HP over 15 seconds. Equip this alongside your other medicines for better combat readiness.
Use the Dread Axe to break both enemies’ shields and deal with them. Before moving forward toward the iron chains, drop down into the valley below.
Progress The Apprentice Healer Tale
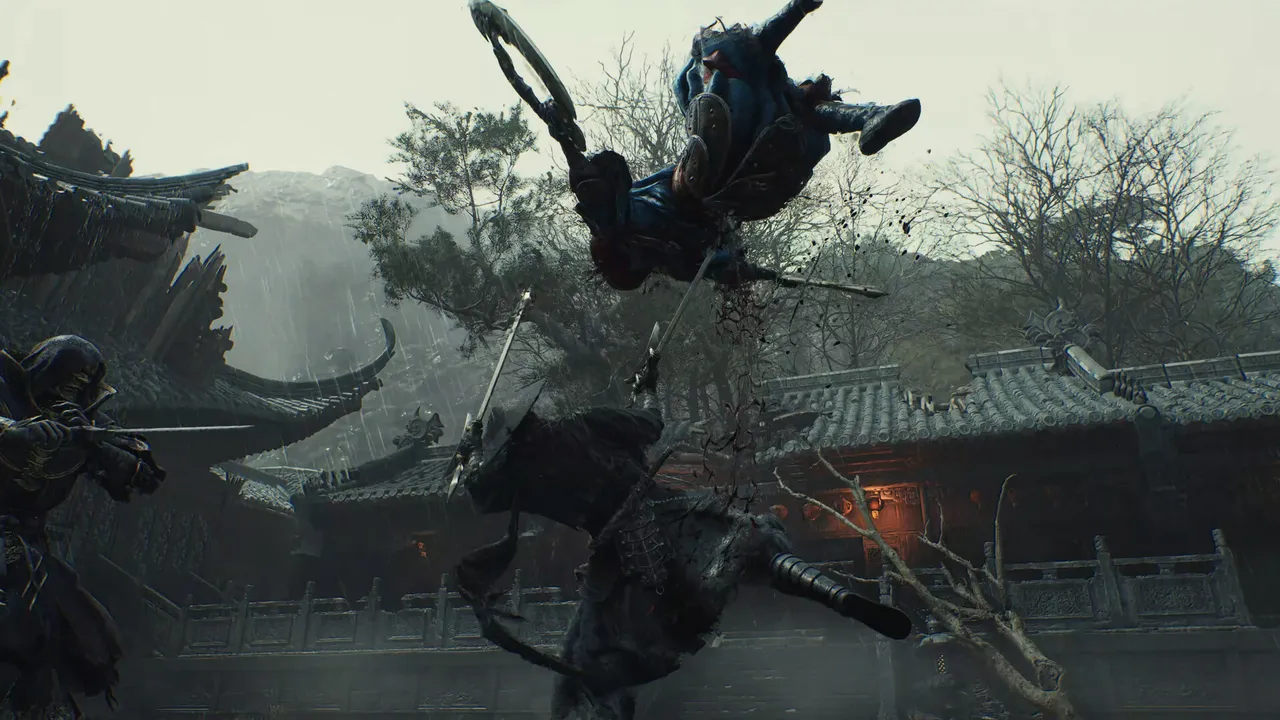
Drop down to the stream, and at the end of this path, you should find a quest item. Pick it up to obtain the Blood-Stopper Vine. This is one of the three herbs Yu’er asks you to collect.
On the other end of the stream, you can find a chest containing upgrade materials.
Obtain The Focus Pill Medicine
Head back to the start of the bridge, and this time, go left, north, toward the iron chains. Destroy them, and at the end of this path, you will find a lookout point where you can see the red forest from a distance.
On this ledge, there is a book that you can pick up, along with a golden chest containing a new item called the Focus Pill.
This Medicine reduces Sha-Chi consumption by 30% and gradually restores 30% HP over 15 seconds.
In this game, you can have two Medicines equipped at the same time, so make sure to equip this one to have more healing options in combat.
Start Deep In The Valley Story Once back at the bridge, cross toward the iron chains and destroy them to progress. As you move upward, the Sha-Chi Tower comes into view. Make sure to activate the Bell to reveal your map. Be alert; a Mandate Disciple nearby warns of lurking monsters and mentions the camp key he lost at the Sha-Chi Tower.
Head back to the bridge and cross it toward the iron chains up ahead. Use the Dread Axe to destroy them, then move upward, where you can see the Sha-Chi Tower from a distance.
Cross the wooden bridge and interact with the Bell to reveal the map. As soon as you do, the Mandate Disciple nearby the door speaks to you.
He warns Soul about the monsters lurking at the Sha-Chi Tower and mentions that he dropped the camp key there but can’t go back to retrieve it. You need to retrieve the key to unlock the door behind him.
Reach The Sha-Chi Tower
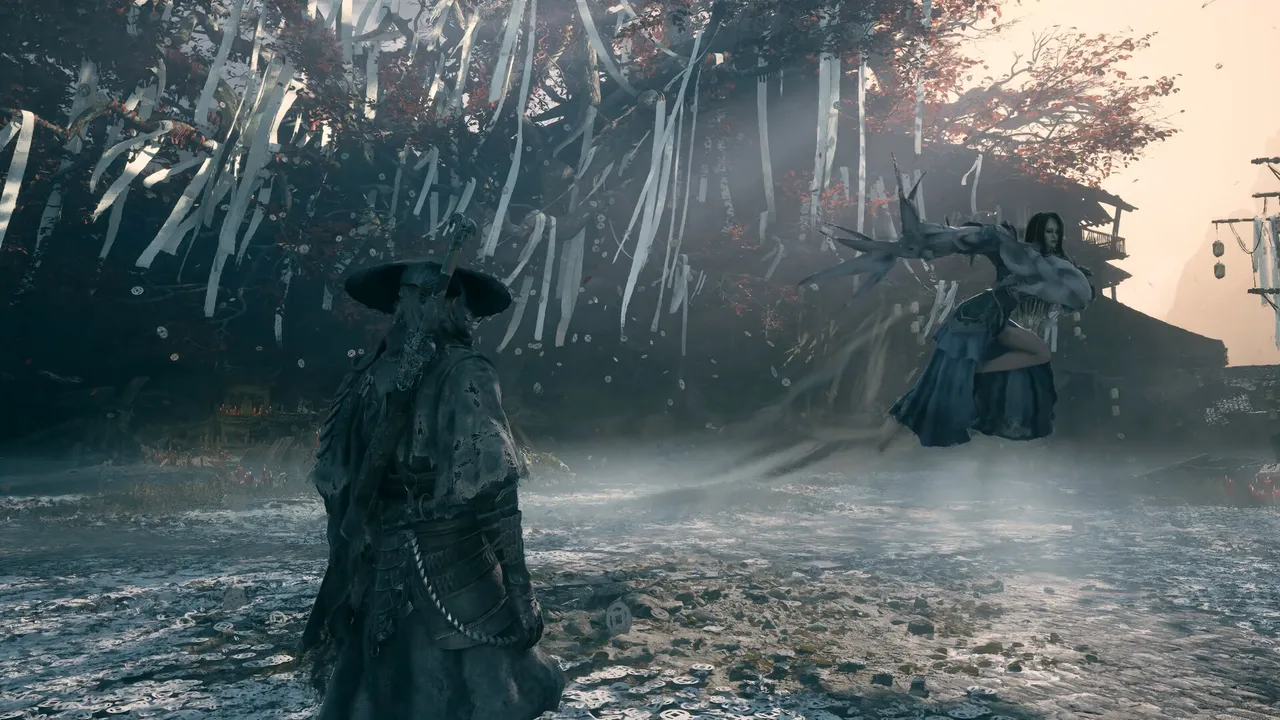
Reach The Sha-Chi Tower
Continue forward to trigger a cutscene showing the Hunt dispatching enemies along the bridge. Follow his trail.
Upon your approach, you’ll encounter many foes, including archers positioned high above. It’s advisable to eliminate the archers first to simplify the following combat.
Up ahead, there are a bunch of enemies to defeat, along with archers on higher ground who constantly shoot at you. Take care of the archers first, then clear out the remaining enemies.
Complete Purge The Sect Tale At the end of the camp, you’ll find two ladders leading to the upper floor. Start by taking the right ladder, and continue to eliminate enemies as you climb. You’ll find a collectible book on a small post and additional materials to help in your journey. At the top, ensure to take care of the waiting archers as they are linked to a quest from the Old Archer you encountered previously. Defeating them may yield valuable items, including a Blackstone Shard and the Broken-String Bow quest item.
At the end of this camp, you will find two ladders that take you to the upper floor. Start by taking the ladder to the right, then climb the other ladder to the right, defeating any archers along the way.
On this platform, you will find a small post. Inside, you can pick up a collectible book.
Head back outside, defeat the enemies here, then keep working your way to the top. Ignore the wooden bridge for now.
At the top, there are more archers waiting for you. These are the ones the Old Archer from the outpost asked you to deal with.
Kill every last one of them. One of them should drop a Blackstone Shard alongside the quest item, Broken-String Bow.
Finally, touch the Bell and assist the dying archer. Complete the quest by returning to the Outpost to meet the Old Archer who will reward you with the Feather Bow Phantom Edge. This bow allows you to interact with hanging pots in the world, unlocking rewards further in your adventures.
At the top, where the watchtower is, don’t forget to touch the Bell and check on the dying archer inside.
With this quest item in hand, fast travel back to the Outpost and make your way to the Old Archer. Soul hands him the broken bow, and he manages to fix it for us.
As a reward, he gives Soul the bow, the Feather Bow Phantom Edge. With this, you can shoot the hanging pots to drop them and collect their rewards. This completes the Purge the Sect Tale.
Enter The Steel Tower And Find A Way To The Hunt’s Hideout Fast travel to the Ruthless Archer Camp Bell and head toward the wooden bridge. After defeating new enemies, explore the area for a door that opens from the other side. Climb the stairs to reach the Sha-Chi Tower base. Upon approaching the Bell, an Order’s Shadow Warden will attack. Defeat them, and prepare for intense battles within the tower against shield-wielding monks.
Fast travel back to the Ruthless Archer Camp Bell and descend toward the wooden bridge where you saw the Hunt earlier, then cross to the other side.
Defeat the enemies here, and you will encounter a door that opens from the other side.
Ignore it for now and climb up the stairs to reach the base of the Sha-Chi Tower.
As soon as you approach the Bell here, you will be attacked by one of the Order’s Shadow Wardens. Defeat them, then touch the Bell.
Enter the tower, and three monk enemies will spawn. All three have shields, so use the Dread Axe to swiftly deplete their shield meters. Alternatively, you can parry their attacks, which also works.
At the back of the furnace, you will find a collectible on one of the baskets. Pick it up, then look for another collectible near the hole on the ground. Pick that one up as well, and we’ll get back to this hole later.
There is another collectible book near the staircase, so pick it up and take the stairs up. On the upper floor, you will fight a few more monks just like before, and there is another collectible just to the right of the staircase.
Take the staircase to reach the next floor, and be careful of the Powderkeg, as it rushes toward you and explodes, dealing a lot of damage. Dodge at the last second to avoid the explosion.
Behind where it was standing, there is another collectible book that you can pick up. Finally, take the stairs up one more time to reach the top of the tower, where there is a Bell and a mysterious man standing nearby.
Start A Severed Mindseal Tale
Start A Severed Mindseal Tale
Interact with a mysterious man atop the tower to launch the Severed Mindseal tale. After an intriguing conversation, you’ll venture to retrieve the Primal Stone hidden within the tower. A quest item for the Deep in the Valley Tale is waiting for you at the upper platform, but you need upgraded gear for it.
Just when Master Soul is ready to fight him since he’s a Shadow Warden, the mysterious man acts oddly friendly. It seems this guy doesn’t care about the Order, as he himself is a traitor.
Soul asks him how he broke free of the Mindseal, since every Shadow Warden is bound by it. He then starts talking about the Primal Stone, which seems to do the trick and allows him to escape the Mindseal’s control.
He asks Soul if he can retrieve the one in this tower for him, and this starts the A Severed Mindseal Tale.
After you’re done with the conversation with the friendly Shadow Warden, climb to the very top and follow the linear path ahead.
You will encounter the quest item for the Deep in the Valley Tale sitting on the upper platform, but you don’t have the appropriate weapon for it yet. Remember this location, because we’ll get back to it soon.
Progress A Severed Mindseal Tale
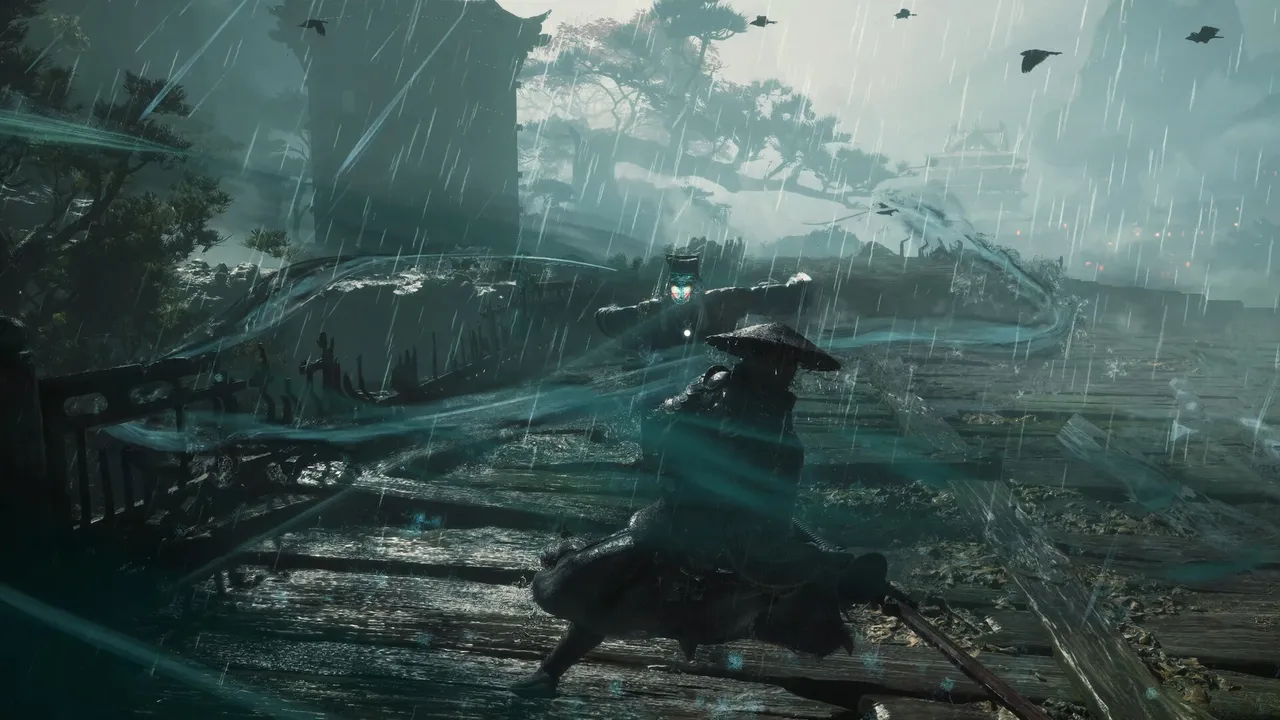
For now, take the ladder on the other side to go down. At the bottom, you need to defeat the Shadow Warden enemy. He drops the Sha-Chi Furnace Inspection Crank, which we need to get the Primal Stone.
Descend using the ladders until you reach the base of the tower. Approach the furnace from behind and use the crank to open the small chamber. Pick up the Primal Stone from inside.
Make sure to interact with the crank and remove it, because we’ll need it to get another item.
Head back up to the summit where the friendly Shadow Warden is and give him the Primal Stone. He uses it immediately, and the effects seem to be immediate. It really works.
For now, there is nothing else to do with this tale, as the next objective takes you all the way to Meigu Lake, which becomes available much later in the story.
Start The Pillars Of Kunlun Story
Descend once again using the two ladders, and this time, you need to progress toward the visible bridge from here. Speak to the Mandate Disciple by the campfire to unlock a new story quest called Pillars of Kunlun.
Its first objective is displayed on the map in the Village of Lu region, which is much later in the story, so don’t worry about it for now. Before you leave, pick up the collectible near this dying disciple.
Settle The Score With The Hunt As you activate the next Bell, track your path through to confront the Hunt. Ensure to upgrade your Jarred Steel weapon and abilities before the fight.
Start The Pillars Of Kunlun Story
Dive back down via the ladders and approach the visible bridge. Interact with the Mandate Disciple to activate the Pillars of Kunlun story quest.
The quest objective is set far in the Village of Lu section, but be sure to collect collectibles before you leave.
Make sure to activate it and upgrade your main weapon, preferably the Jarred Steel, and unlock abilities, because it is time to fight the Hunt once and for all.
Walk toward the waterfall, where you get a cutscene of the Hunt coming out of his hideout and prepare for your first real boss fight.
Defeat The Hunt, Hunter Of The Order: First Phase
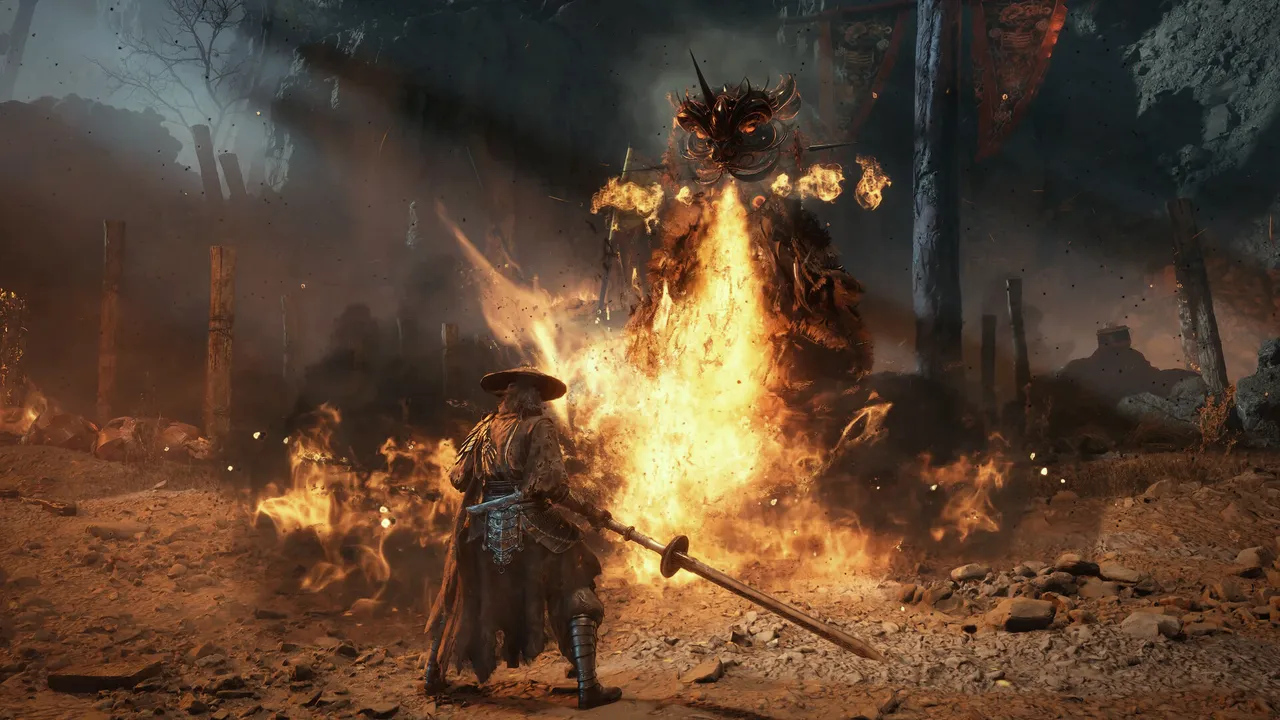
Defeat The Hunt, Hunter Of The Order: First Phase
During the first phase, the Hunt’s attacks are centered around slashing combos with his sickles. With well-timed parries, you can deplete his Sha-Chi meter significantly. If you struggle, dodge to create space and counterattack when there’s an opening.
His unique attack patterns will test your reflexes. If you find yourself far away, he’s known to use a tornado attack that you should dodge. Remember, perfect parrying can trigger advantageous counterattacks against his red-flash moves.
Sometimes, the Hunt backs away and throws one of his sickles to hang onto while using the other to attack with wide horizontal slashes.
There is a slight pause between each slash, giving you an opportunity to parry his attacks.
If you’re at a distance from the boss, he extends the range of his sickles and starts swinging them horizontally and then vertically. It’s a quick attack, so if you’re not confident with your parry timing, simply back away.
Another attack that he can perform from a distance is where the Hunt uses his sickles to create a tornado that slightly homes in on your direction.
The best thing you can do here is keep as much distance as possible until it fades away.
As usual, for all red-flash attacks, you can perfect parry, while blue-flash attacks can be avoided with a perfect dodge or countered with a perfect parry, depending on the color, so be aware of them.
Some of these attacks, if you counter them properly, trigger a QTE prompt to complete the counterattack.
After you manage to deplete the Hunt’s HP, he won’t give up. Instead, he transforms into his second form, the Sixfold Scythe.
Now, don’t worry. Remember that this is not a Soulslike game, and while the first phase of the Hunt was probably lengthy, chances are you barely have any Medicine left to survive the second phase. Don’t worry.
Once you successfully weaken the Hunt, he transitions into his more challenging second form: Sixfold Scythe. Don’t fret if you’ve run low on healing — respawning starts you directly at the second phase for convenience.
Defeat The Hunt, Sixfold Scythe: Second Phase
Defeat The Hunt, Sixfold Scythe: Second Phase
This phase adds new attack patterns, utilizing four sickles now. Be sure to utilize parries on incoming attacks, especially those that launch wind projectiles toward you.
Watch for the Hunt’s leverage on the environment, leading to heavy damage AoE attacks. Staying aware of your surroundings is crucial as you parry and dodge to avoid his onslaught, focusing on evasion when needed.
For starters, he has four sickles now, so his usual combos include all four. This simply means more opportunities to parry and deplete his Sha-Chi faster.
The Hunt can also launch wind projectiles from the sickles on his back toward you, which you can easily parry.
The wide spinning attacks can now be performed from both the ground and the air, and this time, they end with a blue-flash attack, so make sure to perfect parry the final attack.
When you see the Hunt retreat into the waterfall, the ground marks purple zones from which large chains emerge.
This is an easy attack to avoid. Just don’t step into any of these zones, and watch out for him to return, as he leaps directly at you with an attack that deals tons of damage. This is the attack you must avoid at all costs.
The last attack he performs is where the Hunt slams his weapon into the ground for an AoE attack. Simply move away from the highlighted area.
After you finally manage to defeat the Hunt, this time once and for all, you get his weapon as a reward, the Hunter’s Chain Sickles.
This is a Phantom Edge that you can use to strike enemies, and it can also be used to grapple onto anchor points for traversal.
Now, before we progress forward with the main story, there are a few things that we can get done.
With a successful victory against the Hunt, reap the rewards of his Hunter’s Chain Sickles. These not only serve as powerful weapons, but they can also enhance your traversal capabilities. From here, more adventures await as you progress through Phantom Blade Zero.
Note: To be continued…
Stay tuned for more walkthroughs and tips in Phantom Blade Zero!
Former Staff Writer at TheGamer with over 1,000 published articles covering AAA titles, indie games, and everything in between.