
Getting through the ending of Terrible Lizards can be a thrilling challenge. You’ll be racing against time and a menacing dinosaur as you solve puzzles and navigate through intricate caverns. Players often get tripped up when collecting the necessary items, so knowing where to look can save a lot of frustration.
In this chapter, you’ll need to stay quick on your feet and ready to tackle platforming sections, all while avoiding the monster lurking in the shadows. The pacing can really ramp up when you least expect it, so be prepared for a chase! Before diving into the details, ensure you’ve equipped yourself with the right gear and keep an eye out for useful items.
This guide will walk you through the crucial steps, including the major puzzles and encounters you’ll face as you reach the end of the chapter. Let’s get you ready for that adrenaline-filled escape!
- The Caves
- Retrieving The Tooth
- The Elevator And Spectrum Lights
- Finding The Elevator Key
- Making An Escape
The Caves
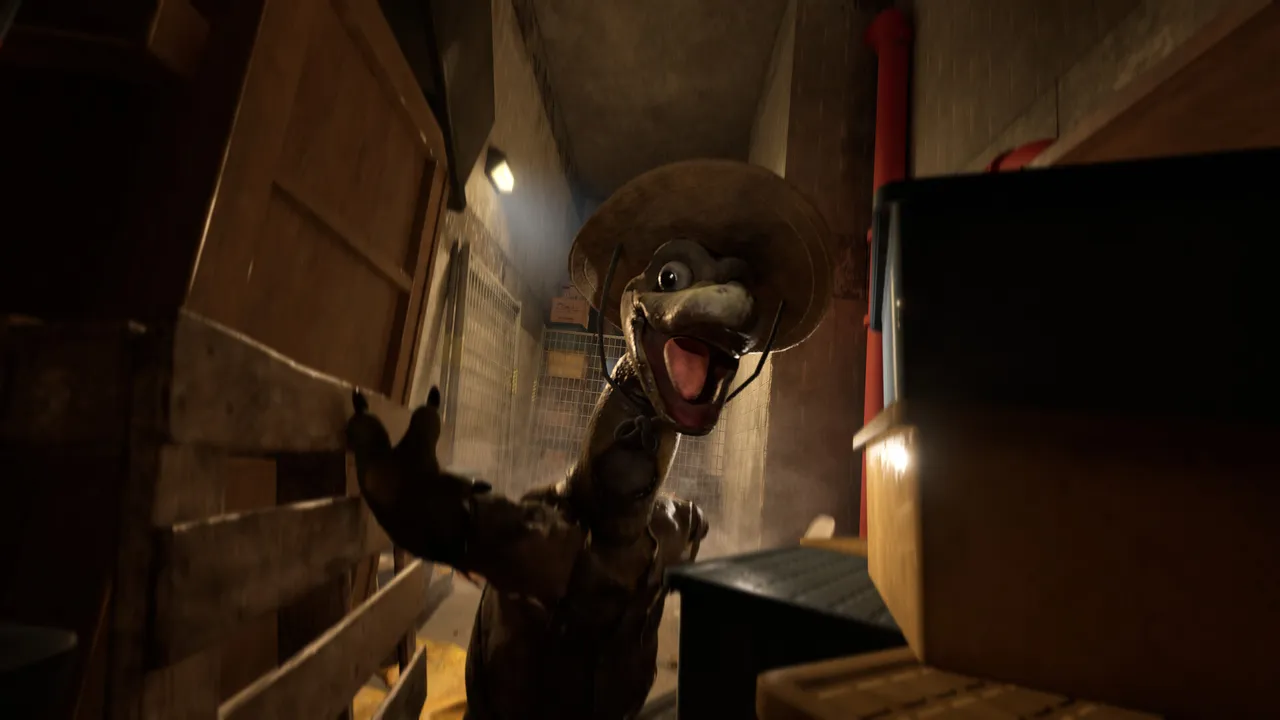
Keep following the linear path ahead until you enter a small chase section, which introduces a new monster. Stick to the straight road ahead as you sprint through and make your escape from this dinosaur.
Continue on the road ahead after the chase to arrive at your first puzzle of the chapter. Once you arrive at the expedition’s camp, head left and watch the tape here using the projector.
Go left from the projector to enter an extensive platforming section. Keep climbing to eventually arrive at a terminal with a red button.
Press the button to lower the platform in front and use that platform to progress through the rest of the climbing. Use the platform quickly before it goes back up.
Make your way to the other side of the cave and follow the linear path ahead after dropping down at the end. Keep platforming over the red chasm to pick up your first weapon of the game, which is unsurprisingly broken in its current state. You will also eventually meet up with an NPC who gives you your next quest of the chapter.
Retrieving The Tooth
Head right from the NPC’s location and take the path on your left at the end, bypassing the broken bridge. You will find the tooth at the end of your path near the projector screen. Watch the tape that plays on the screen after you pick up the fossil.
You will enter a chase section after the video ends. Turn back and start running to your left.
Continue left and take your second right to ascend. Keep going up the ramps here to find a gun that actually works and use it to fend off the monster.
After this encounter is over, make your way back to the NPC that you met before. You can use the terminal on your way back to lower down the bridge and create a shortcut.
Once you speak with Dalton, you’ll enter another chase section with the same monster. Start running in the opposite direction, and the path ahead is quite linear. Be quick in your platforming and don’t stop sprinting the entire way.
The Elevator And Spectrum Lights
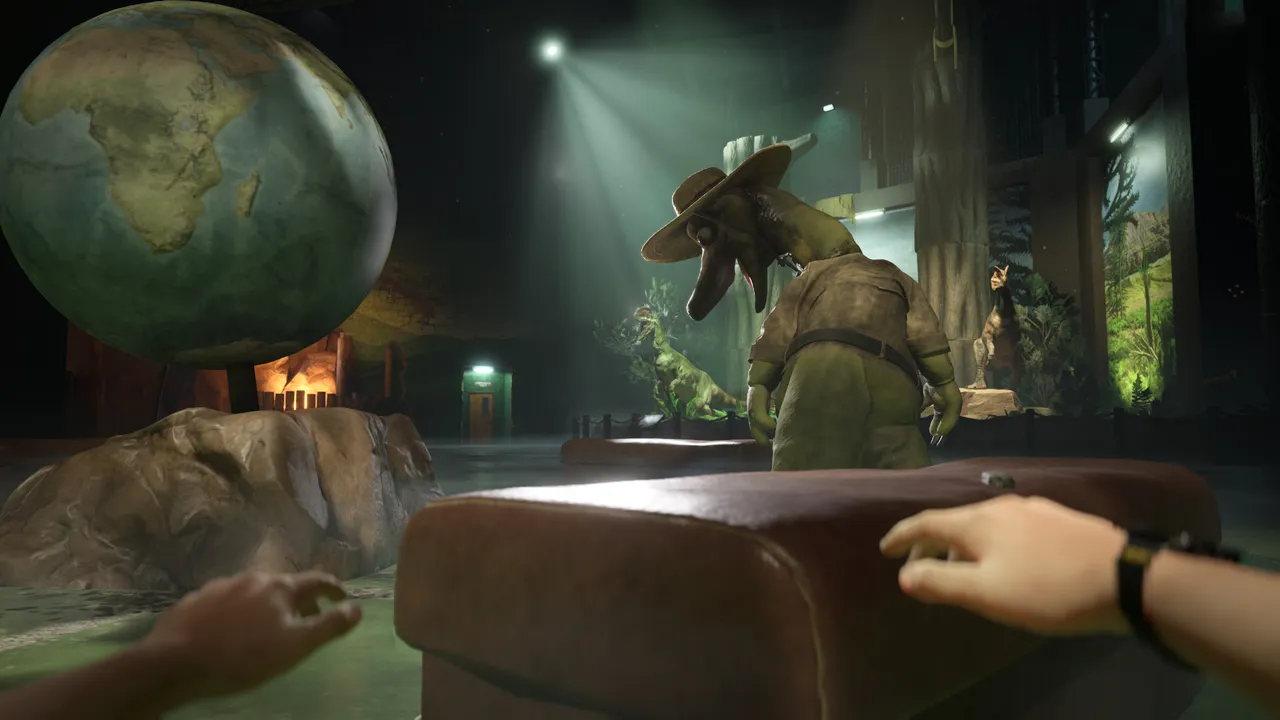
Continue on the linear road ahead, using goo in your path for platforming. You will eventually reach the top and find a light that you need to turn on. After powering it up, turn back and keep progressing through the straight path ahead.
Go through the narrow space at the end and continue to jump your way across on the other side. You will eventually find an elevator at the end of your path on your left. However, you need to find the key for it first to make it work.
Progress through the path on the right side of the elevator that takes you deeper inside the caverns. Take a U-turn at the end to speak with Dalton Jr. Your next mission will be to power on the spectrum lights in the area.
Turn around from the NPC’s location and head right to find your first light. Then go inside the wooden shed on the farther left side of the first light to find your next luminous source.
Next, head back up the path ramp that you used to descend in this area. Take a left at the top to find the third light.
Finally, go to Dalton’s last location and power on the generator here. Keep running while powering the lights because the monster chases after you as well.
Speak with DJ afterward and watch the video that plays on the projector screen.
Finding The Elevator Key
Exit the deeper caverns by using the ramp and head left to reach the Cavern A entrance. Use the terminal here to get inside. Keep following the linear path ahead in this cavern and continue platforming to find dynamite.
Leave this cavern by taking a right from the location of the dynamite. Take another right after dropping down and keep heading straight to arrive at the Cavern B entrance. Use the dynamite to blow the entrance open.
Cavern B features a long and extensive platforming section which ends at the top of the spire. The path ahead is pretty straightforward with no distractions, except that the platforming really requires you to time your wall running. Once you reach the top, pick up the elevator key here.
Making An Escape
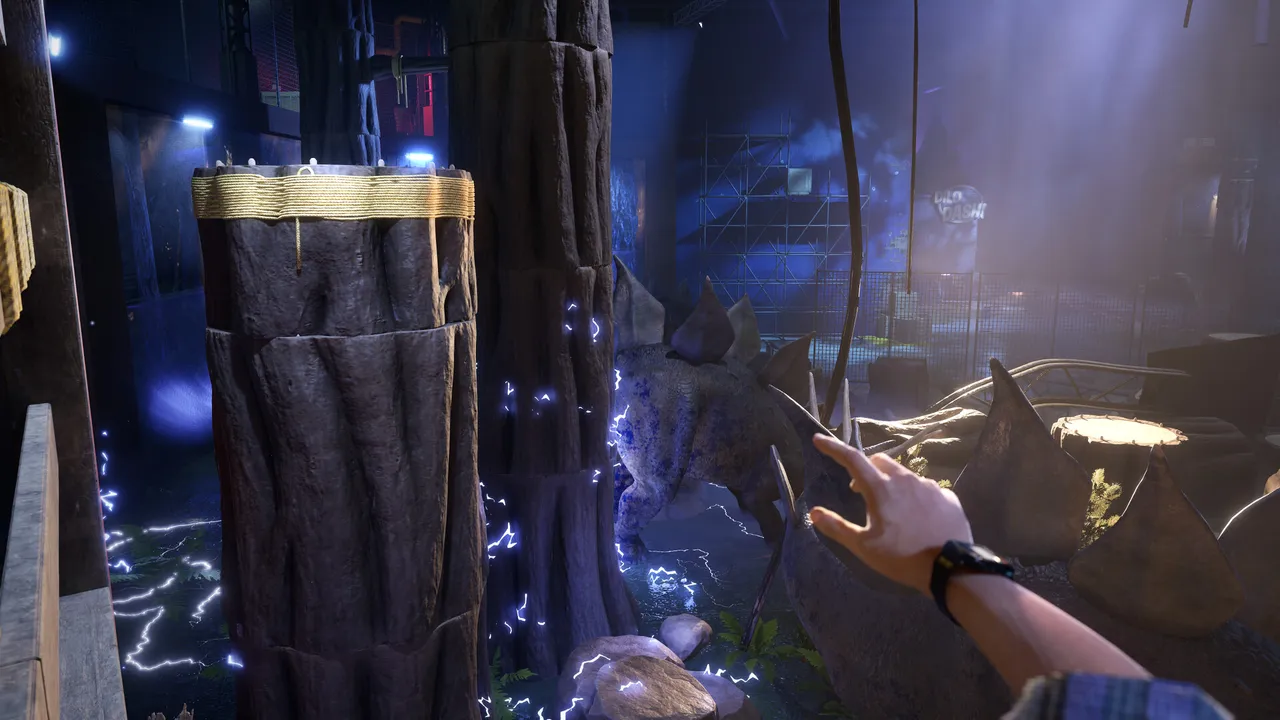
Use the ledge on the left side of the key’s location to descend from the spire. The monster starts chasing you again once you reach the ground. Quickly, trace your steps back through Cavern B to make your escape, and do it quickly before the area breaks down.
Crawl through the narrow passage at the end and hide from the monster here. Wait for the dinosaur to move near the cliff’s edge and then use the ledge to perform a drop kick on the enemy, which makes it fall.
Pick up some dynamite on your left and continue moving left to arrive at a blocked gate. Use the dynamite here to create an opening. Progress through the linear path on the other side to get back to the elevator.
Use the key here to power up the elevator and press the button inside to start ascending. You will fall midway because the monster comes back for one final attack.
After you fall, get ready for your final chase section. Continue climbing and platforming while sprinting through every part of the level to make your way back to the elevator. Once you reach the top, climb the ladder at the end of your path to complete this chapter.
This concludes our chapter four walkthrough of Terrible Lizards, which covered the ending of the main story.
You can also check out walkthroughs of other video games below: