
This comprehensive my beautiful faraway walkthrough covers all three endings, puzzle solutions, five lost feathers, memory locations, and achievement requirements. Follow Chapter I to reach the dream, then complete the required tasks in Chapters II and III to unlock endings A, B, and C.
Navigating surreal indie puzzle games often means getting stuck on obscure item combinations or missing hidden collectibles in the shadows. This guide breaks down every step so you won’t waste hours wandering around empty corridors.
Make sure you read notes thoroughly and check every bookshelf before moving between areas, as backtracking later can slow down your completion.
Chapter I: Reach the Train Station
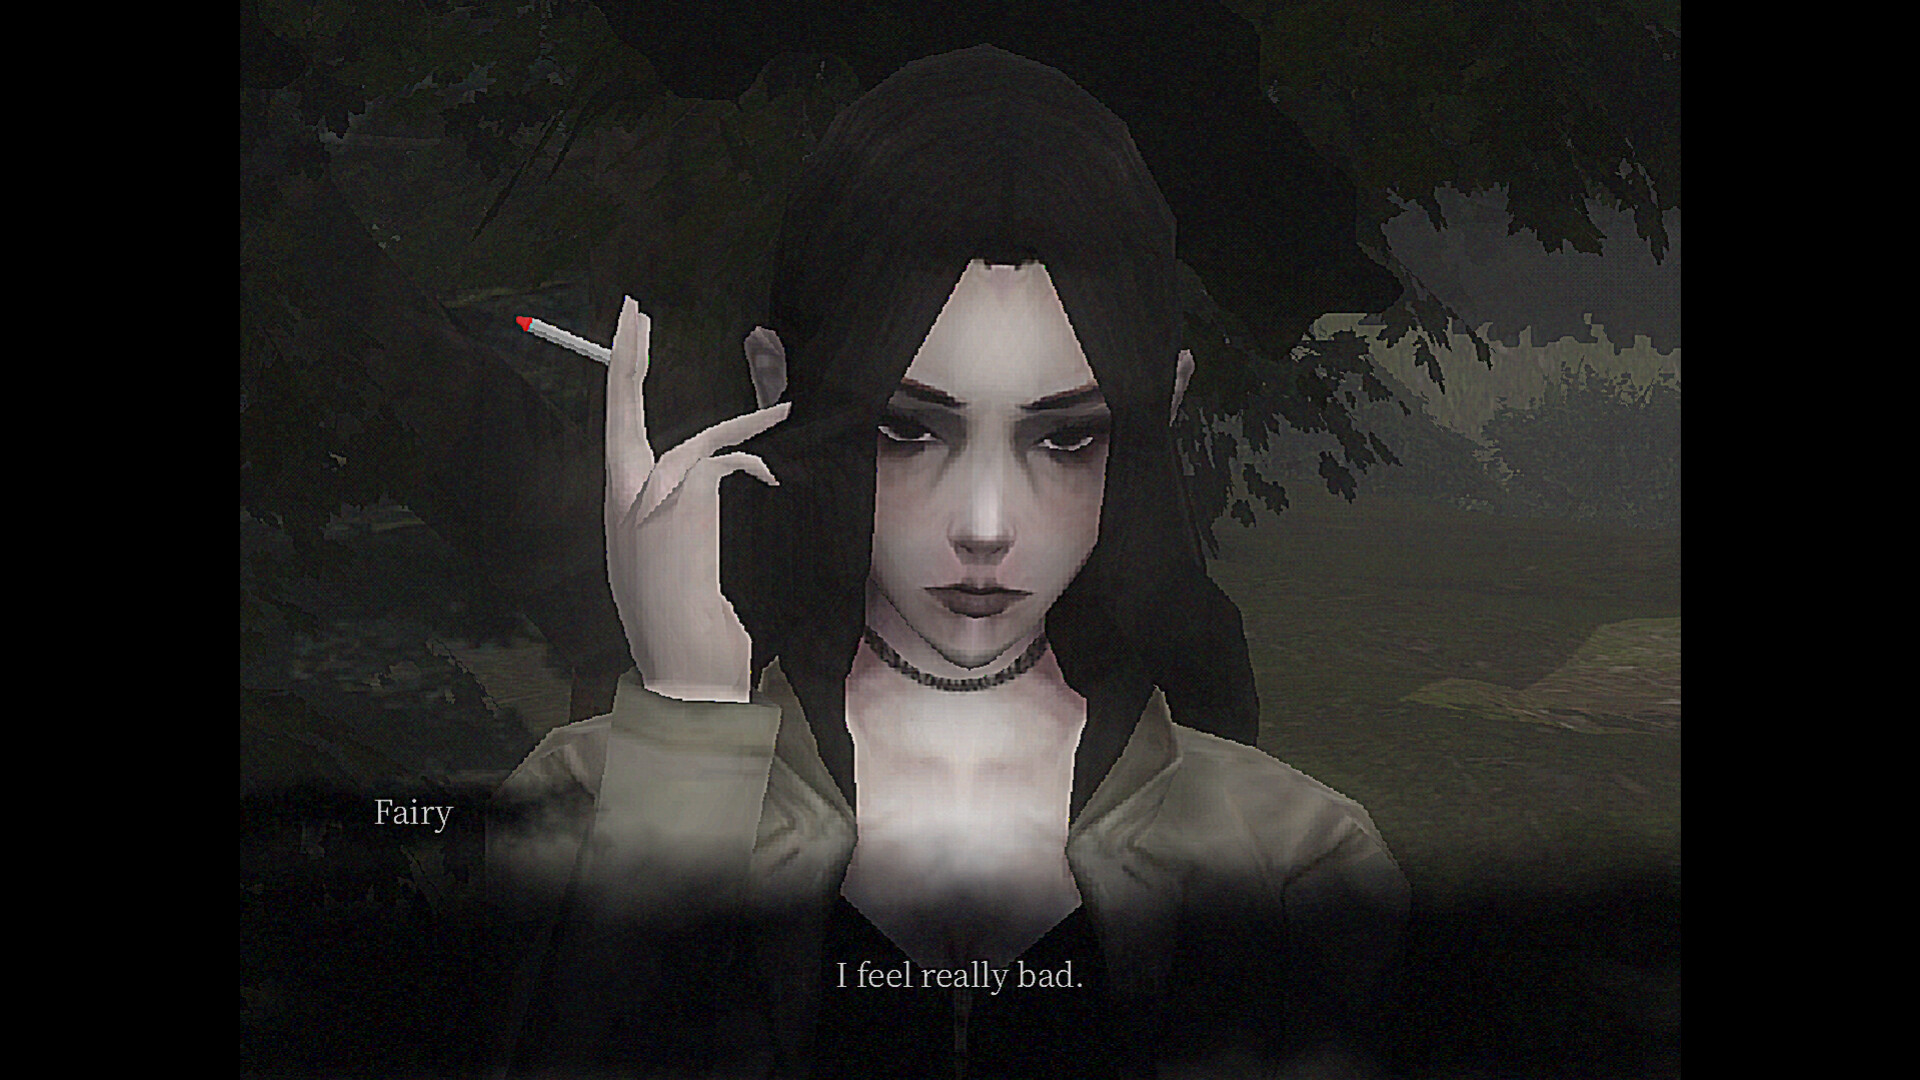
Church
Start by exploring the church and collecting the five organ keys. You also need to find the sheet music titled Feather and Crow.
- Check the bookshelf to the left of the church for the note Unaddressed Letter.
- Interact with the organ and decode the sheet music.
- Play the following notes in order: 2, 2, 1, 5, 2, 4, 3.
- Collect the key inside the fountain.
Leave the church to unlock the Enter the Void achievement.
Outside, answer the ringing phone beneath a tree. Continue down the path until a crow speaks to you, then keep walking to find an old man fishing. Talk to him before moving on.
Apartments
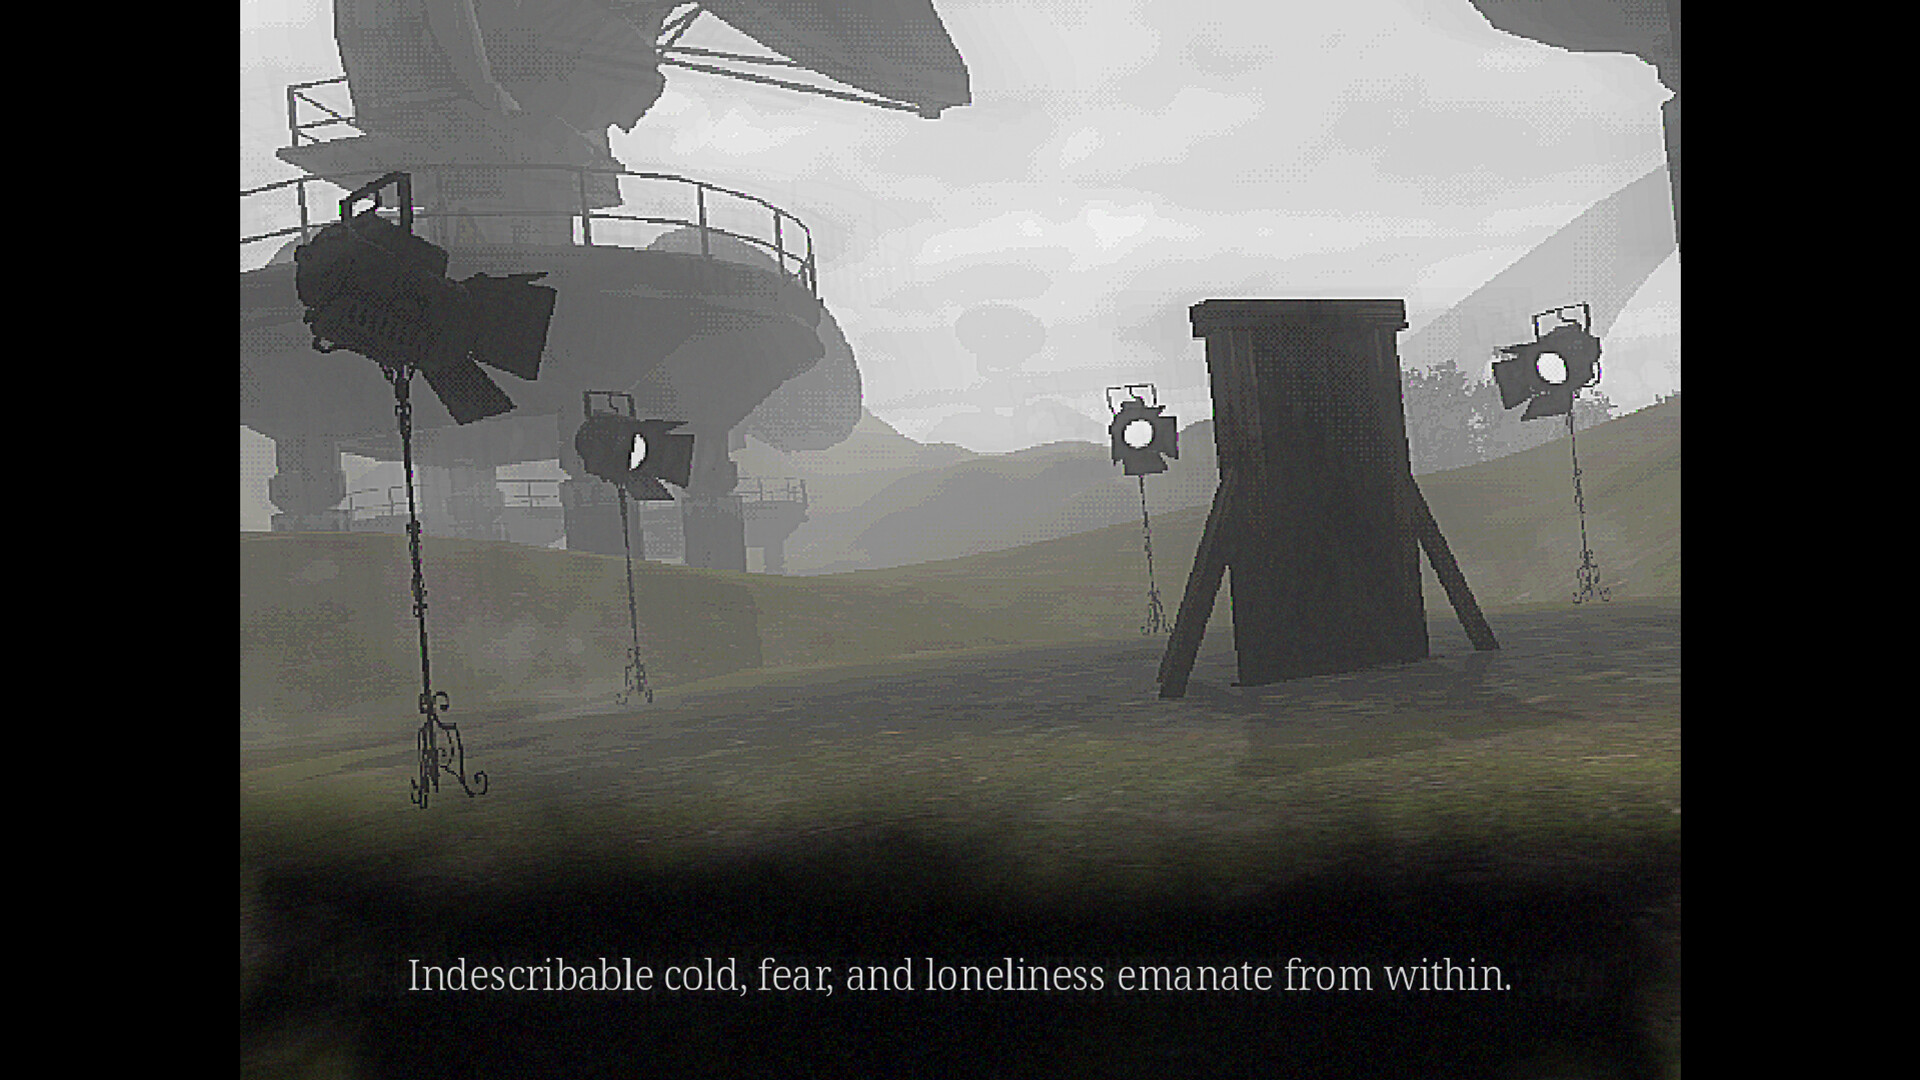
Repair the apartment system to get a TV remote.
- Go behind the apartment building and collect Repair Instructions.
- Enter the building and read the Note to Tenants on the first floor.
- Go upstairs to the floor where you are asked to find the TV remote.
- Use the repair instructions to solve the system puzzle.
Enter the following sequence:
Lower G1, M2, F1, F2, and F4, then turn the blue valve.
Pick up the broken-off red valve. You will need it in the forest area behind the apartments.
Forest
Find the girl lying on the ground in the forest. She asks you to recover three belongings:
- Her shoe
- Her bag
- Her cigarettes
Collect all three items and return them to her. Talk to her until she leaves.
Before leaving the forest, collect the first lost feather. From the forest entrance, go right toward the locked gate, then turn left and follow the small path to find Feather 1/5.
Achievement: Vestiges — 1/5
Swamp
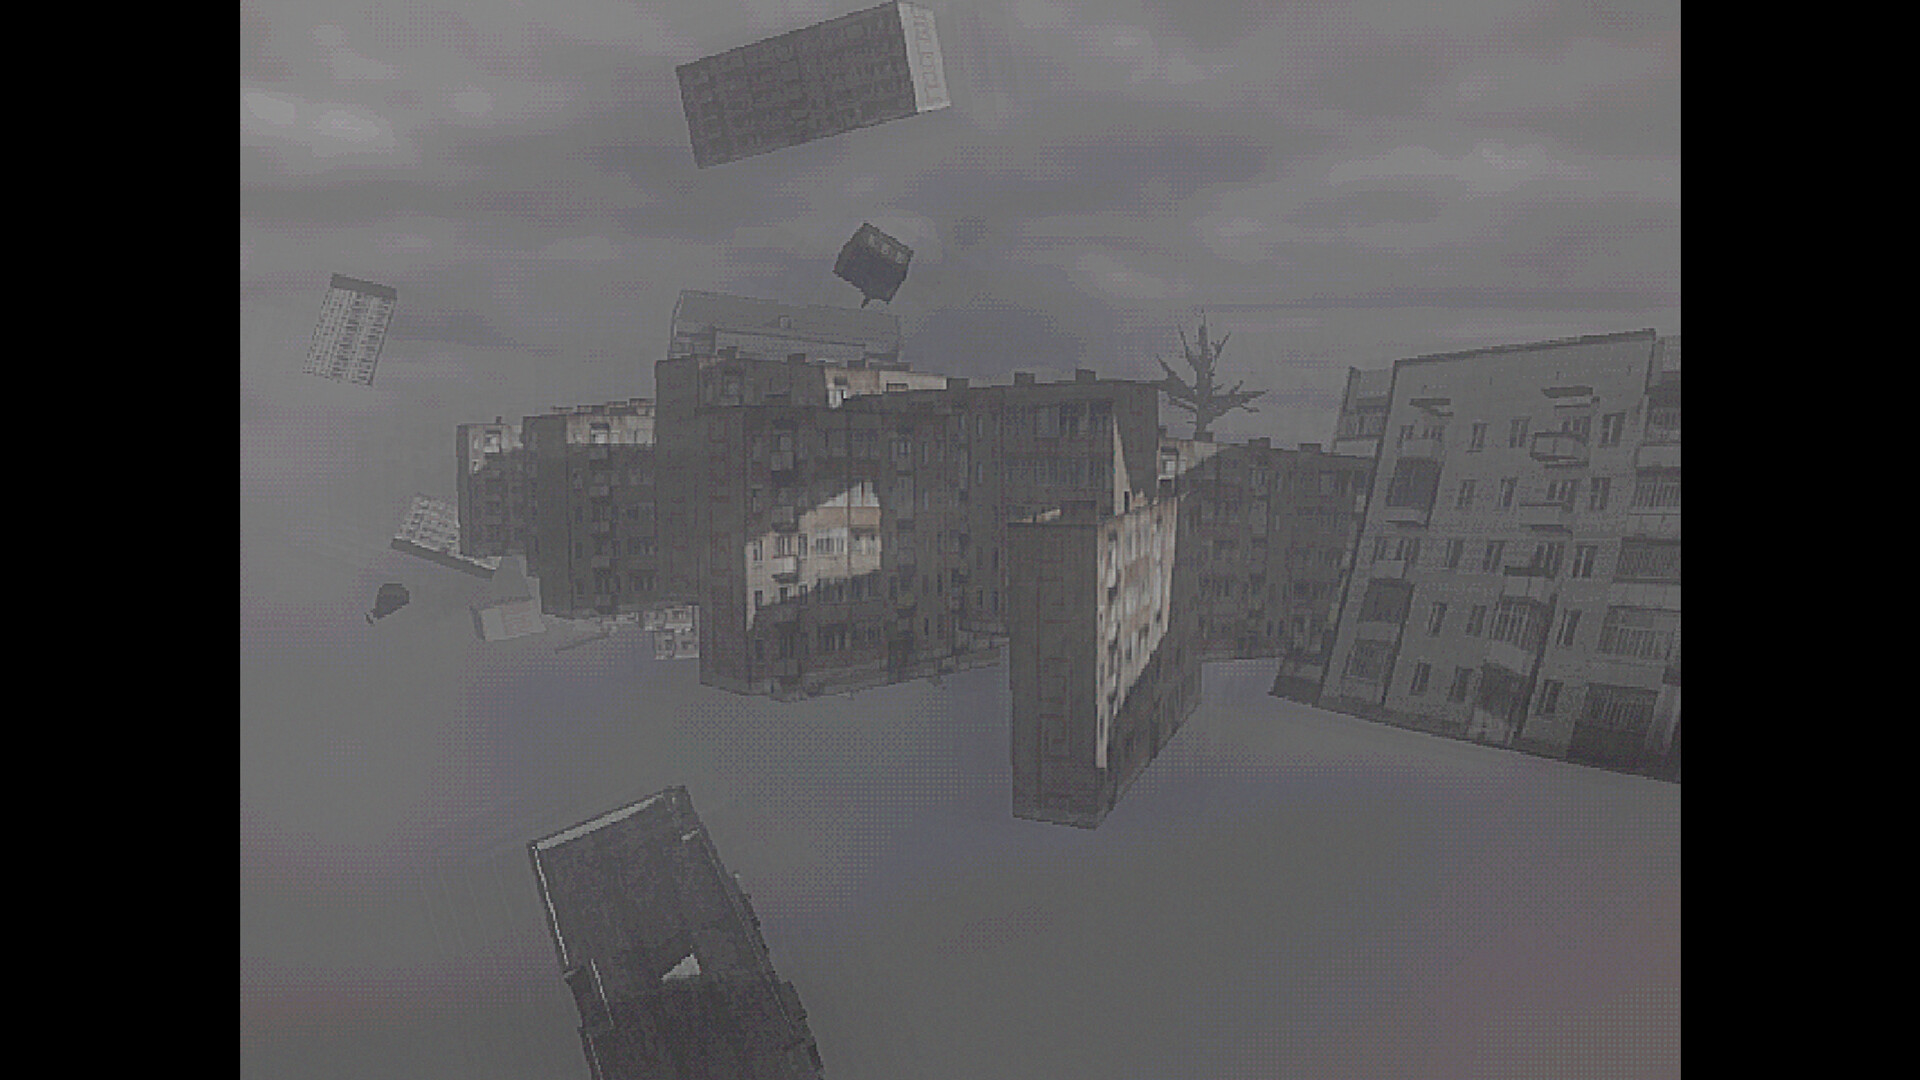
Use the broken red valve on the swamp hydraulic system. This drains the flooded area and opens the route ahead.
Achievement: Dry Ground
Complete the parkour section. Halfway through, look for a small area with trees and talk to Child. Continue jumping across the platforms until you reach the swings, where you will find the TV remote.
Go beyond the swings and finish the next parkour section. At the end, collect Feather 2/5.
Achievement: Vestiges — 2/5
Bar
Talk to Fairy beneath the tree outside the bar, then enter the building.
Achievement: Frequent Visitor
Inside, speak to the man who asks you to prepare a cocktail. You need four ingredients: absinthe, vodka, grape distillate, and herbal tincture.
Go upstairs and speak to Fairy. She will give you the final ingredient after you win a card game against her. Read The Fool’s Game on the bookshelf behind her to learn the rules.
After winning, collect the flower. Then check the bookshelf on the first floor for instructions on making Petal Poison.
Use the cocktail shaker behind the bar and add the ingredients in this exact order:
- Chamomile
- Absinthe
- Vodka
- Grape distillate
- Chamomile
- Herbal tincture
Give the completed cocktail to the man. He will leave and open the train station.
Apartments: Fix the TV
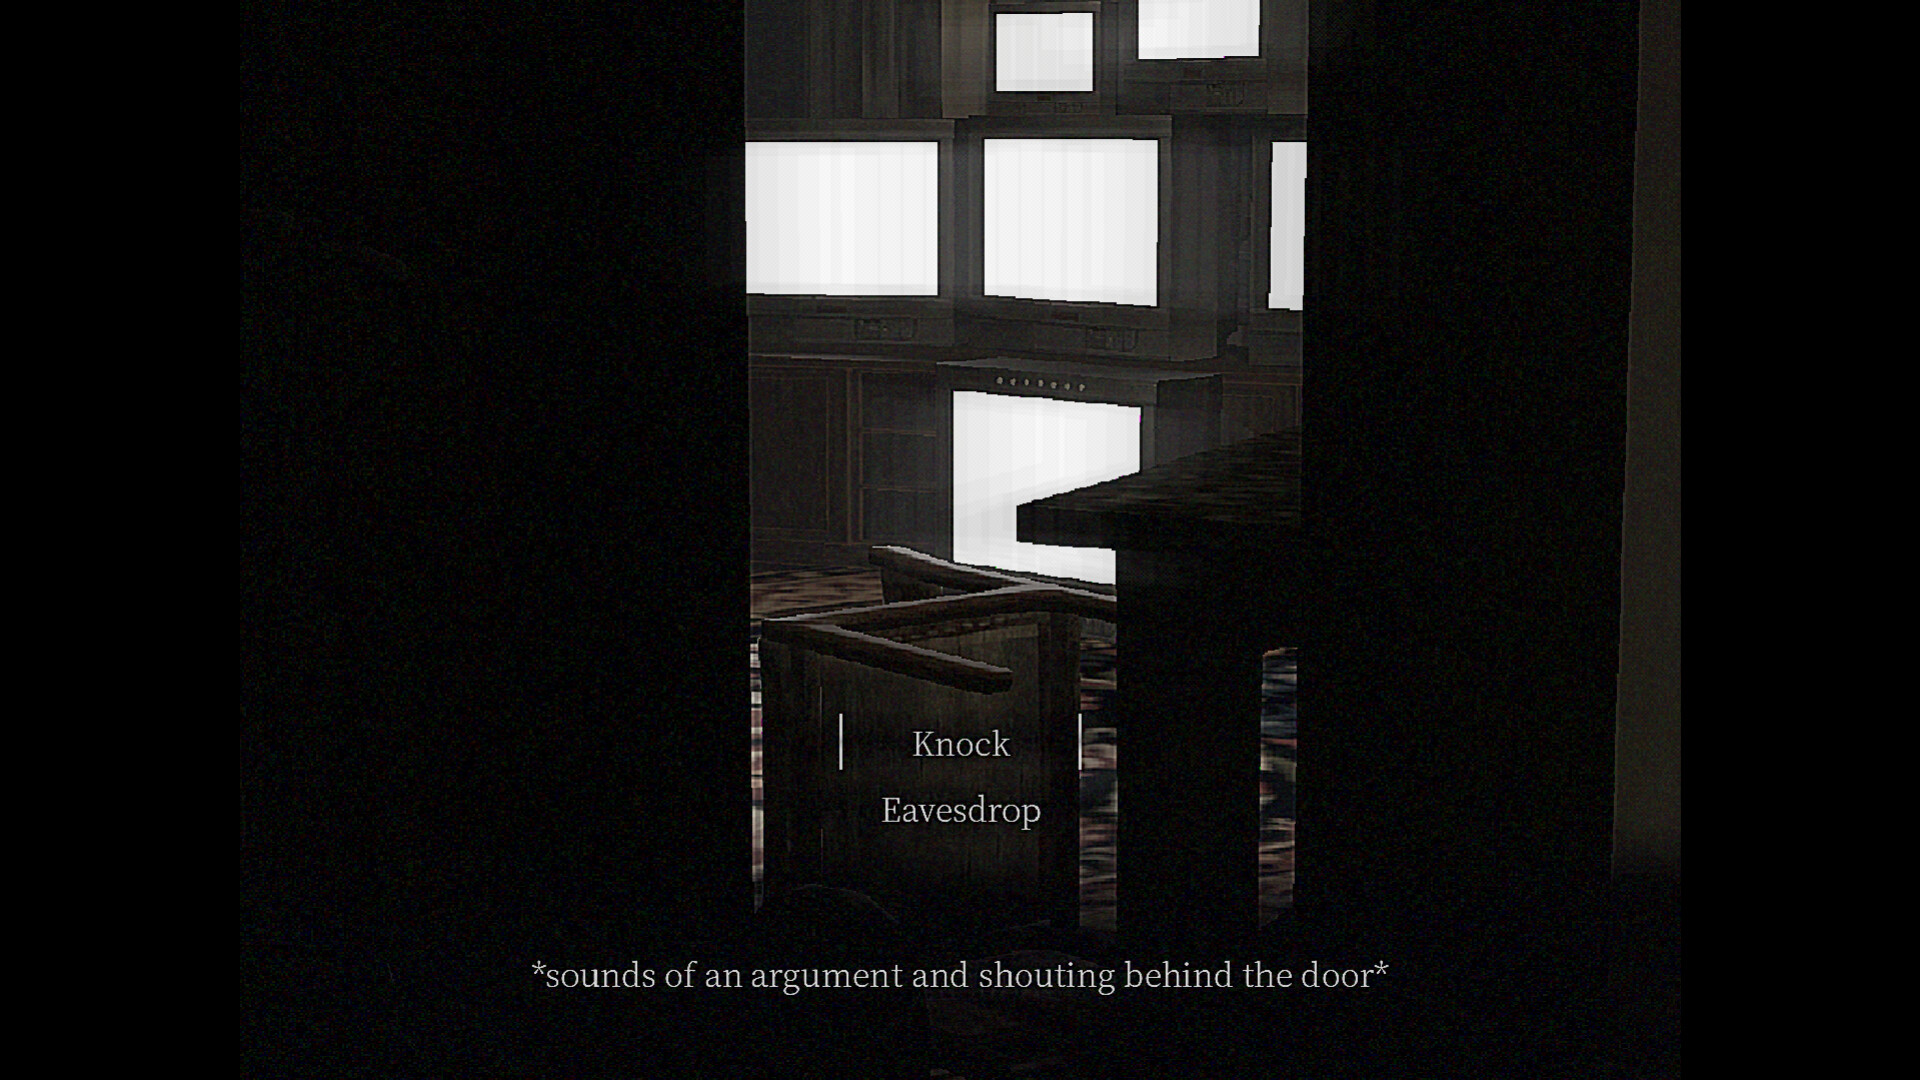
Return to the apartments and go to the second floor. Enter the newly opened room and speak to the couple. They will offer you a train ticket if you repair their TV.
Go to their room on the third floor and interact with the television puzzle.
Click the syringe in front of the black figure:
- Lower figure: 3
- Middle figure: 2
- Upper figure: 1
Once you solve the puzzle, enter the newly opened bedroom and pick up the train ticket near the bed. Read A Children’s Tale on the bookshelf before leaving.
Train Station
At the station, turn right and read Leaflet on the bookshelf.
You need to collect three batteries. Insert them into the mechanism on the outer right wall of the small structure.
Next, talk to the mechanic and interact with the radio receiver. Decode the signal to discover the train starting mechanism sequence.
Use these color assignments:
| Detail | Info |
|---|---|
| 1 | White |
| 2 | Yellow |
| 3 | Red |
| 4 | Blue |
| 5 | Green |
| 6 | Pink |
Complete the mechanism to move to the next chapter.
Chapter II: Explore the Dream
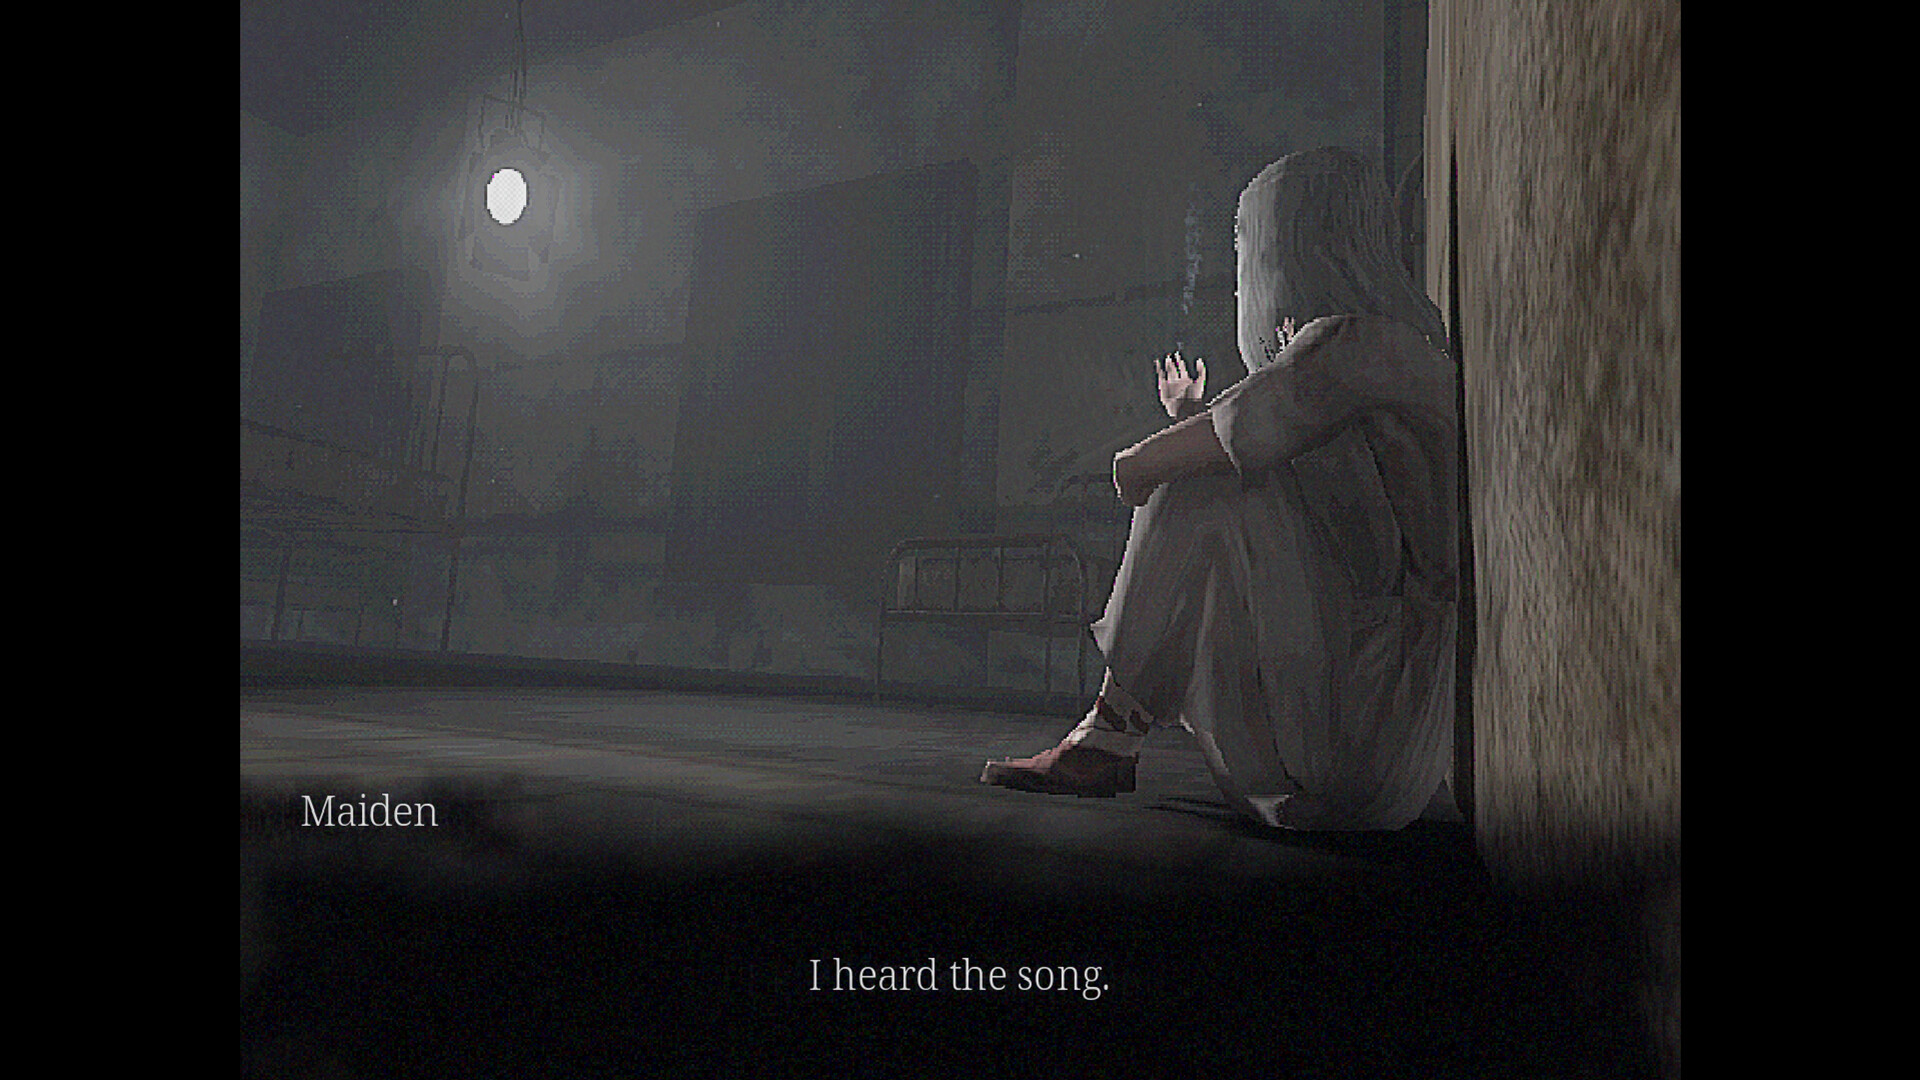
After reaching the dream, you will unlock the Invisible Castle achievement.
Explore the rooftops around your starting location. Jump from one rooftop to another until you reach the farthest rooftop, where you will find a bench holding Feather 3/5.
Achievement: Vestiges — 3/5
Find the Disk and Saw
You need two items for the ending C achievement route: a disk and a saw.
Disk location
Return to the area near the first rooftop you used to reach the third feather. Find the building with ledges leading upward and climb to its roof.
Jump between rooftops until you reach the building with an antenna. Look for a bench beneath the antenna to collect the disk.
Saw location
Look across from the antenna, to the left of the castle. Move between the buildings until you find a small house with a saw near its entrance. Pick it up.
From the house containing the saw, look for a narrow path between the surrounding buildings. Follow it to collect Feather 4/5.
Achievement: Vestiges — 4/5
Castle: Solve the Reverse Puzzle
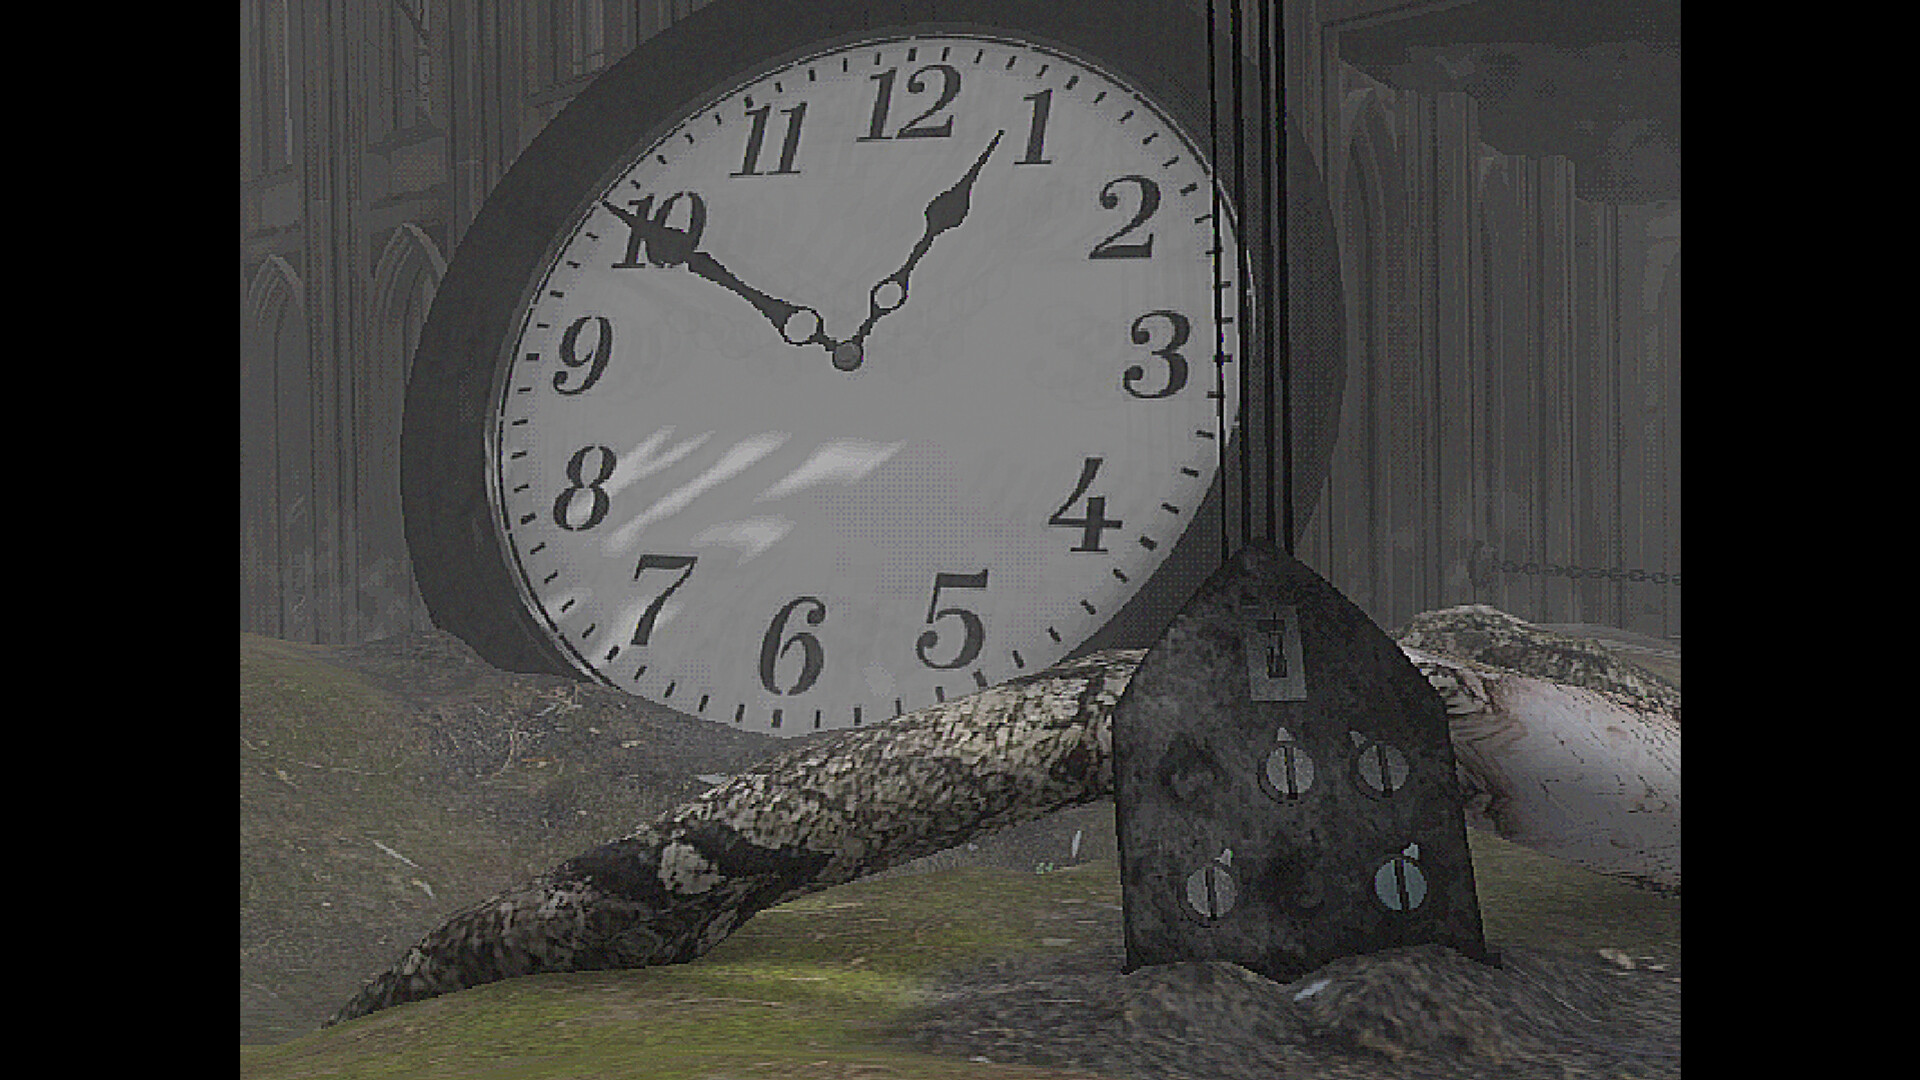
Enter the castle and make your way toward the courtyard. Find the book on a bench and read Specialist Contact to obtain a phone number.
Talk to the girl sitting on the opposite bench. She explains that the castle operates in reverse, which is the key to solving its puzzles.
Continue toward the back of the castle and speak to Child. While exploring the paths, look for a phone and enter the number from the book in reverse.
Phone code: 51-97-427
Collect the lever from the vault and return to the castle entrance. To the right, you will find a TV and radio. Interact with them to reveal a pattern, remembering that the castle mechanisms work backward.
Find the corresponding TVs inside the castle and operate the levers beneath them according to this sequence:
| Detail | Info |
|---|---|
| Birth | 2 |
| Bloom | 1 |
| Death | 3 |
| Decay | 3 |
If the sequence is correct, a key will drop into an empty cage somewhere inside the castle. Collect it.
Look behind the Birth TV screen for a hidden path. Follow it to collect the final feather.
Achievement: Vestiges — 5/5
Use the key on the lock near the courtyard entrance. Climb the stairs that appear and speak to the Maiden sitting beneath a tree.
Your answer will determine which ending you will get.
- “I’m ready to move on” — Ending A
- “I want to find the answers” — Endings B and C
Choose the second option if you want to complete the memory quests and unlock all three endings in one playthrough, using your save to return for the alternate ending.
Chapter III: Ending A — I’m Ready to Move On
Choose “I’m ready to move on” when speaking to Maiden.
Achievement: Never Forever
Depart for the Beautiful Faraway.
Solve the Clock Puzzles
Pull the lever across from Maiden and board the boat. Once you arrive, explore the building and collect the items needed to unlock the final door.
- Go toward the back of the building and slightly left to find a bed with a knob on it. Pick up the knob.
- Cross the bridge on the left side of the entrance and collect the white key.
- Enter the black door and interact with the valve near the middle of the clocks to reveal the target time.
- Use the control panel small screen as your reference and adjust the large clock to match it.
The following solutions number the knobs from left to right. The second number indicates the direction setting for each knob.
First clock solution: 1-3, 2-1, 3-1, 4-1
After matching the clock, go upstairs and take the black key hanging from the tree.
Turn On All the TVs
Find the TVs and lights in the middle of the building. Use the directional valves on the sides to rotate the lights. Each light must face the TVs to switch them on.
Once every TV is illuminated, the balcony door will open. Go outside and read the note titled Darkness on the right. Collect another knob from the fountain on the left.
Second Clock Solution
Return through the black door and adjust the clock again.
Second clock solution: 1-3, 2-3, 3-3, 4-1, 5-2
Cross the bridge on the right and collect the gray key.
Final Clock Solution
Go outside and find the cage beneath the large tree. Use all the keys you have collected to open it and obtain the final knob.
Return through the black door and complete the final clock puzzle.
Third clock solution: 1-1, 2-1, 3-3, 4-3, 5-3, 6-3
Go through the large door that opens and speak to the feather to finish Ending A.
Achievement: Acceptance
Complete Ending A.
Chapter III: Endings B and C — I Want to Find the Answers
To access the other endings, return to the choice with Maiden and select “I want to find the answers.”
Achievement: What have I done…
Refuse to move on.
Board the boat. When you arrive, pick up the hospital key in front of you.
To the right, you will find a door secured with seven chains. Remember its location because you will return here for Ending C. Continue along the path and pass through the gate.
Swamp: Memory — Innocence
Return to the swamp parkour route and reach the end, where you previously found the second feather.
Insert the disk into the mechanism and pull the lever. Go back to the swings, use them, and speak to Child.
You will receive Memory — Innocence.
Achievement: Innocence
Help Child return home.
Apartments: Memory — Dependence
Return to the apartments and speak to the couple on the second floor. Give them the saw you collected in the dream.
This completes their quest and gives you the Memory — Dependence achievement.
Achievement: Severance
Split up the arguing couple.
Hospital: Find the Memories and Graveyard Key
Enter the hospital and speak to Maiden in the wheelchair. She asks you to find three levers.
Activate all three levers to open a parkour route in a room on the first floor of the right wing.
- Complete the newly accessible parkour and collect the pocket watch from one of the platforms.
- Continue to the end and enter the room containing beds. Pick up the lightbulb from the bed where it rests.
- Go to the spotlight on the second floor and insert the lightbulb.
- Adjust the lights until they are all switched on at the same time.
The light puzzle solution is 2, 1, 2, 5. If it does not work, use the light positions and the puzzle visual clues.
After solving the light puzzle, read all five books. Their shadows on the wall reveal the order needed for another puzzle, so note the height of each shadow.
Enter the newly opened door on the second floor. In the void, choose these doors in order:
- The third door.
- The far-right hanging door.
- The far-back-right door.
Collect the graveyard key from the bathtub. Speak to Maiden again, then leave the hospital.
Bar: Memory — Regret
Return to the bar and challenge Fairy to a best-of-three card game. Use the pocket watch as the wager.
Winning the game earns Memory — Regret.
Achievement: Empathy
Earn Fairy trust.
House: Solve the Shadow Puzzle
Find the first house near the entrance gate. Inside, you will see symbols matching the five books from the hospital, with a lever beneath each symbol.
Use the shadow heights you recorded earlier. Lower the levers in order from the shortest book shadow to the tallest.
Solution: 4, 2, 1, 5, 6
Lower the levers in the order 1 through 5, following the shadow ranking rather than the left-to-right symbol arrangement.
When the door opens, enter the room and collect the fishing rod. Also pick up the syringe from the bed.
Take the fishing rod to the old man beside the lake in front of the train station. Give it to him to receive Memory — Longing.
Achievement: Oblivion
Recover the old man last belonging.
Train Station: Memory — Helplessness
Talk to the mechanic at the train station and take the knife.
Return to the hospital and throw both the knife and the syringe into the trash. Go back to the mechanic to receive Memory — Helplessness.
Achievement: Despair
Get rid of the mechanic burden.
Graveyard: Memory — Love
Take all the memories you have collected to the graveyard and put them to rest. Answer the phone afterward.
You must now find two pieces of a lullaby:
- One is behind the tree with the phone.
- The other is on the first floor of the hospital.
Once you have both pieces, return to the church and play the lullaby on the organ.
Organ solution: 3, 5, 3, 4, 2, 4, 1
Return to the hospital and enter the room on the left. Speak to Maiden to obtain Memory — Love.
Achievement: Farewell
Fulfill Maiden final plea.
Go back to the graveyard and place the final memory to finish the memory quest.
Achievement: Purifier
Lay all the memories to rest.
Ending B: Denial
Once you finish the memory quests, find the wooden coffin and lie down inside it. Close your eyes to complete Ending B.
Achievement: Denial
Complete Ending B.
Ending C: Desolation
To reach Ending C, choose to keep your save when prompted after the ending. Reload your save and return to the field of antennas.
Find the door secured by seven chains that you passed earlier. Enter it and continue forward until the next cutscene plays.
Achievement: Desolation
Complete Ending C.