
In Chapter Three of Terrible Lizards, players tackle a series of intricate puzzles and nail-biting chase sequences. The gameplay feels intense and rewarding, especially when navigating the vast caverns while avoiding that relentless dinosaur. Make sure to grab some goo and dynamite early on, as they’re crucial for progressing through the chapter.
You’ll explore areas like The Caverns, The Tunnels, and The Mining Site while solving puzzles and evading threats. One mistake many make is racing through the goo sections without timing their jumps, which can lead to missed platforms. Staying calm and planning your jumps is essential.
Before diving in, check your inventory for key items and be ready to tackle both climbing and platforming challenges. Keep your flashlight handy too; it’ll help spot goo and other key paths in the dimly lit caverns.
- The Caverns
- The Tunnels and Rails
- The Mining Site
- The Chase
- Finding The Lift
- The Fusebox
- The Minecart
The Caverns
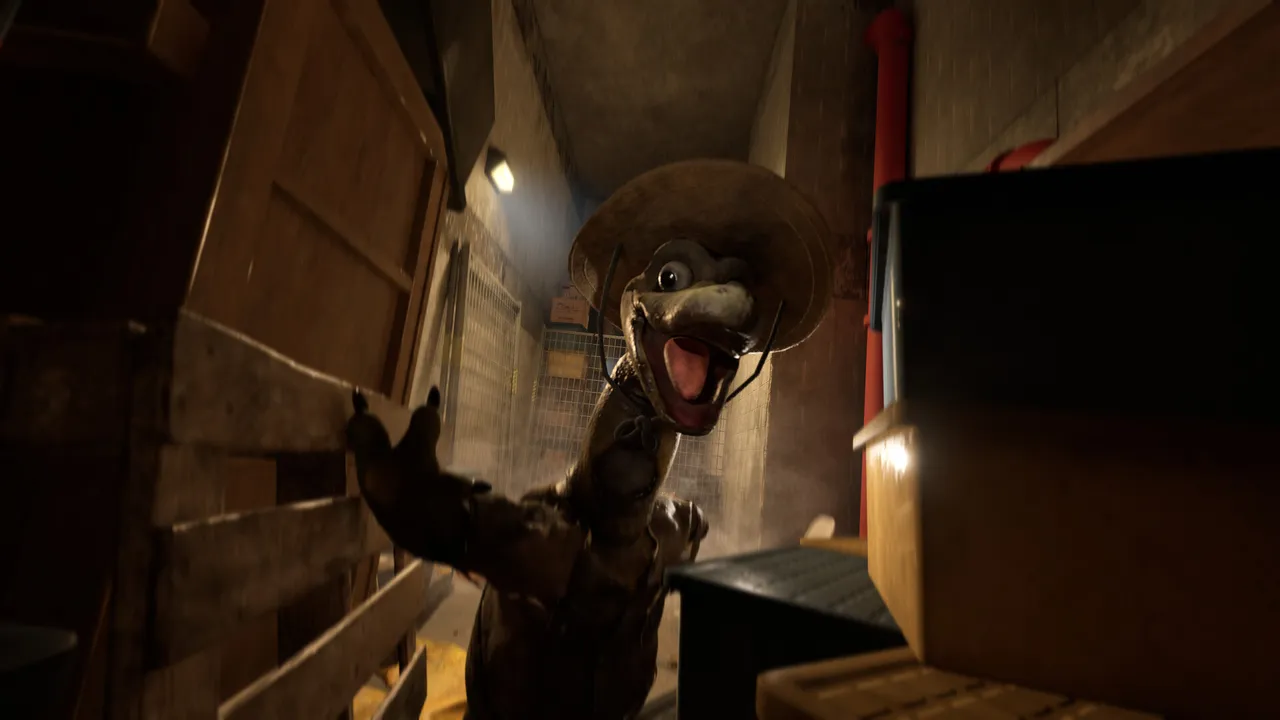
Progress straight ahead and slip behind the wooden barriers at the end to trigger a cutscene. Once it wraps up, exit the room and veer to the right.
Grab hold of the platform on your right to slide it across. After that, jump up the building and use the wall to leap onto the platform in front of you. Jumping on this platform will bring it down.
Now, reposition the wall you just moved back to its original spot. Climb the crates ahead and ascend using the walls to reach the ledges that take you across.
Follow the linear path until you hit the next puzzle area. You’ll need to do a bit of platforming on the way. Head right first to access the main terminal that lets you drop some goo.
This goo acts as a platform for higher jumps and getting across gaps. Time your jumps effectively because it’s going to launch you, and you’ll need to utilize it frequently from here on out.
Descend the ladder and continue until you spot more goo. Use the rocks to climb and jump onto the goo for extra height. Keep scaling upwards, and when you reach the final jump at the top, turn back and leap onto the same goo to advance.
Cross the pipe and press the red button on the other side to unlock an auxiliary door. Quickly dash through to avoid getting caught as it closes, and make good use of the goo in this platforming section.
The Tunnels and Rails
Keep heading straight along the path, employing goo for your jumps. Press the red button at the end to reveal more goo between carts for safe crossing. Finally, jump into the ditch on the other side to land safely on the goo.
Keep following the path until you find another puzzle area. Hang onto the ledge behind the rail carts to move the platform left. Activate the rail carts using the terminal to reveal more goo, then jump on it to progress.
Continue deeper into the tunnels, using goo for significant descents. Keep your flashlight on; scout for goo before carelessly dropping. After picking up the tape on your path, crawl through the narrow passage at the end.
Hit the button at the end of the path to open yet another auxiliary door. Make a beeline for it using the ledges to platform your way through before it slams shut.
The Mining Site
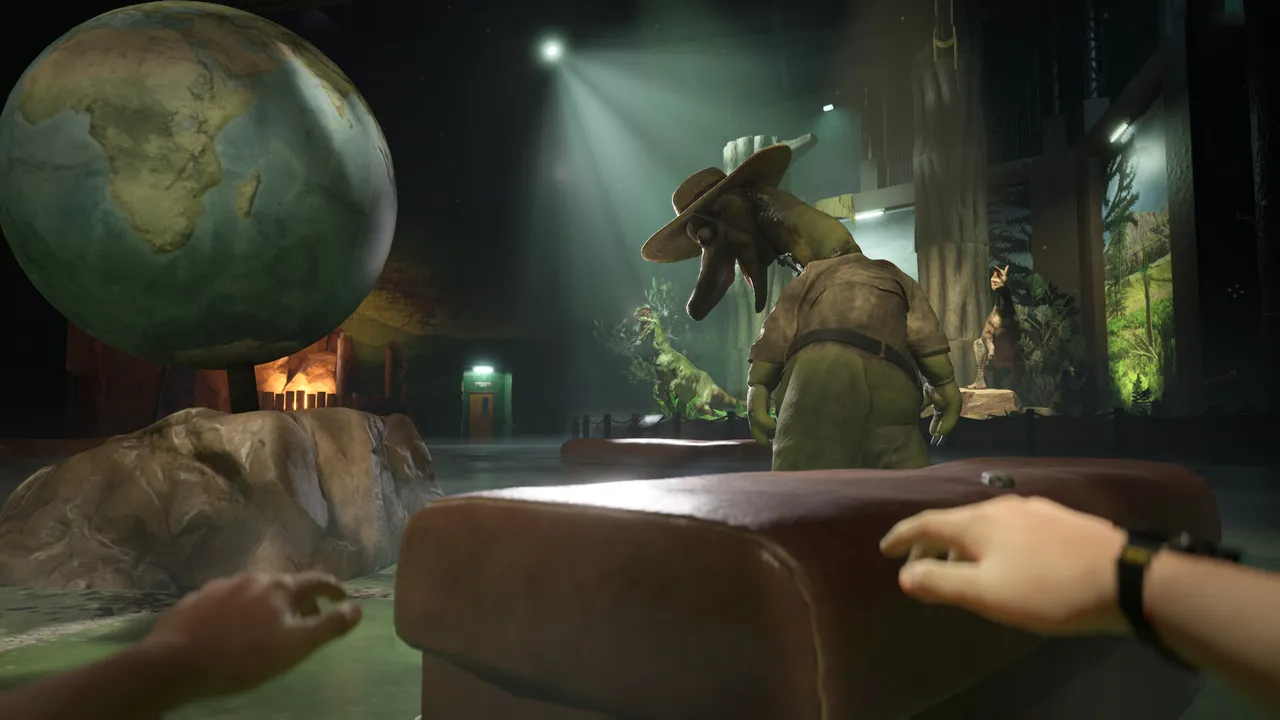
Now onto the next big section of Chapter Three. Start by restoring power; head right to the wooden cabin. Climb to the balcony and use the ledge here to access the goo, which will lift you higher.
This leads you to the switch that restores power to the cabin, also known as the foreman tower. Use the terminal to unlock the dynamite locker. Exit the cabin, head right, and grab the dynamite from the locker.
Place the dynamite on the large metal door at the mining site that you can spot from afar. After placing it, turn back and move straight ahead to find the ignition switch on your left.
Follow the linear path past the blasted door to discover a generator you need to activate. Once powered on, retrace your steps.
Upon exiting the blasted door, head straight and slightly to the right. Climb up the platform and press the switch on the terminal. This shifts the carts ahead and reveals goo to aid in your journey.
Utilize the goo and crates to continue ascending until you reach the top. First, hang from the crate here, then make a significant leap down to your left, landing on goo that takes you to your next destination. Keep tapping into goo for platforming in this area.
The Chase
You’ll soon get spotted by a new dinosaur, much quicker than the Bronto, leading into a chase sequence where speed is critical.
Keep running straight, slide under ridges, and quickly duck into the narrow space at the end. After a fall, get under the ridge and wait for the dinosaur to pass.
Once it leaves, head right, and turn left at the end to find another narrow space to hide in. After the monster moves away, exit and go left under the gap, where you’ll find another safe spot on your right.
Once the dino leaves, stick to the right and keep moving. After you fall, head left to find another narrow hole on your left for safety. Follow the camp sign when you see it.
Wait for the dinosaur to leave before moving left again until you reach your next hideout. Continue left, crawling beneath gaps, and slide under the hole at the end to escape this section.
In the next area, you’re on the run once more to avoid the dinosaur. Sprint through this platforming segment, sliding across the river and jumping over goo platforms.
Finding The Lift
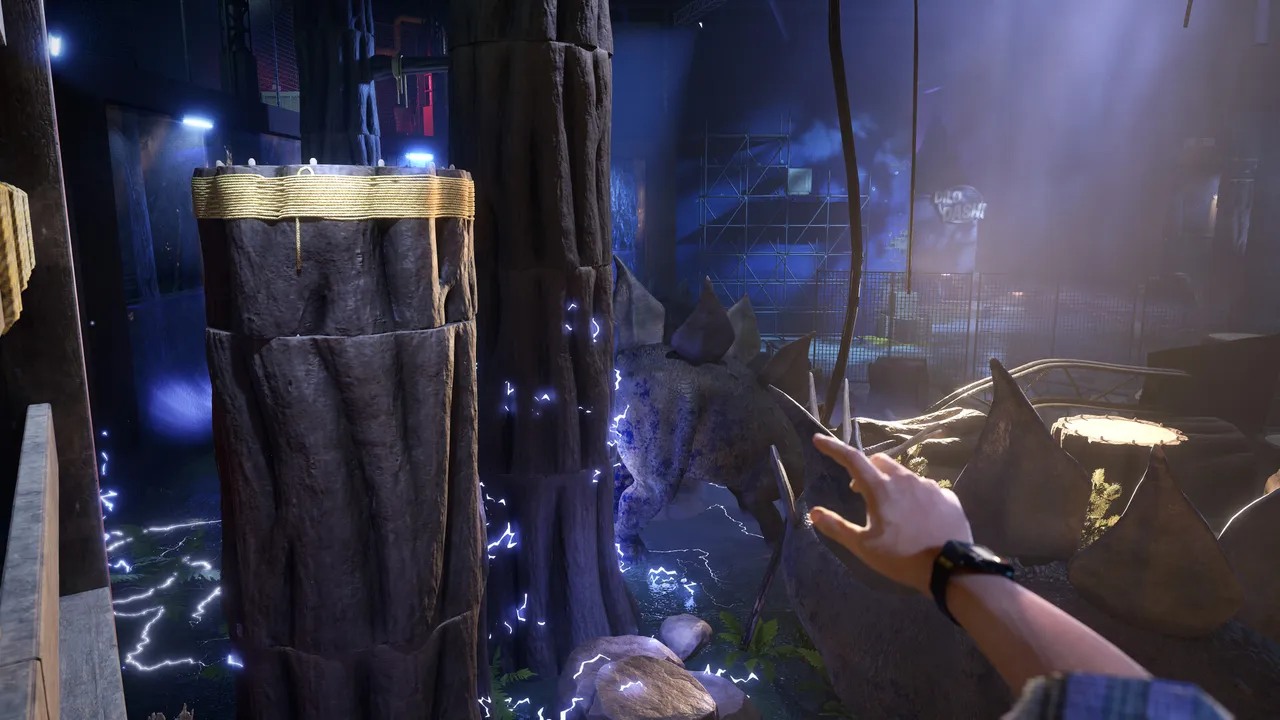
Resume on the linear path post-chase. Here, the wall-running mechanic is introduced; simply run and jump on goo-covered walls to cross over.
Mix wall climbing with goo jumps to track down another tape. Utilize wall-run techniques across the rail carts covered in goo.
After the tape, continue ahead and press the red button at the end to unlock another auxiliary door. You’ll need to wall-run swiftly across.
Be prepared for another chase sequence when you cross. Speed across until you safely fall down. From the bottom, head right to find a ladder leading to the next area.
Continue straight and turn left at the end to find a key inside a building. Exit, head right to unlock the door, fix the fuse box, and collect dynamite.
Place the dynamite on the metal door outside, then return to the fuse box. Climb the crates behind it, using the lever to reach the ignition box. Detonate the dynamite and proceed through the opening.
Activate the generator at the end of your path. Jump down and head straight for the life, ascending to the next level. Perform wall-runs at the top and hang on the platform to lower it.
Head right to wall-run again from the bottom to the second platform. Look right to spot more goo and jump to continue. Hang from the ledge on the opposite side to shift the goo wall.
Run across the wall to navigate the gap and keep wall-running. Find a terminal at the end; press the button to make a platform rise. As soon as you do, jump up onto it.
Continue to ascend to find another terminal at the end. Press the button, then jump onto the platform behind it as it starts to lift.
The Fusebox
Once at the top, the dinosaur will begin hunting you down again. Maintain your speed and run in the opposite direction, maneuvering through more platforms as you gradually descend until you spot another tape.
After the tape, follow the blood trail through the narrow passage at the end. Continue down the path to reach a fuse box requiring you to swap all four fuses.
The first fuse is located through the left door of the box; here, you can also switch on the generator. Returning back, the dinosaur will likely follow, so seek safe spots while gathering the remaining fuses.
Safe areas can include hollows in the cavern’s walls, or containers and buildings. For the second fuse, head right and use wall running to climb. Keep platforming until you drop down onto a building.
Use the ledges on your right to scale higher. Once atop, look back to make a jump for the key inside the locker. Head right while platforming until you reach the second fuse.
Next, head left, drop down and run towards the left again. Keep advancing left to locate a terminal. From here, move left again and crawl through the gap on your right at the end.
Unlock the red container using the key previously acquired to find a fuse on a table inside. Navigate around the area to find and replace the last fuse at the fuse box. Head to the second path on your right and go through the platforming section to retrieve your last fuse.
Jump over the gap while heading back and proceed right to reach the fuse box. Replace the fuses and operate the terminal here; then run towards the path directly behind it. Clear more platforming sections on the other side.
The Minecart
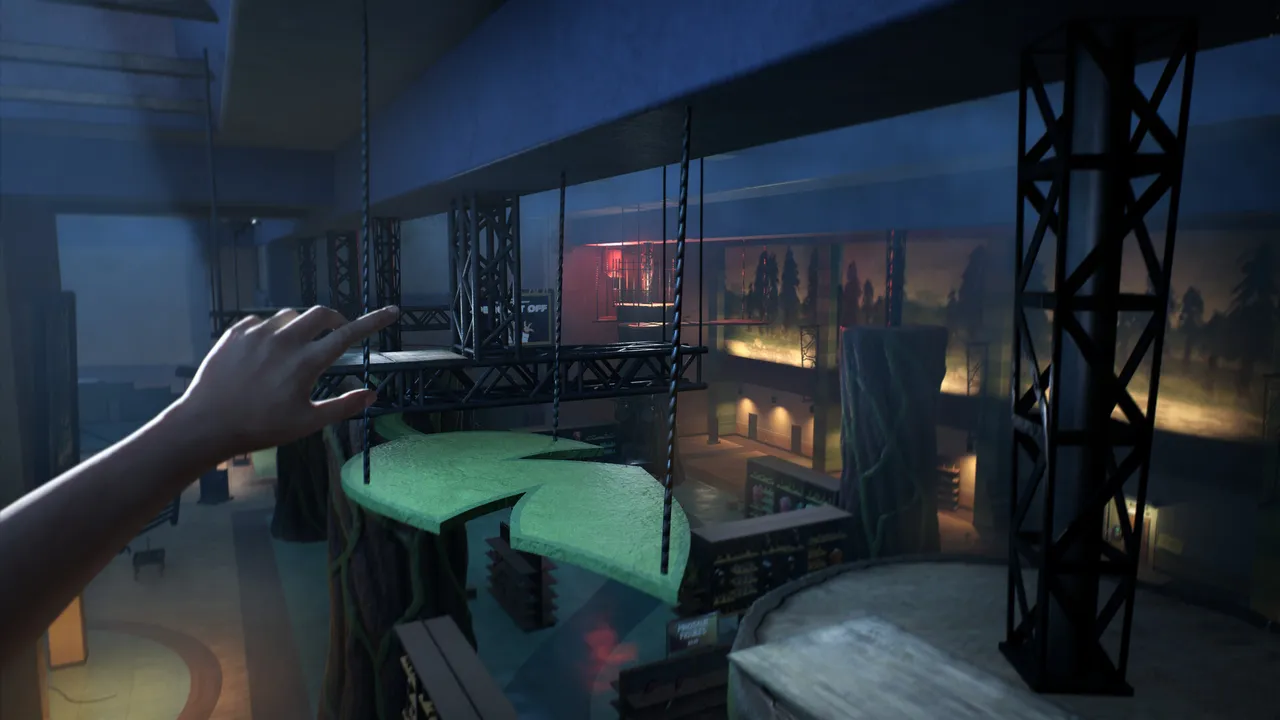
Upon arriving at the container yard, head right, climb the structure, and speak with Stella. Continue scaling upwards until reaching the top, following the linear path until falling rocks block your way.
You’ll find a fuse on your left that needs placement inside the box on your right. There’s another fuse nearby that you’ll need as well.
After moving the ledges, use the ladder to ascend. Jump across the blockage using the ledges you adjusted with the fuse boxes. Head inside the container and use the terminal to release a rail cart, clearing your way forward.
The dinosaur returns to chase you one last time in this chapter. Keep running away while mastering the platforming, using goo walls and goo platforms to evade. A small cutscene will play at the end, signaling the close of this level.
This concludes our walkthrough of Chapter Three in Terrible Lizards, guiding you through extensive caverns and the embedded puzzles.
Be sure to check out walkthroughs for other games below: