
Glimmer’s quest leads him to the vibrant Autumn Forest, where you’ll find another Golden Feather and rescue Looter to progress. This area can trip you up with its puzzles and combat, but I’ve got tips to help you breeze through.
As you journey through the forest, keep an eye out for tricky platforming sections and combat encounters. Trust me, those quick reflexes will come in handy, especially when dodging the Forest King’s tricky attacks!
Before diving into the details, make sure to check your gear and save your progress at nearby Save Tents. It’s always better to prepare first rather than waste resources.
This article is part of our Well Dweller Walkthrough Hub.
For more information about the game, check out its official website here.
- Unlocking the Gate to Autumn Forest
- Reaching the Awakening Festival
- Opening the Path to the Festival
- How to Beat the Forest King
- Looter Quest Walkthrough
- Where to Find Whisper
- Obtaining Looter’s Head – The Bog
- Obtaining Looter’s Torso – The Drains
- Obtaining Looter Arms – Desiccated Castle
- Obtaining Looter’s Legs – Gravenvalley
Unlocking the Gate to Autumn Forest involves activating two switches. Keep in mind the first one is conveniently located close to the Lookout Tower . Just fast travel to the Save Tent before entering the tower and head west—this should lead you there. Clear out any enemies you encounter on the way, as they can get in your path. Activating this first switch also rewards you with a Glass Shard Trinket . To find the second switch, navigate through the Hunter’s Cabin and climb up to the exit at the top using the Slingshot and Hover abilities.
| Detail | Info |
|---|---|
| Location | Autumn Forest |
| Required Actions | Activate two switches |
| Reward | Golden Feather |
From the Hunter’s Cabin, make your way to the eastern room and exit to reach another Save Tent. Then move left to encounter a platforming puzzle involving two moving cages. Hit the second cage with your Slingshot through a narrow gap while standing on the first cage to progress.
After you climb up to the upper section, keep heading left until you reach the second switch. Flip it to open the gate, then climb through the top exit to officially enter the Autumn Forest.
In the forest, head left and climb the nearby wall. Jump on the mushrooms to propel yourself upwards, then continue moving right. There’s a battle waiting, so be ready to deal with enemies.
Keep pushing through until you find Ilda, who shares information about the King’s Festival. Make sure to save your progress at the Save Tent near him.
Reaching the Awakening Festival takes some effort. After the Save Tent, head up above using the mushrooms on the wall to reach the exit.
Watch out for larger mushrooms that give you a boost when jumping. You’ll have to solve a stone ball puzzle to unlock the door to progress further.
| Detail | Info |
|---|---|
| Location | Awakening Festival |
| Puzzles | 3 stone ball puzzles |
| Key NPC | Ilda |
From here, take the exit at the top using Slingshot and Hover to reach the upper ledge.
From the next room, make your way to the eastern part and take the exit. This will bring you to a Save Tent.
Keep heading left. You’ll reach a platforming puzzle involving two moving cages. While standing on the first cage, you’ll have to hit your Slingshot at the second cage through a narrow gap.
Use it to climb up to the upper section and take the exit on the left. From the next room, you’ll be able to reach another exit at the top, all the way to the left.
Keep heading left until you reach the second switch. Activate it to open the gate. Once the gate is open, climb through the exit at the top to reach the Autumn Forest.
Go left and climb up the wall. Then jump onto the mushrooms to propel yourself to the upper section and take the exit at the top.
In the next room, head right and take out the enemy.
Jump across mushrooms to the right to cross to the other side of the spike pit and take the exit on the right.
There will be some more enemies to fight up ahead. Take them down and drop down to the bottom part of the room to find some people preparing for the King’s Festival. Take the exit on the right.
Keep moving forward until you find Ilda. He’ll tell you how everyone is gathering offerings for the King’s Festival.
He’ll invite you to come watch the Awakening. There’s a Save Tent just past Ilda.
Use it to save your progress.
Reaching the Awakening Festival
Head up just past the Save Tent. Use the mushrooms on the wall to reach the exit at the top.
Go left and then up until you reach the next room at the top. There will be some bigger mushrooms that give you a massive boost when you’re jumping.
You’ll have to solve a puzzle in the next room before you can progress. Hit the stone ball so that it hits both stone slabs. If done correctly, it will unlock the door on the right.
There will be a few more puzzles involving the same mechanics in this area.
Continue west and make your way across the obstacle section. Take the bottom exit once you make it to the other side.
This brings you to another puzzle room. For this one, you’ll have to hit the ball from the left so that it bounces off the stone slab on the floor.
Then, as it bounces up on the mushroom, you’ll have to hit it toward the stone slab on the left, as shown in the image above.
When it rebounds toward you, hit it from below to activate the stone slab at the top.
Continue through the left door once it unlocks and follow along the path until you reach a breakable floor. Break through the floor to reach the next room below you.
Drop down to the lower section to open a shortcut back to the Save Tent. This also opens the path to the west.
Keep heading west to spot Thistle and Thimble enjoying themselves at the festival.
Continue past them and take the exit at the top using the mushrooms above you.
Ride the Ferris Wheel to the top and take the exit above you.
You can open a shortcut on the top left. Then continue heading west to run into a combat encounter. Take down the enemies.
The next room has another puzzle involving the stone ball. You’ll have to be quick for this one.
Hit it from the right toward the angled mushroom. Then quickly jump on the middle mushroom on the floor and hit the stone ball as it’s coming down toward the large mushroom to direct it toward the stone slab.
Continue forward and talk to the vendor to get a hat to celebrate the festival.
From here, keep heading west until you reach the next Save Tent. The Awakening Festival is to the west, but the path ahead is blocked off.
Opening the Path to the Festival
Drop down to the path below, just past the Save Tent. Then continue past the obstacle to reach the room below you.
As you drop down, you’ll spot another blockade to the right. Continue along the path to the left.
This will lead you to another puzzle room. For this one, start by hitting the stone ball from the right, toward the mushroom on the left.
Then quickly jump up to the platform above you and strike it toward the mushroom on the wall to the left. Drop down and get in position to hit the ball toward the stone slab.
Go left into the next room and drop through the wooden floor to the room below you.
The next room is filled with enemies. Make your way to the bottom and take the exit on the right.
Keep moving west past the enemies and go up from the next room.
You’ll spot Ilda sitting by the fire roasting an acorn for the Forest King.
Go left and activate the switch to open a shortcut. Then go up as shown in the image above.
Go all the way to the top to reach the other side of the blockade near the Save Tent. Hit the switch to open the blockade. Save your progress and head west from here to face the Forest King.
Move across obstacles and drop down through the breakable floor to reveal shortcuts. Make sure to interact with everyone at the festival—you might pick up some helpful items. Continue on the path until you face more puzzles involving stone balls and enemies to defeat. Stay alert as you navigate through these challenges because speed is crucial here.
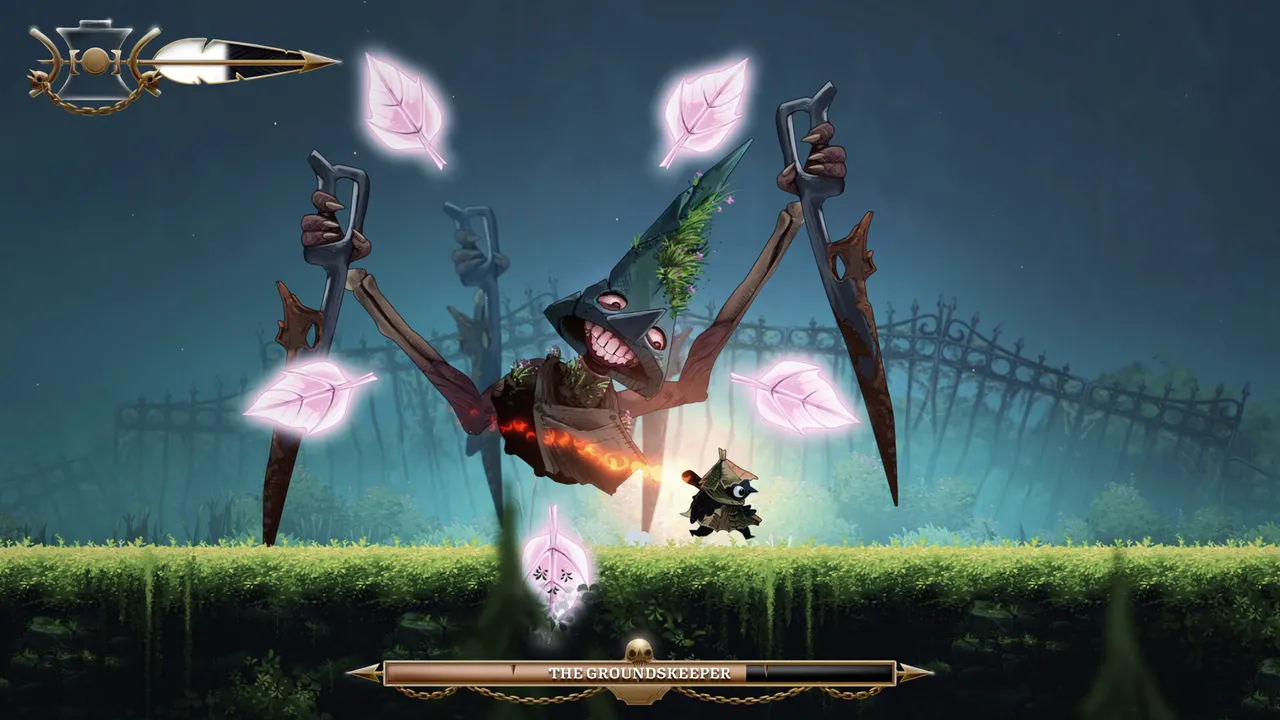
The Forest King is the main boss of Autumn Forest and guards one of the Golden Feathers you’ll need to enter the Queen’s Castle. The boss fight is all about positioning and precise movement.
The boss doesn’t hit you directly. Instead, he creates obstacles and hazards that you’ll have to navigate as you attack him.
The fight begins with the boss creating spikes on the stage. There are two mushrooms that you can use to jump and avoid the spikes, but you’ll also have to use Hover to navigate between the moving spiked beams.
| Detail | Info |
|---|---|
| Boss Name | Forest King |
| Attacks | Spikes, Leaves, Black Tears |
| Reward | Golden Feather |
The boss can cry black tears that will damage you. But since the spike goes away, you can slide around the stage to avoid getting hit by them.
For his final attack, the Forest King summons leaves that travel upward along the arena. You’ll have to climb the steel beam and use Hover to avoid getting hit by them.
After defeating the Forest King, head into the room on the right to find Ilda and collect the Golden Feather he guards. Let’s move on to the more complex task at hand—rescuing Looter!
Looter Quest Walkthrough
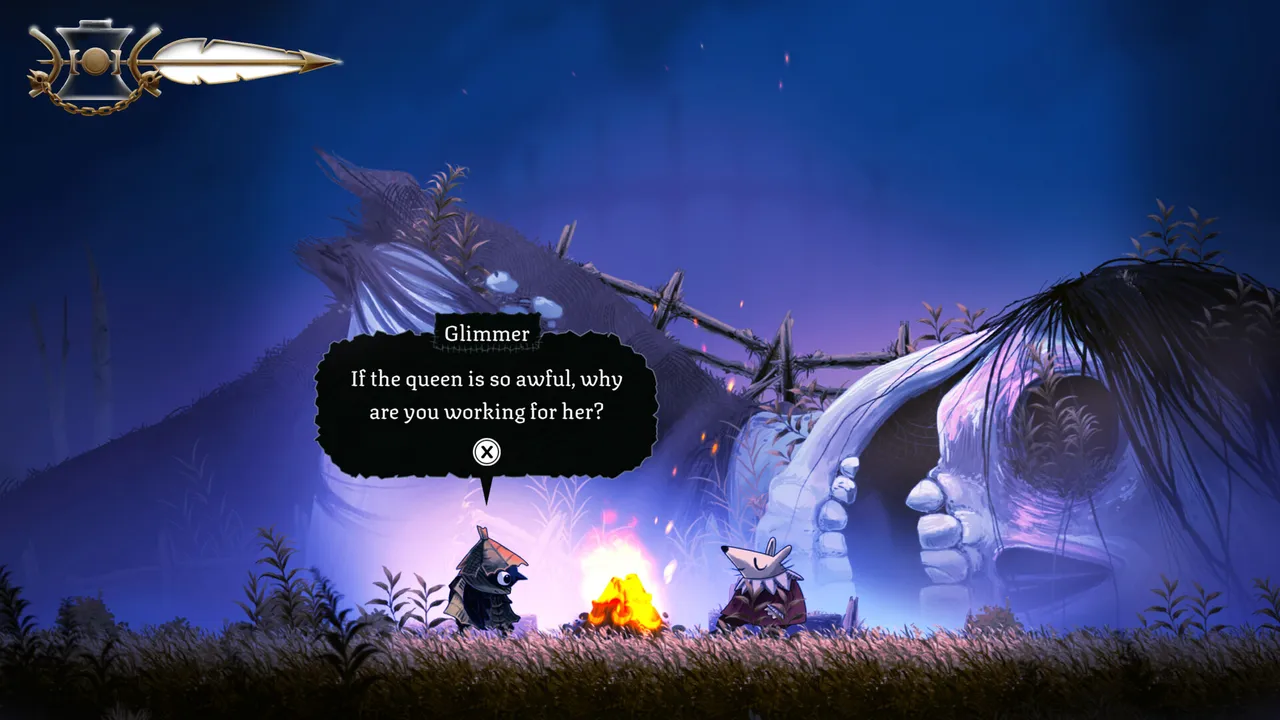
The Looter Quest Walkthrough kicks off after you learn Looter’s in trouble! You’ll need to find all his parts, starting with locating his sister, Whisper at Whisper’s House in The Docks.
Return to the area where Ilda roasted an acorn and drop down to the next room. After crossing a few obstacles and enemies, you’ll reach The Docks where Whisper lives in a shoe-shaped house. Run through the dialogue, and she’ll give you valuable information about Looter’s body parts, as well as the Golden Gate Key for unlocking previous gates.
| Detail | Info |
|---|---|
| Quest Start | Find Whisper in The Docks |
| Reward | Golden Gate Key |
Obtaining Looter’s Head from The Bog will have you searching just west of the Queen’s Castle entrance. Go through the gate to find it!
Use parkour skills to navigate spikes, defeat enemies blocking your path, and reach the next exit to continue on your way.
You’ll have to cross a pit of spikes and fight past some enemies along the way.
This takes you to The Docks. Keep moving forward till you spot a house in the shape of a shoe. Enter the house.
| Detail | Info |
|---|---|
| Location | The Bog |
| Action | Parkour and fight enemies |
Obtaining Looter’s Head – The Bog
The Golden Gate in The Bog is to the west of the Queen’s Castle entrance. You’ll find Looter’s Head through the gate.
Parkour your way across the spikes and take down the two enemies on the other side to open the path to the exit on the top left.
Jump across the bubbles and make your way toward the exit at the top.
From here, you’ll have to go right, past the enemies, to the next room. Activate the switch in the next room and take the exit at the top past the blockade.
Climb all the way to the top and then slowly descend while avoiding the spikes. Take the exit on the left.
Keep heading left. The path heading down lets you open a shortcut back to an earlier room. Stand on the platform above you.
Then use the bubbles to reach the exit at the top.
This takes you to the room where you’ll find the first Looter Part.
Obtaining Looter’s Torso – The Drains
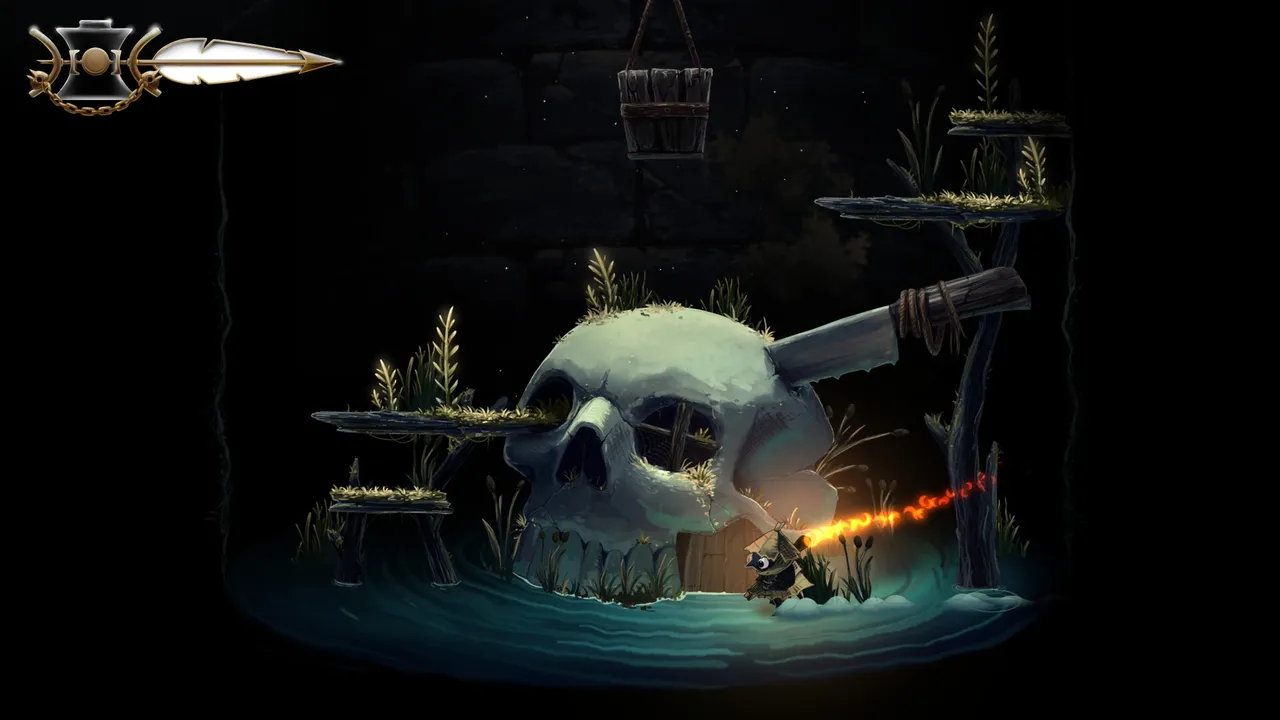
The second Looter Part is located in The Drains. The Golden Gate is to the east of the Save Tent. Make your way toward the gate and head through.
There’s a Save Tent just beyond the Golden Gate. Go right and use the air currents to hover across the spike walls.
This area is pretty linear and has more parkour sections where you have to control your hover along the air currents.
Stay on the path, and you’ll eventually reach the Looter Part.
Obtaining Looter Arms – Desiccated Castle
The Golden Gate in the Desiccated Castle lies to the west of the Desiccated Castle Save Tent. Fast travel to the Save Tent and head through the Golden Gate.
As soon as you head through the gate, you’ll run into an obstacle section. Use Slingshot to bring the pillar up.
Then climb over to the other side and use Wall Grab before jumping across to the other side. After making your way across, drop to the lower section and head to the exit on the left.
Cross the next parkour puzzle and follow the path to enter the next room. The path is pretty straightforward.
You’ll eventually hit a switch that opens the path to the room below you. Hover across the spike section and take the exit on the right.
Keep moving along the path, and eventually, you’ll make it to Looter’s Hands. Pick it up.
Obtaining Looter’s Legs – Gravenvalley
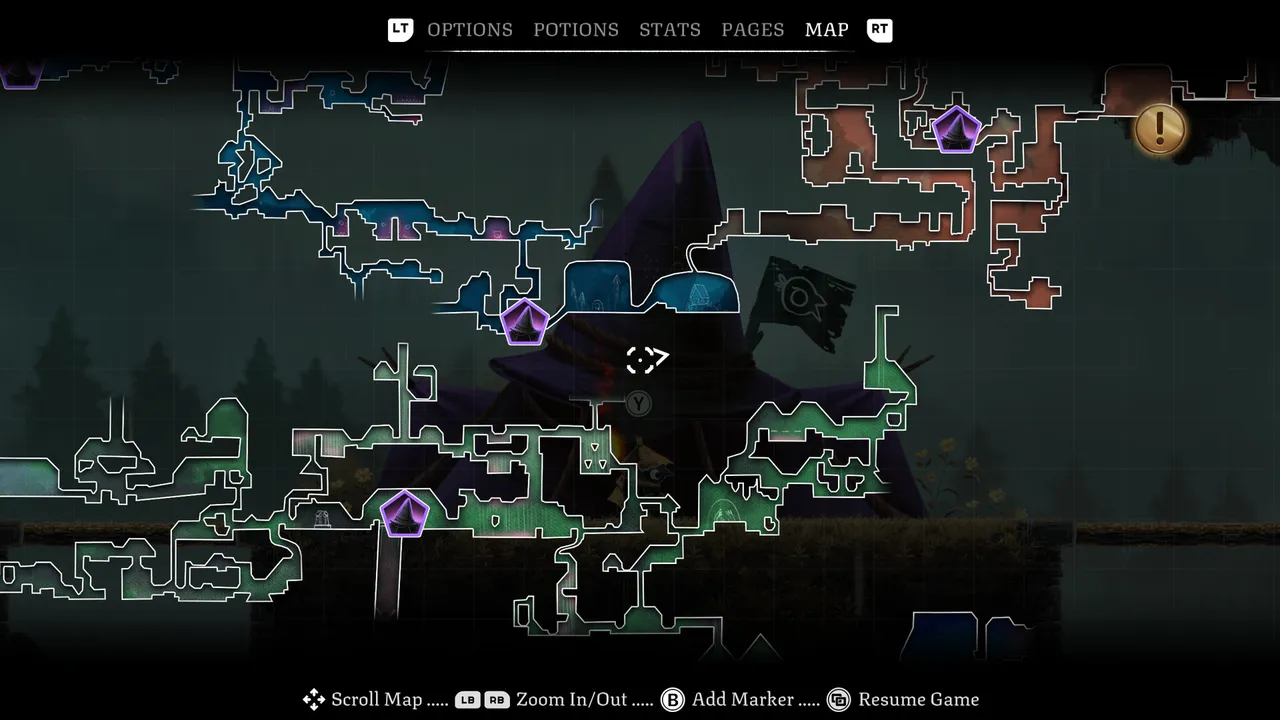
Looter’s Legs in the Gravenvalley is located to the north of the main Save Tent. Make your way to the Golden Gate and head through.
The puzzle in this area involves hitting the bells to create temporary platforms.
Thankfully, the path is pretty linear. Keep making your way forward to grab Looter’s Legs.
With all four Looter Parts obtained, fast travel back to the Save Tent near Whisper’s House and head inside. Talk to Whisper, and she’ll stitch Looter back together.
Run through the conversation, and Looter will give you the next Golden Feather. We’ll need three more before we can enter the Queen’s Castle.
This concludes part 9 of our walkthrough for Well Dweller. For more interesting articles related to indie games, check out the links below:
Muhit Rahman lives off two things: gaming marathons and endless cups of tea. He writes guides, reviews, and occasionally forgets that real life doesn’t come with checkpoints. His favorite genres are Soulslike and Metroidvania, with Dark Souls III, Hollow Knight, and Dota 2 forever holding top spots on his all-time list.