
Finding your way through the Lookout Tower in Well Dweller requires tracking down three hidden Flight Time Feathers to unlock higher ledges. This vertical section tests your platforming precision with bubble physics right before a tough boss showdown.
Getting tripped up on the spike obstacles is pretty common on your first run through here, so stock up on healing items before heading in. This guide covers the complete path from the initial Night Garden entrance all the way to the final boss battle.
Make sure you have your Slingshot fully ready and your save data backed up at the previous tent before taking on those tricky moving platforms.
This article is part of our Well Dweller Walkthrough Hub.
For more information about the game, check out its official website here.
- Reaching the Lookout Tower
- Meeting the Starsinger
- Obtaining the first Flight Time Feather
- Obtaining the Second Flight Time Feather
- Obtaining the Third Flight Time Feather
- Reaching the Second Save Tent
- How to Beat the Starsinger
heading
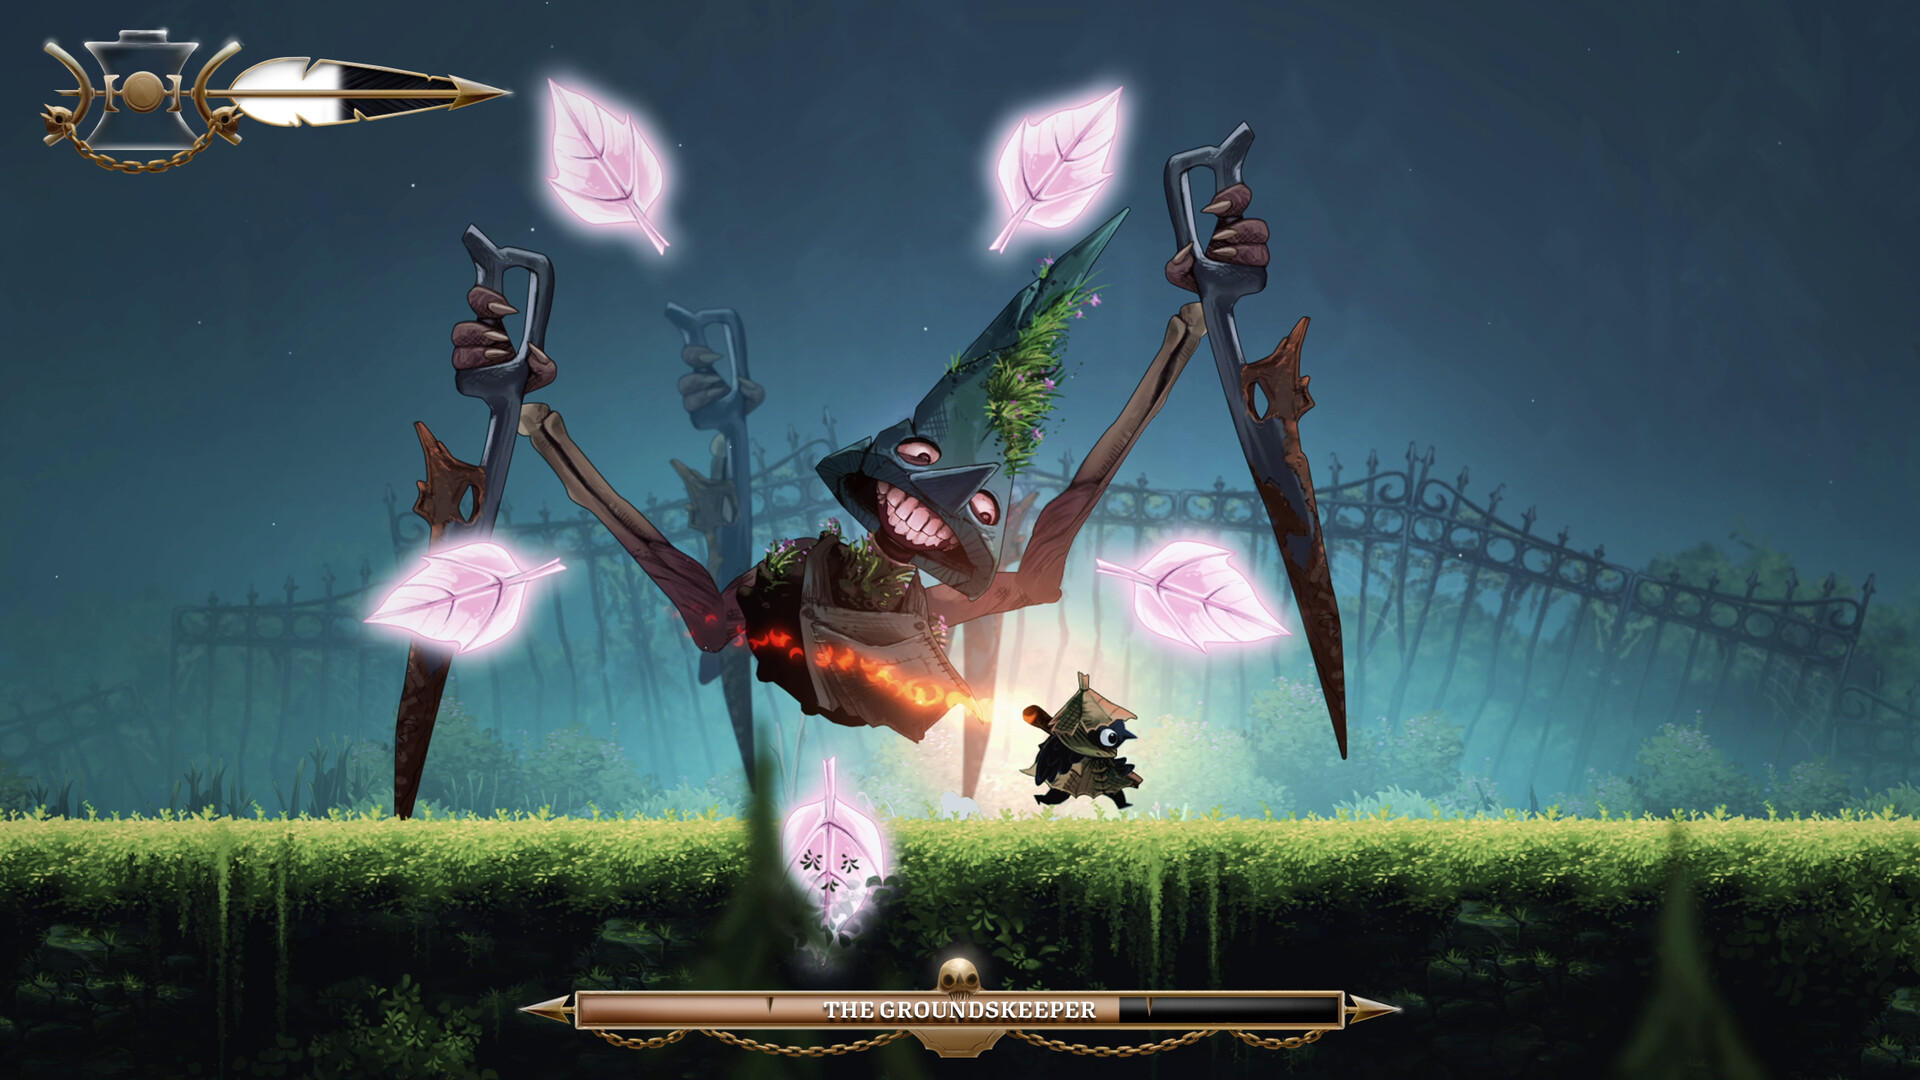
After wrapping up exploration in the Dollmaker’s House, make your way to the Night Garden Save Tent shown in the image above.
Head to the room on the right from the Save Point and start going up. You will have to use the Slingshot to jump up to a wall across some spikes.
Take out the enemies in the area and head to the top right corner. You will find a switch that lets you open the path to the exit above you.
Use the Save Tent in the next room to save your progress and then head through the exit on the left. Continue along this path, and soon you will enter the Lookout Tower.
heading
Keep moving forward until you spot a feather inside a bubble. Jumping on this type of bubble will grant you temporary flight, allowing you to reach higher places.
Jump on the bubble to reach the upper platform and take the exit above you.
From the next room, you will want to go to the top exit. There are more bubbles in the area that you can use to reach the ledge.
Go right and use Slingshot to jump to the bubble above the spike pit, then climb to the ledge. Take the exit on the right.
This brings you to the Save Tent. You will find the Starsinger sitting just past the Save Tent. He will disappear as soon as you get close.
You will meet him again later as he turns into the main boss of the zone. But to reach the boss arena, you will have to find three Feathers to increase your Flight Time.
heading
Once the Starsinger disappears, use the Slingshot on the wall to the right and jump to the wall right above you. Use it to reach the room at the top.
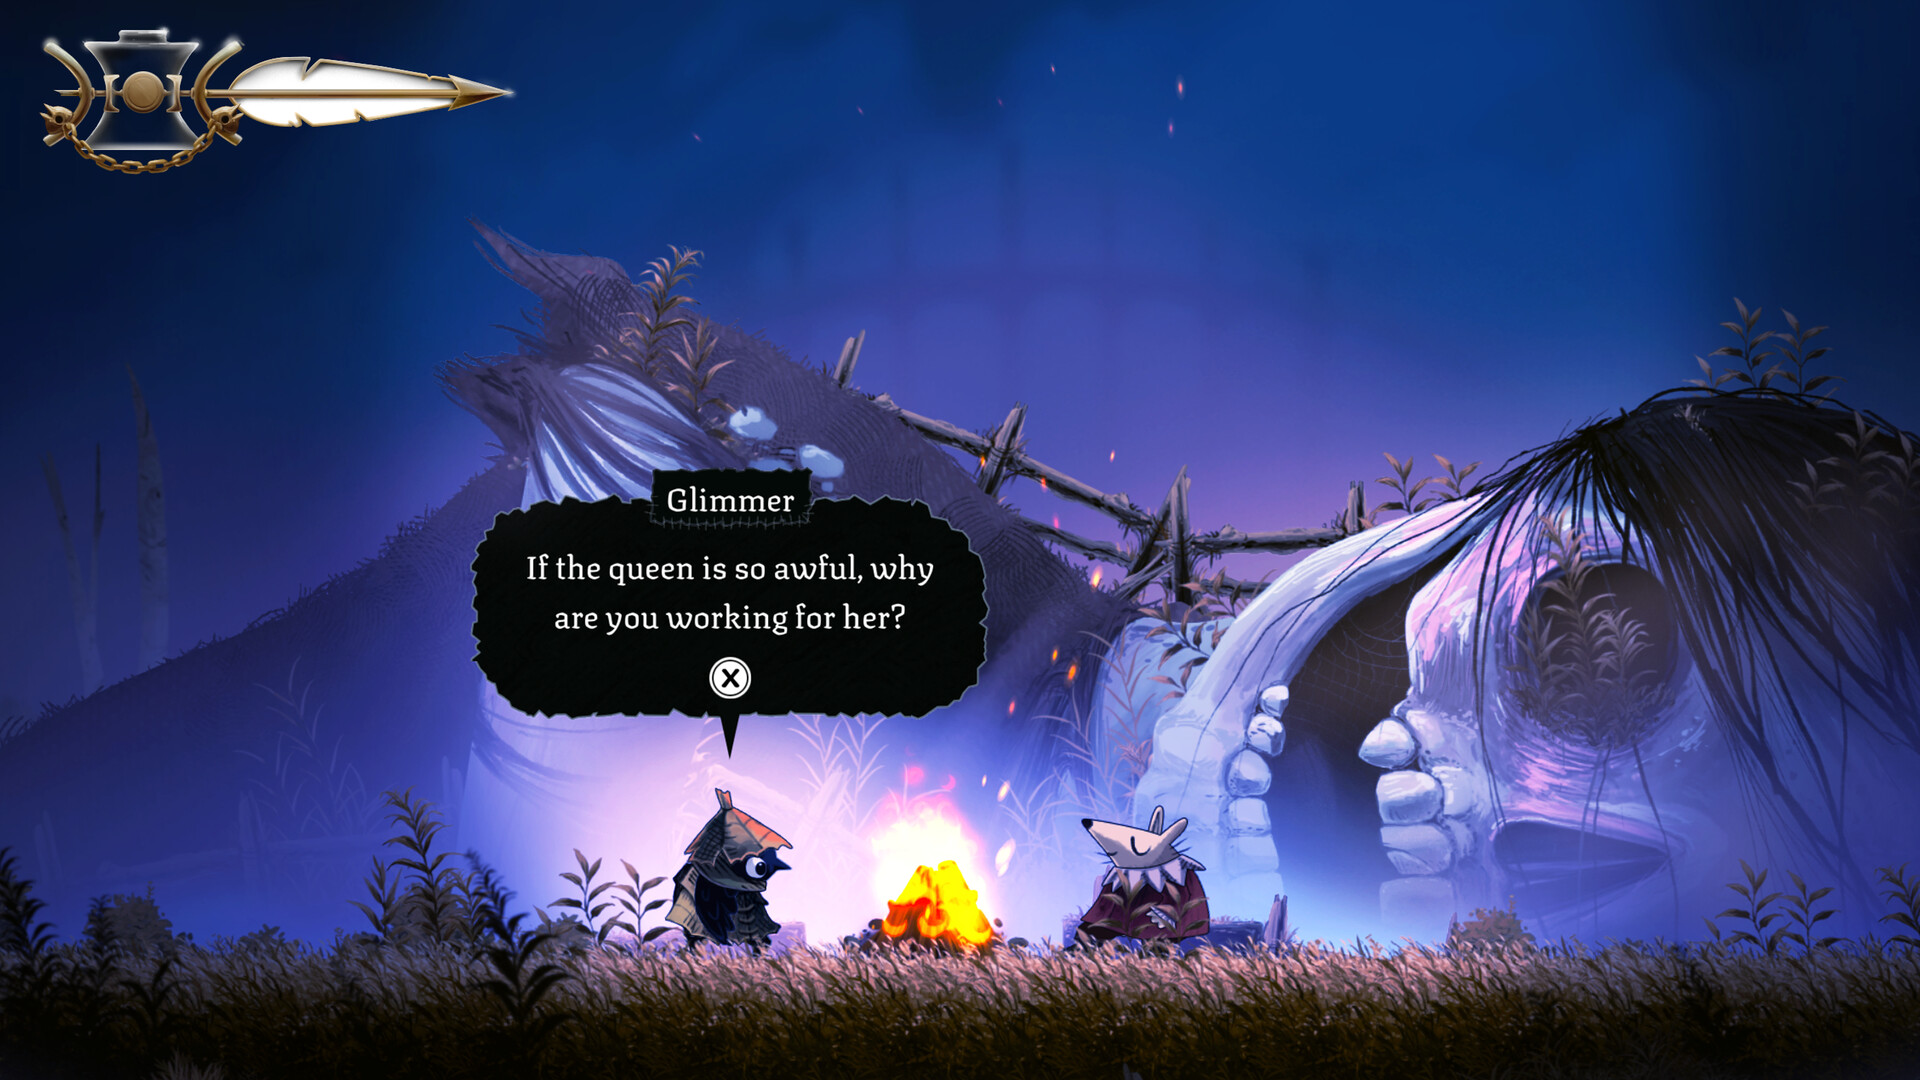
Go left and jump, then hit the wheel to move the platform forward. Take the exit on the left. There is a switch above you that you can also activate to open the top exit.
Take out the enemies in the next area. Don’t take the path heading down just yet.
Instead, go left and climb up the wall. You will find the first Feather.
Grab it to increase your Flight Time.
heading
Drop down and take the bottom exit. Hit the switch below you. This unlocks a shortcut back to the Save Tent.
Go right and drop down to the previous room. The path on the left is blocked for now.
From here, you will have to take the exit on the left. There is a feather bubble that you can use to go up the spike wall. Since we found the first Flight Time Feather, we will be able to reach the wall at the top.
Navigate across the spike section using the feather bubble.
Go left and then up to fight some enemies. Then grab the wall on the right to go up through the exit at the top.
Hit the switch to open the shortcut. Then continue heading left to the next room.
You will have to head to the exit at the top. To reach the exit, you have to navigate another spiked section using two feather bubbles.
Once you make it across, hit the switch to open an easy way back. Then take the exit above you.
You will find Ilda sitting on the ledge as you enter the next room. Talk to him. Then go right and climb up the wall.
Take out the monsters in the area, and head for the top of the room to pick up the second Flight Time Feather.
heading
After increasing your Flight Time two times, you can now head to the western part of the Lookout Tower. Fast travel back to the Save Tent where you met the Starsinger and take the exit on the right.
Obtaining the Third Flight Time Feather
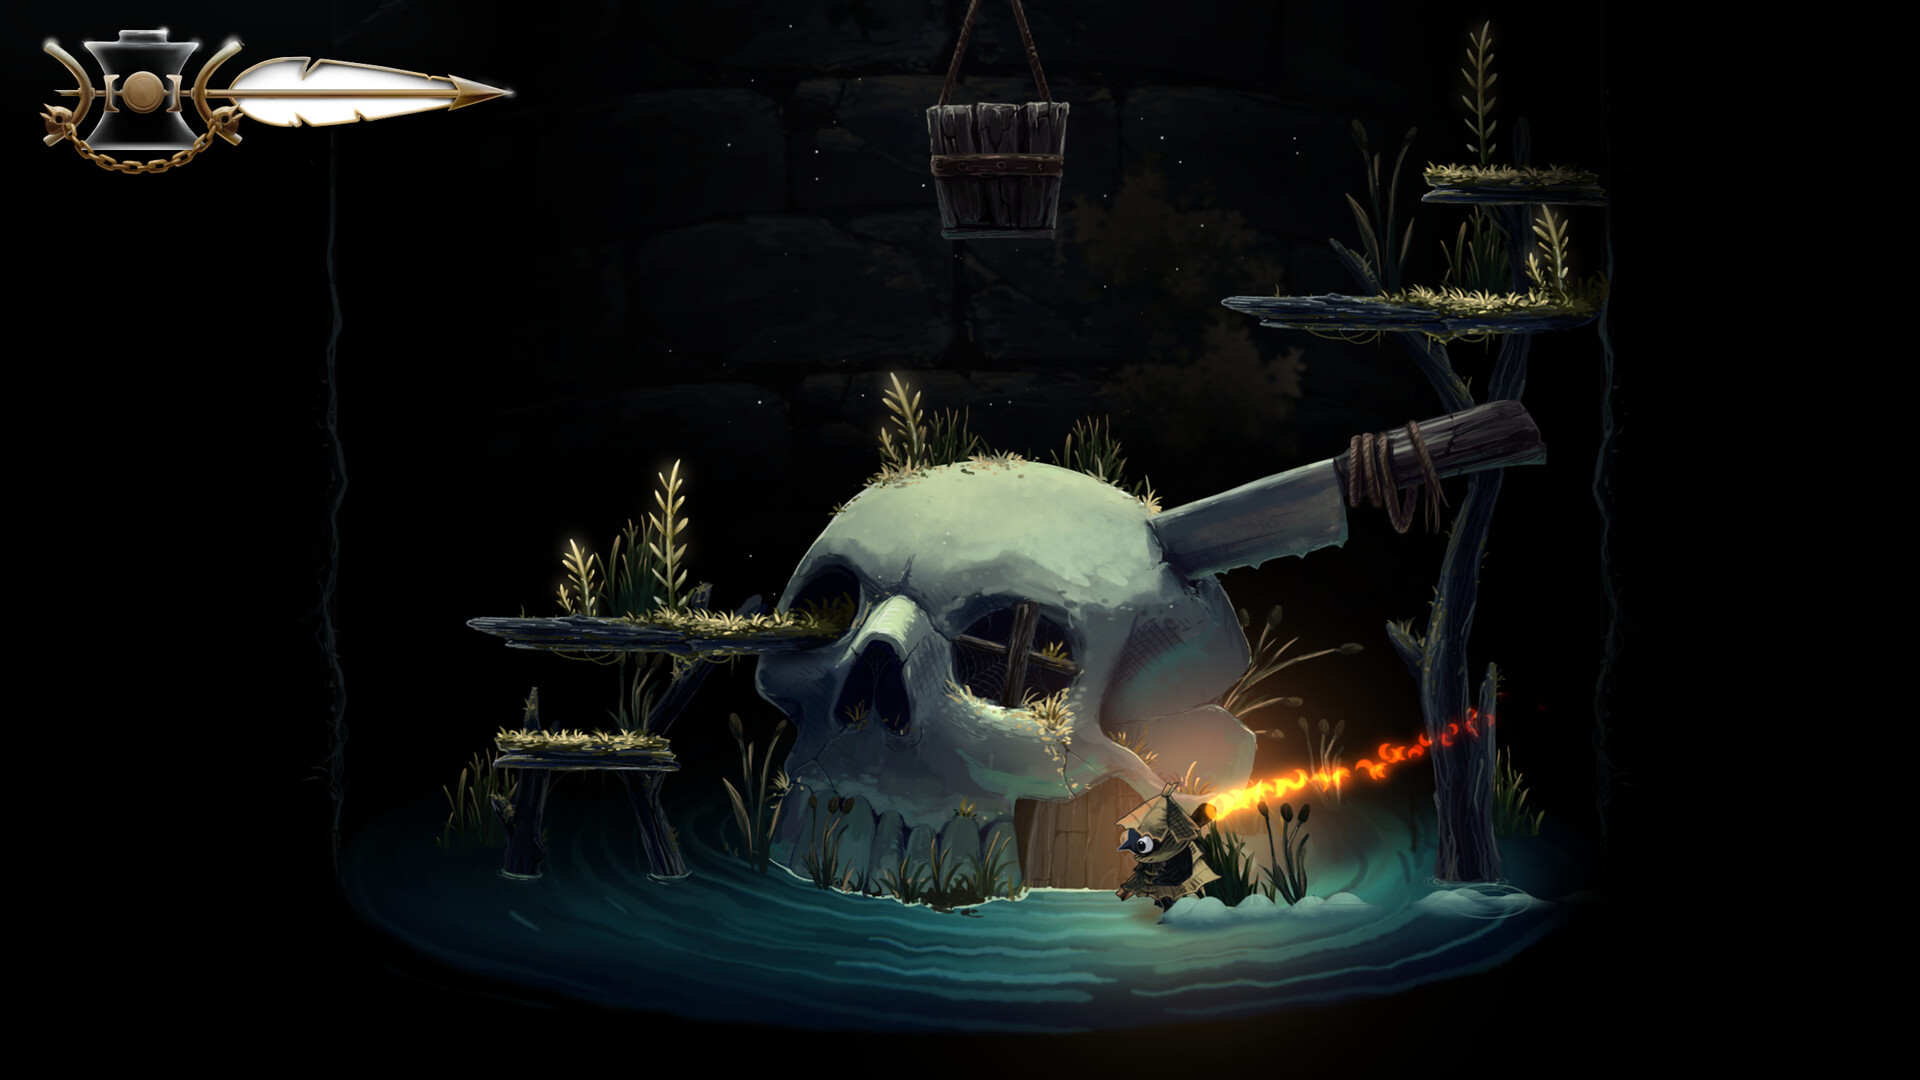
Use the feather bubble to reach the wall at the top of the room. Go right to enter the next room.
You will run into a gauntlet as you move forward. Take out the enemies.
In the next room, time your movement as you strike the wheel on the platform to make your way across the moving spiked pillars.
You can’t reach the exit at the top on the other side. So head through the door on the right.
You will have to cross another spike obstacle section. There is a path heading up on the other side.
There are three exits from the next room. You will want to take the exit straight above you at the top. To reach the exit, you will have to use a feather bubble on a platform near the center of the room.
You will find the Starsinger sitting on a ledge as you reach the next area. As he sings, the light inside the house in the distance comes on.
Go right and climb up the wall. You will find the final Flight Time Feather at the top.
heading
With all Flight Time Feathers obtained, you can now head straight for the boss arena. Go back to the Save Tent from earlier. From here, head straight for the exit shown in the image above.
You will have to use a feather bubble to reach the exit.
Keep climbing up. You will soon reach a spike section. You will have to use the flight bubbles to hit the switches at the top and open the path to the right.
Once both switches are activated, head through the exit on the right. This brings you to another short obstacle section involving a moving platform. Hit the wheel and time your jump to get across.
Climb up the wall and hit the switch to open the path above you.
Go right and use the Save Tent to save your progress. The path on the right leads to the main boss of this zone.
heading
The Starsinger is a relatively simple boss with limited movesets. After the Dollmaker’s Mirror, this fight shouldn’t be too difficult for you.
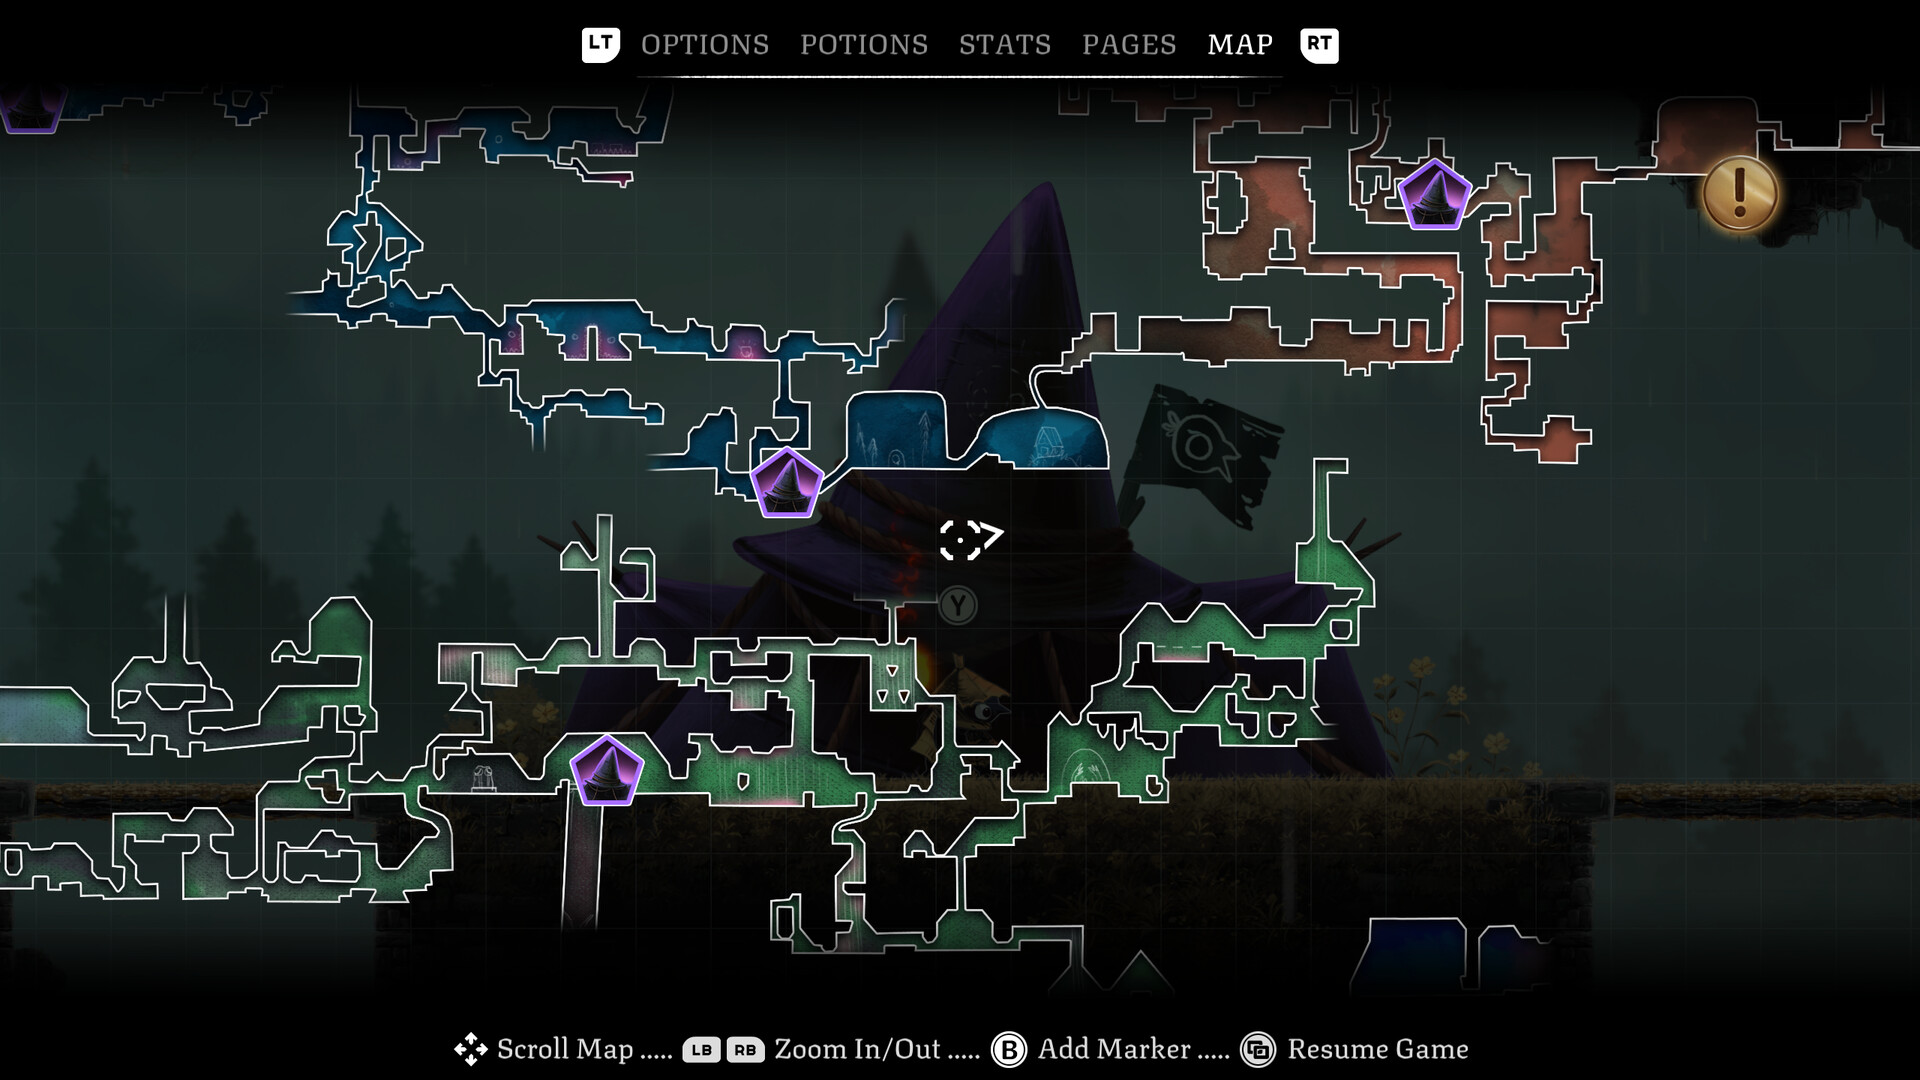
When the Starsinger is visible, he mostly runs horizontally across the arena, spawning leaves that fly toward you. As long as you can dodge the leaves, you can keep hitting the boss.
His second attack is a wheel of leaves that charges at you. You can dodge the attack by sliding through the leaves.
Occasionally, the Starsinger will fully possess the head. This is when the fight gets a bit more difficult. During this phase, he can launch some red projectiles that split into smaller projectiles.
He also has a jumping attack that sends shockwaves along the arena.
Once you deal enough damage to the boss, the head will turn red, indicating the start of the second phase. The fight remains essentially the same, but the boss becomes a bit more aggressive. Keep hitting the boss until he goes down.
Once the fight is over, head right to collect the second Golden Feather. We are done with the main objective in the Lookout Tower. Feel free to wrap up exploration before moving on to the next zone.
This concludes part 8 of our walkthrough for Well Dweller. For more interesting articles related to indie games, check out the links below:
Muhit Rahman lives off two things: gaming marathons and endless cups of tea. He writes guides, reviews, and occasionally forgets that real life doesn’t come with checkpoints. His favorite genres are Soulslike and Metroidvania, with Dark Souls III, Hollow Knight, and Dota 2 forever holding top spots on his all-time list.
Muhit Rahman lives off two things: gaming marathons and endless cups of tea. He writes guides, reviews, and occasionally forgets that real life doesn’t come with checkpoints. His favorite genres are Soulslike and Metroidvania, with Dark Souls III, Hollow Knight, and Dota 2 forever holding top spots on his all-time list.