
Running out of energy while watering crops and tilling fields is a constant headache in Village in the Shade. At the start of your playthrough, your stamina gauge empties so fast that you will barely get anything done before noon. Luckily, you can permanently increase your stamina by venturing out into the dark village at night.
This walkthrough covers every seasonal fox location, required offering item, and exact crop you need to collect. I remember completely misjudging how fast seasons change on my first run, which completely locked me out of early upgrades. Getting this right early on will save you from endless frustration.
Make sure you check your calendar and keep an eye on the night cycle before heading out into town. You will find all the details you need to max out your energy bar right here.
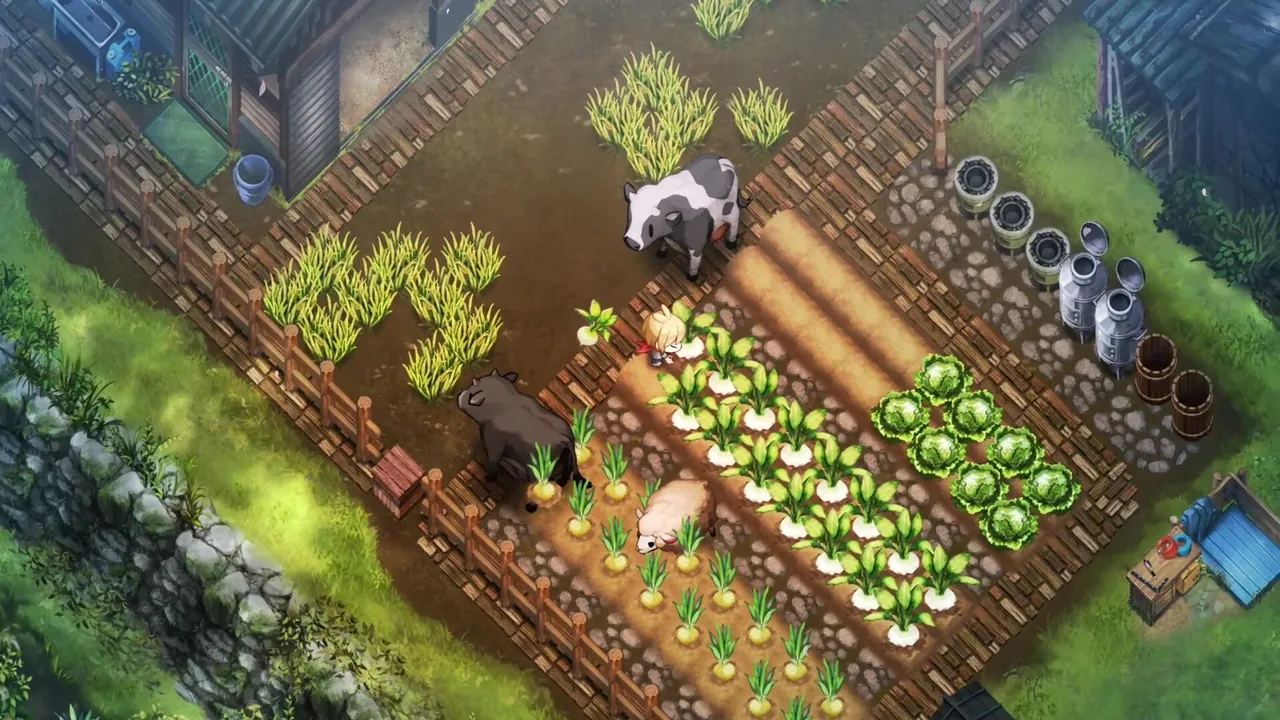
Raising your energy capacity requires you to leave items as offerings at a hidden fox shrine. These requests demand specific wild foraged goods, harvested crops, and occasionally fish gathered across the map.
You are only allowed to complete this upgrade once per season, capping out at four total bar expansions. Keep in mind that incomplete offerings will completely reset if you fail to finish them before the season ends.
The shrine itself will only materialize during nighttime yokai hauntings, and only after you track down the wandering fox at least once during that specific season.
Tracking down the creature is your absolute first priority every single season before you can even begin dropping off loot. Here is where the furry trickster hangs out around town after dark.
- Spring: Near Chinana’s Street Vendor Stall
- Summer: Near Kiki Construction
- Autumn: Near the Watermill
- Winter: Near the Hunting Lodge
Every time you chase the spirit to his shrine at night, he drops a rare item right on the ground for you. Trust me, grab this early because those drops reduce your farming load and are essential for finishing everything in year one.
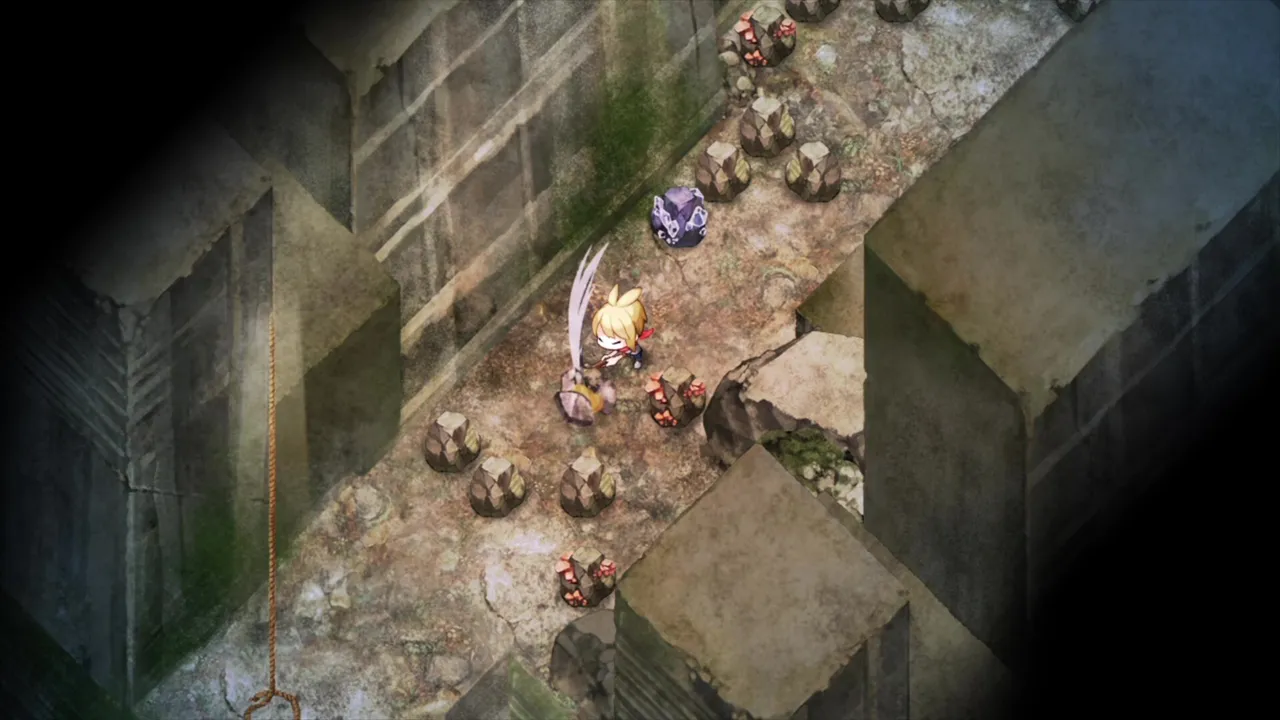
Spring keeps things straightforward by only asking for wild items you can pick straight off the ground. You do not have to worry about planting seeds or waiting on harvest cycles yet.
| Detail | Info |
|---|---|
| Spring Forageables | Butterbur x5, Honewort x5, Bracken x5 |
Detail Info Winter Forageables Goji Berries x5, Winter Raspberry x5 Winter Vegetables Napa Cabbage x3, Daikon x3, Spinach x3 Winter Flowers Daffodil x3, Pansy x3, Rosemary x3 Winter Fish Crucian Carp x1, Carp x1, Salmon x1
Summer ramps up the difficulty by mixing in cultivated vegetables alongside random wild spawns. Plant these seeds immediately so you do not get caught short when the shrine demands them.
| Detail | Info |
|---|---|
| Summer Forageables | Red Bayberry x5, Lily x5, Loquat x5 |
| Summer Vegetables | Corn x3, Cucumber x3, Ginger x3 |
Autumn introduces tricky constraints because Shimeji mushrooms only unlock midway through a specific tutorial. Worse yet, Dahlia flowers cannot be grown naturally at all during your first year.
You can bypass the flower roadblock by collecting them directly from the wandering spirit during nightly chases. Turn in your other materials quickly so the game starts prioritizing those rare flower drops.
| Detail | Info |
|---|---|
| Autumn Forageables | Akebi x5, Gingko Nut x5, Prickly Ash x5 |
| Autumn Vegetables | Shimeji x3, Taro x3, Sweet Potato x3 |
| Autumn Flowers | Cosmos x3, Chrysanthemum x3, Dahlia x3 |
Winter brings the ultimate test by throwing river fish into the mix alongside your crops and foraged goods. Grab your rod and practice your casting if you want to check off these final requirements.
| WInter Forageables | WInter Vegetables | WInter Flowers | WInter Fish |
|---|---|---|---|
| Goji Berries x5 Winter Raspberry x5 |
Napa Cabbage x3 Daikon x3 Spinach x3 |
Daffodil x3 Pansy x3 Rosemary x3 |
Crucian Carp x1 Carp x1 Salmon x1 |
Delivering the final set of goods triggers a special cutscene with Konno that hints at his true identity. He will reward your hard work with two exclusive yard decorations before sending you back home to rest.