
To escape the Church Settlement in Dreadmoor, start right after the explosive cutscene that launches your adventure. Malcolm wakes up amidst chaos and must gather essential gear and repair his boat quickly. It can be overwhelming, but I promise it’s straightforward when you know where to look.
Throughout this segment, you’ll navigate through abandoned houses and collect crafting materials while avoiding the many dangers lurking in the shadows. Most new players tend to get sidetracked by the looting or miss crucial items—don’t let that be you! Keeping an eye on the quest markers will really help.
Before diving in, make sure to check your inventory for starting gear and be ready to explore every nook and cranny for crafting materials. You’ll need those to get your boat running!
| Detail | Info |
|---|---|
| Start Location | Church Settlement |
| Objective | Escape the Church Settlement and repair your boat |
| Key Items | Hook Gun, Fuel Can, Metal Plates |
For more information about the game, check out its Steam page here.
- Escaping the Church Settlement
- Reaching the Trading Post
- Opening the Dry Dock
- Repairing Your Boat
Escaping the Church Settlement
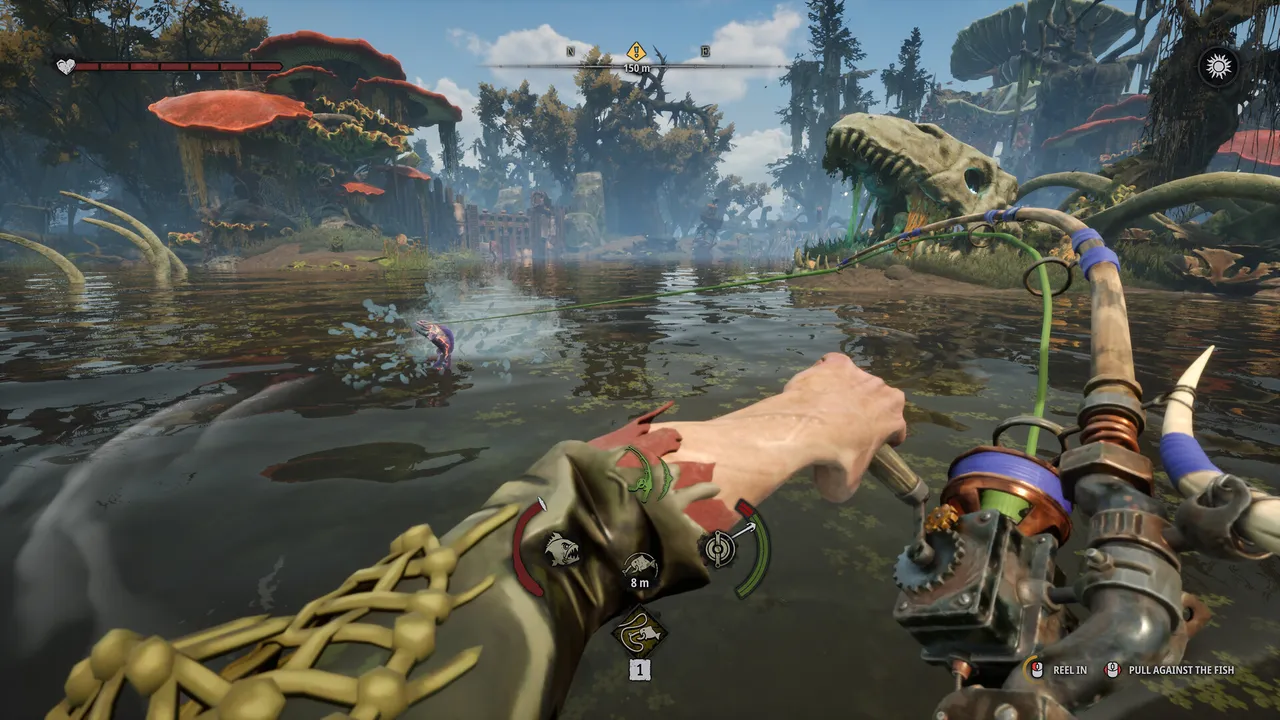
After the initial cutscene, you’ll wake up in the Church Settlement. There’s an abandoned house up ahead. Walk toward it.
After entering the hut, loot the area for some crafting ingredients. You’ll find some Metal Plates, Coral Fibers, and Alcohol, along with the note Unfinished Journal, inside the hut.
In the back room, find a Hook Gun in the hand of a person fully covered in coral. Grab the Hook Gun.
Go out to the veranda and use the Hook Gun on the crane to bring it down.
Keep moving forward until you reach a small house to your right. Pick up the Audio Flask inside to listen to the recording.
Stay on the path and make your way toward the control panel on the elevated platform on the other side.
Using the Crane shows you that you’ll need a power source. Go past the control panel and take the stairs down.
The Generator for the crane is behind you as you go down the stairs. But you’ll need to find a Fuel Can to power the Generator.
Moving along, you’ll reach a house with white markings on it. Enter the house and go to the back room to find a Fuel Can. Pick it up.
Return to the Generator and fill it with the fuel from the Fuel Can. Once that’s done, return to the control panel up the stairs and use it to lower the boat into the water.
Make your way to the boat, past the house with the white markings. Then head into the boat’s cabin.
Interact with the radio and move the indicator until you pick up a transmission from Gill and Bozur. Run through the conversation. He’ll ask you to head for the River Gate and then head to the trading post in the morning.
Check the boat’s engine. It’s in bad shape, and you’ll need 3x Metal Plates for a standard repair.
Luckily, there’s a supply crate in the water that you can reel in using the Hook Gun to get the remaining Metal Plate you’ll need to complete the repair.
Once the boat is repaired, interact with the ship’s helm to start sailing. Follow the quest marker to head toward the River Gate.
Reaching the Trading Post
On your way toward the River Gate, you’ll get a new quest called Precious Junk. Leave the helm and use the Hook Gun to retrieve your chest from the water and install it into the marked slot.
Follow the quest marker toward the River Gate and dock your boat at the docking zone.
Proceed along the dock to spot a control panel that operates the sluice gates up the river. Interact with the panel.
You’ll have to figure out the correct order of symbols to press so that all three sluices are open. Switch the symbols in this order, using the lever on each symbol once:
Top | Middle | Bottom | Top
The River Gate opens, and you can sail through. Follow the quest marker to reach the Angler’s Brothers Cabin, where you can spend the night.
After mooring at the dock, continue toward the cabin. There will be plenty to loot both inside and outside the cabin.
As soon as you enter the cabin, you’ll find another coral-covered body. Grab the Axe from the body.
This is your primary melee weapon.
Interact with the bed inside the cabin when you’re ready and sleep until 10 AM. However, Malcolm wakes up long before the chosen time. The Blight is wreaking havoc on your body, and you’ll need Essence to survive.
Return to the boat and start sailing toward the Trading Post. Simply follow the quest marker till you see it.
Dock your boat and use the bell on your left to bring down the Merchant’s store. Head inside.
Talk to Bozur and Gill inside the store and run through the conversation. They will give you an Essence to clear up your thoughts.
Leave the store for now, and grab your Chest from the pier. Follow the quest marker to reach the flophouse, your personal safehouse in the Trading Post.
As soon as you enter, you’ll see a spiky tentacle popping in through a hole in the wall. Let the cutscene play out and then enter the flophouse.
Set your Chest down on the side, and then use the Iron Sheet and Wooden Frame to repair the wall.
With that done, use the bed in the flophouse to sleep until 10 AM. Your fishing adventure begins the next morning.
Opening the Dry Dock
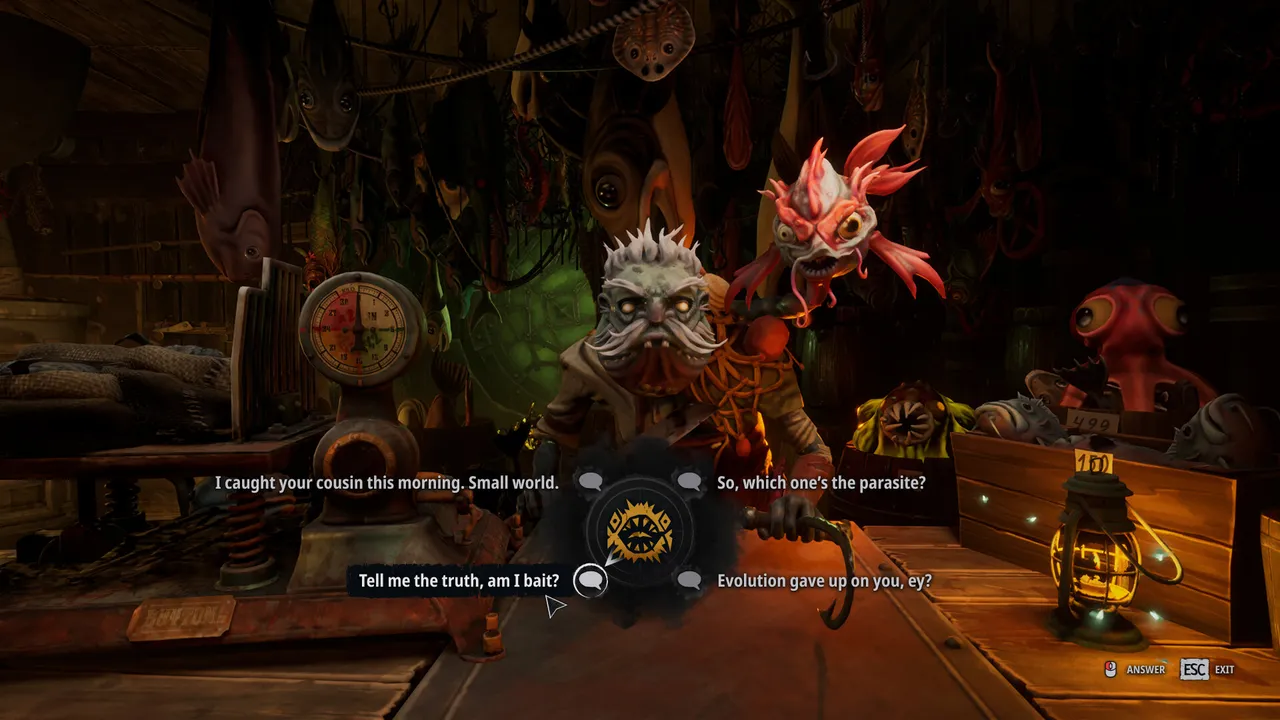
You wake up the next morning to the sound of the radio in the flophouse. Answer the radio.
Grab the Simple Rod, then head out through the door next to the radio and go down the steps to speak with Gill and Bozur.
After the conversation, interact with the Fishing Spot next to Gill and Bozur and catch three Snappers. The next section will teach you the basics of catching Peaceful Fish. Just follow the instructions to catch all three fish.
Talk to Gill again. He’ll ask you to open the Dry Dock.
But first you’ll have to talk to the Engineer, John the Fifth. Go to the center of the Trading Post, and you’ll see the shutter to John’s Shop open.
Talk to the Engineer sitting inside the store.
Return to Gill and Bozur, now standing near the dock. They’ll teach you how to grind the Snappers to craft Fuel for your boat.
Once the refuelling is complete, set sail and head for the Angler’s Island nearby. You’ll have to farm some Coral Fibers.
Hit the Corals using your Axe to farm the Coral Fibers. You’ll need 5 in total for the quest.
But I recommend grabbing all the Coral Fibers you can in the area before moving on. The Coral Fibers will refresh after one in-game day
Next, you’ll have to gather Bug Slimes. To do so, look for glowing blue bugs stuck to the rocks. Leave the helm when you’re near these bugs and use your Hook Gun to reel them in.
For the Metal Sheets, you’ll find some barrels floating at the back of the Trading Post. You’ll need 5 Metal Sheets in total for the quest.
Return to the Trading Post. Interact with the Moonshine Still to repair it, and talk to the Engineer. He’ll hand you the key to the Dry Dock.
Repairing Your Boat
The Dry Dock is directly to the east, down the steps from John’s Shop. Open the door using the key and head inside.
First things first, loot everything on both floors of the Dry Dock. When you’re ready, try interacting with the spotlight switch at the corner of the first floor.
Go up to the second floor and fix the Electric Board. You’ll need 1 Cable and 1 Metal Sheet for the job. You should find enough materials in the Dry Dock.
With the Electric Board repaired, you can turn on the lights using the Switch.
Return to your boat and sail it in through the gates of the Dry Dock.
Then use the top button on the control panel to hoist it up to the second level.
With that done, you’ll now have to do some basic maintenance and repairs on your boat. The first order of business is to clean the ship. Head to the Water Pump and pressurize the pump using the lever.
Then grab the Water Hose attached to the pump and clean the Polyps stuck under the boat.
Once all the Polyps are gone, bring the boat down to Floor 1 using the control panel. Pay 1 Bug Slime at the Repair Gun to use it.
Use the Repair Gun to fix the hull of the boat so that its armor goes back up to full.
You’re done with the basic repairs for now. Go and talk to John the Fifth to let him know of your progress. He’ll tell you to speak with Gill and Bozur to see how you can pay off the debt.
This concludes part 1 of our walkthrough for Dreadmoor. For more interesting articles related to indie games, check out the links below:
Muhit Rahman lives off two things: gaming marathons and endless cups of tea. He writes guides, reviews, and occasionally forgets that real life doesn’t come with checkpoints. His favorite genres are Soulslike and Metroidvania, with Dark Souls III, Hollow Knight, and Dota 2 forever holding top spots on his all-time list.