
By
Editorial
/
October 29, 2026
/
Guide
/
3 minutes of reading
Welcome to the ultimate crack guide for uncovering every major secret in the facility. You will learn the exact steps needed to trigger both story conclusions, hunt down hidden items, and crack open the mysterious keypad door.
Getting past the thick obsidian layers and tracking down wall smudges can be tricky on your first run. Bringing the right tools from the start saves plenty of backtracking and frustration.
This walkthrough breaks down all required tools, exact keypad sequences, and computer terminals so you can see everything the game has to offer.
How to Unlock All Endings in CRACK
Ending 1
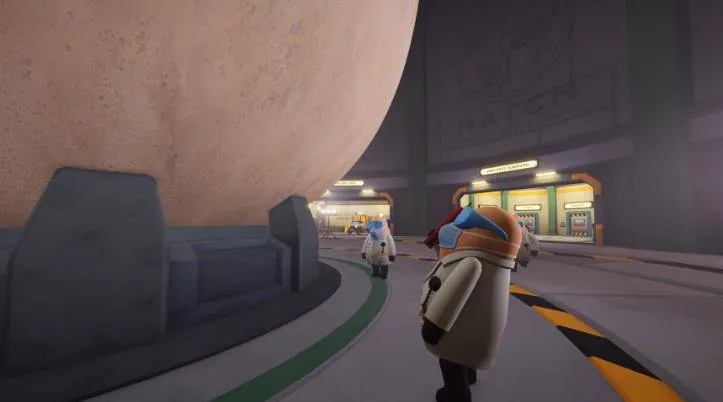
Head directly to the centre of the egg to locate a tough black obsidian-like layer blocking your path. Only the Dynamite MK III will break through this barrier, as standard extraction tools and jackhammers will fail.
Slicing open the exposed containment plating reveals a large fleshy sac right in the middle. Slice this sac open with your chainsaw to release a live chicken that flies out into the facility.
Catch the bird, carry it over to the chicken coop, and place it inside. Transfer the cooked chicken into the box afterward to finish the first ending sequence.
Ending 2
Start the second route by grabbing your hammer to pull the nails out of the wooden boards sealing the Do Not Enter door in the break room extension.
Pry the planks away to open the way, then equip your chainsaw to clear out the dirt followed by the jackhammer for the solid rock.
Retrieve another live chicken from the heart of the egg and carry it up the stairs behind the Do Not Enter door. Drop the bird right in front of the upper door and wait a few moments.
Staying patient here triggers the second ending sequence successfully.
Pro tip: Always verify your bird is breathing before dropping it off, because cooked poultry completely ruins the second ending requirement.
How to Open the Redacted Room
Scan the facility ceilings until you spot a hidden ventilation shaft high above. Set up scaffolding using your toolbox to reach it, then remove every screw with the hammer.
Grab the blacklight stashed inside the pitch-black vent before exploring further. Packing a lantern makes navigating these dark spaces much easier.
Search the walls throughout the facility for glowing smudges located in various rooms and hallways. Shine your blacklight directly over these marks to uncover hidden digits.
Each smudge reveals a piece of the security combination, such as _1_4_. Jot down every number carefully as you discover them to avoid losing your progress.
Punch your completed combination into the security keypad to unlock the heavy door.
Step inside to discover a control hub packed with interactive terminals:
- Far left computer: I trigger events by typing commands into the terminal. I type help to see the list of available commands.
- Far right computer: I play Brick Breaker.
- Close left computer: I access information about past crews, which provides more lore about the game.
- Close right computer: I can’t remember exactly what this one does, but I believe it is similar to the others.
Grab the sound analyser resting in the corner and aim it toward the egg to translate mysterious audio transmissions.
Vampy’s Big Day Guide: All Gnome Locations