
In the Psycho Sleuth walkthrough, vital insights from Chapters 1, 2, and 3 are laid out clearly, ensuring you navigate each investigation and trial seamlessly. Drawing from the key evidence, selected answers, and strategic refutations throughout the case summaries, this guide will help you achieve top rankings and avoid bad endings. Each chapter combines a strategic exploration phase with a tense trial, so grasping these details elevates your gameplay experience.
It can get pretty intense, especially when trying to maintain your health during trials—wrong answers can be costly. I recommend grabbing essential clues early and keeping your health high because missteps in the trials can lead to frustrating game overs. Take your time with the investigations; rushing might mean missing crucial evidence you’re going to need.
Before diving in, ensure you familiarize yourself with the game’s mechanics—especially how to effectively manage your health and navigate the trial minigames. This prep will secure your success and pave the way for a more enjoyable experience as you face the twists and turns of the story.
Note: This walkthrough is a work in progress, currently detailing Chapters 1–3. Future updates will incorporate additional chapters, trial strategies, and achievement information as they become available.
During gameplay, each chapter unfolds in two parts: an investigation followed by a trial. I often use the chapter select feature to jump directly to trials I’ve already completed. Health management is key; I can reach a maximum of 2,000 health, but every incorrect choice or timing mistake during trials will cost health and potentially hurt my rank. Multiple errors can lead to a game over. Investigation Mechanics: Exploring interactions is crucial. I click through various objects and dialogues, using R to highlight hotspots for better navigation. Refutation Steps: Always choose the conflicting statement and present the relevant evidence to counter it effectively. Truth Reconstruction: When tasked with organizing cards, remember you need to arrange them from left to right , responding to the image prompts accurately. Be mindful of bad endings: Certain choices lead to unique bad endings and may influence your achievement tracking.
The game makes saving progress easy with autosaves and manual options. I often save just before and after major Judgements. For replaying narrative segments, I press Control to skip and Space to jump through scenes, except during summaries.
- Menu Features: The menu includes options for checking clues, characters, Pathosyncs, and game rules under the System tab.
- Pathosync Management: In Chapter 2, I receive a comprehensive list of Pathosyncs, but not all are relevant; some characters remain unused. I pay attention to those who reveal their Pathosyncs for greater context.
Saving, Controls, and Pathosyncs
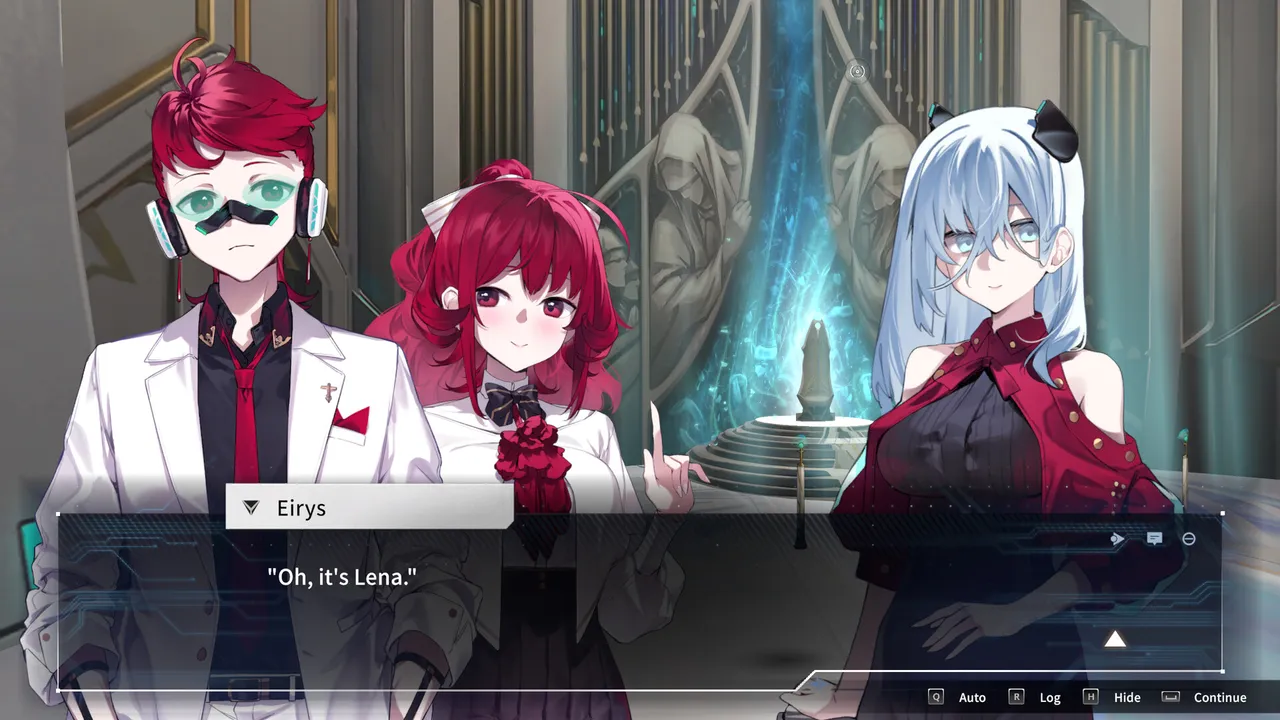
- The game autosaves after every couple of trial minigames and also supports manual saves. I recommend saving manually before and after each Judgement.
- When replaying, I use Control to skip and Space to skip scenes, except during case summaries.
- The menu contains clues, characters, Pathosyncs, and rules, with save and load options under System.
- In Chapter 2, I receive a list of 20 Pathosyncs, although there are only 13 participants, so several entries are unused.
- Some participants reveal their Pathosyncs openly, but that does not necessarily explain the entire ability. If someone hides theirs, I compare unusual behavior against the possible Pathosync list.
The first investigation kicks off in the cremation room right after the opening cutscene. I take meticulous care to examine every item present, covering both sides of the room thoroughly before moving on.
In my first search of the cremation room, I pay attention to all details. Here’s how I approach it:
- Left Side: Inspect the Unopenable Door, Light Switch, Dial, and Life Detector.
- Conversations: Talk to Kizuna, Lena, and the Proxy to gather insights.
- Center: Examine the Sanctified Cremator carefully.
- Right Side: Explore the Window, Sea Angel, Clock, and Bone Grinder for clues.
First Search of the Cremation Room
- Left side: I inspect the Unopenable Door, Light Switch, Dial, and Life Detector.
- Conversations: I speak with Kizuna, Lena, and the Proxy.
- Center: I examine the Sanctified Cremator.
- Right side: I check the Window, Sea Angel, Clock, and Bone Grinder.
After the rules have been clarified, I shift back to the right side for further examination. This is where I seek critical evidence: Hair (Possibly Lena’s) Kizuna’s Bloodstained Mask Bones on the Floor
With new clues available, I make sure to recheck crucial evidence at this stage. The focus shifts to:
- Clock
- Proxy (Kizuna’s Past)
- Sanctified Cremator (Bones inside Cremator)
I also inspect the updated Life Detector and the Impermeable Dial to ensure I haven’t missed anything vital.
Final Evidence Checks
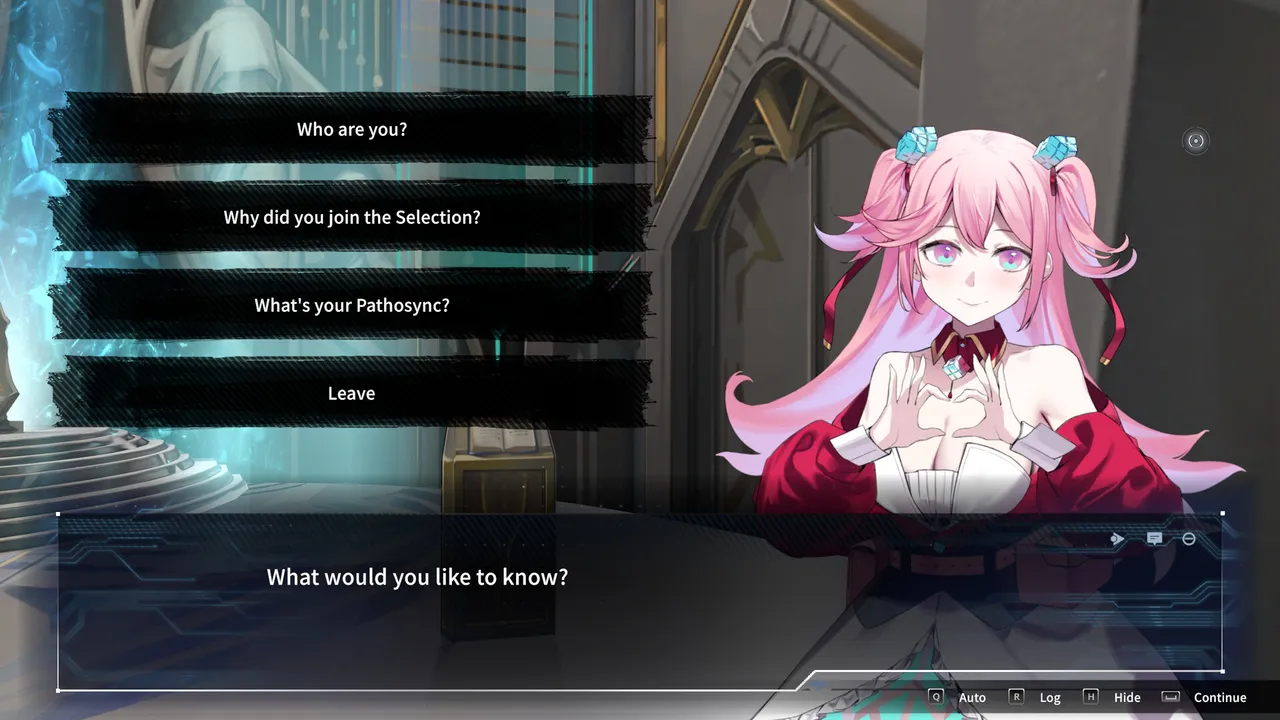
When the next clues become available, I recheck the Clock, the Proxy (Kizuna’s Past), and the Sanctified Cremator (Bones inside Cremator). I also inspect the updated Life Detector and the Impermeable Dial.
As I move into the trial phase for Chapter 1, I meticulously follow these structured responses to succeed: Refutation – Hyper 1, Statement 3: I present the Life Detector (3) to show that others were present. What did the Life Detector show upon entry? I choose 4 . Is Hyper correct that there were two victims? I respond with Incorrect —the evidence supports only one body’s ash. What’s required to make the mask a blunt weapon? I mention Ashes and bone fragments , packed tightly. Why does the Life Detector show 3? I answer Someone is still alive and hidden in the room . Present in Scene: Where is the killer hiding? I select the Sanctified Cremator . Refutation – Hyper 2, Statement 3: I present Six Hours Unconscious as the counter. Bad Ending Choice: I can view this chapter’s bad ending by choosing Turn On the Cremator , otherwise, I select See Who the Killer Is to proceed. Refutation – Hyper 3, Statement 1: Here, I present the Bloodstained Knife to clarify. Next Scene Present: I again point to the Sanctified Cremator . Last Evidence Point: To prove Lena’s innocence, I check Lena’s body . Why did the killer use the cremator? I choose Wear the victim’s clothes, then burn the clothing . Refutation – Hyper 4, Statement 1: Returning to the Life Detector (3) again. Scene Analysis: Which three things changed? I highlight the Dial , Life Detector , and Clock . What’s absent? I answer with The Left Side . Who is impacting us? I declare Kizuna . Proving Kizuna’s Pathosync: I present Kizuna’s Past as evidence. Refutation – Kizuna 1, Statement 3: I reference Bones on Scene for proof. What proves Kizuna’s innocence? I choose The Dial Switch . Who activated the Sanctified Cremator? The answer is Lena .
Trial Questions in Order
- Refutation – Hyper 1, Statement 3: “Besides the Proxy, you’re the only one here.” I present Life Detector (3), which shows that another person is present.
- What did the Life Detector show when we entered? I choose 4.
- Is Hyper correct that there are two victims? I choose Incorrect. There is only enough ash for one body.
- What could turn the mask into a blunt weapon? I answer Ashes and bone fragments, packed into the mask like heavy objects inside a bag.
- Why does the Life Detector currently show 3? I choose Someone is still alive and hidden in the room.
- Present in Scene: Where is the killer hiding? I select the Sanctified Cremator, the only space large enough to conceal a person.
- Refutation – Hyper 2, Statement 3: “No one could hide in heat like that.” I present Six Hours Unconscious. Enough time has passed for the cremator to cool down.
- Bad Ending Choice: Turn on the Cremator or see who the killer is? To view this chapter’s bad ending, I choose Turn On the Cremator. To continue the trial, I choose See Who the Killer Is.
- Refutation – Hyper 3, Statement 1: “The victim was burned to death.” I present Bloodstained Knife. The knife’s blood must have come from the victim’s wounds, since we have no injuries.
- Present in Scene: Where is the killer hiding? I select the Sanctified Cremator again, specifically the hollow space underneath the plate.
- Present in Scene: What proves Lena did not use the knife? I click Lena’s clothes/body. There is no blood on her clothing.
- Why did the killer need the cremator to destroy bloody evidence? I choose Wear the victim’s clothes, then burn the clothing.
- Refutation – Hyper 4, Statement 1: “Besides you and Lena, there’s no one in this room.” I present Life Detector (3) again.
- Present in Scene: Which three things changed? I point to the Dial, Life Detector, and Clock.
- What is missing? I answer The Left Side.
- Who is affecting us? I select Kizuna.
- What proves Kizuna’s Pathosync? I present Kizuna’s Past, which describes her hemispatial neglect.
- Refutation – Kizuna 1, Statement 3: “You have no proof I touched anything.” I present Bones on Scene, which were found only on the right half.
- What proves Kizuna could not commit the murder? I choose The Dial Switch, because the control needed to activate it is on the left.
- Who activated the Sanctified Cremator? I answer Lena.
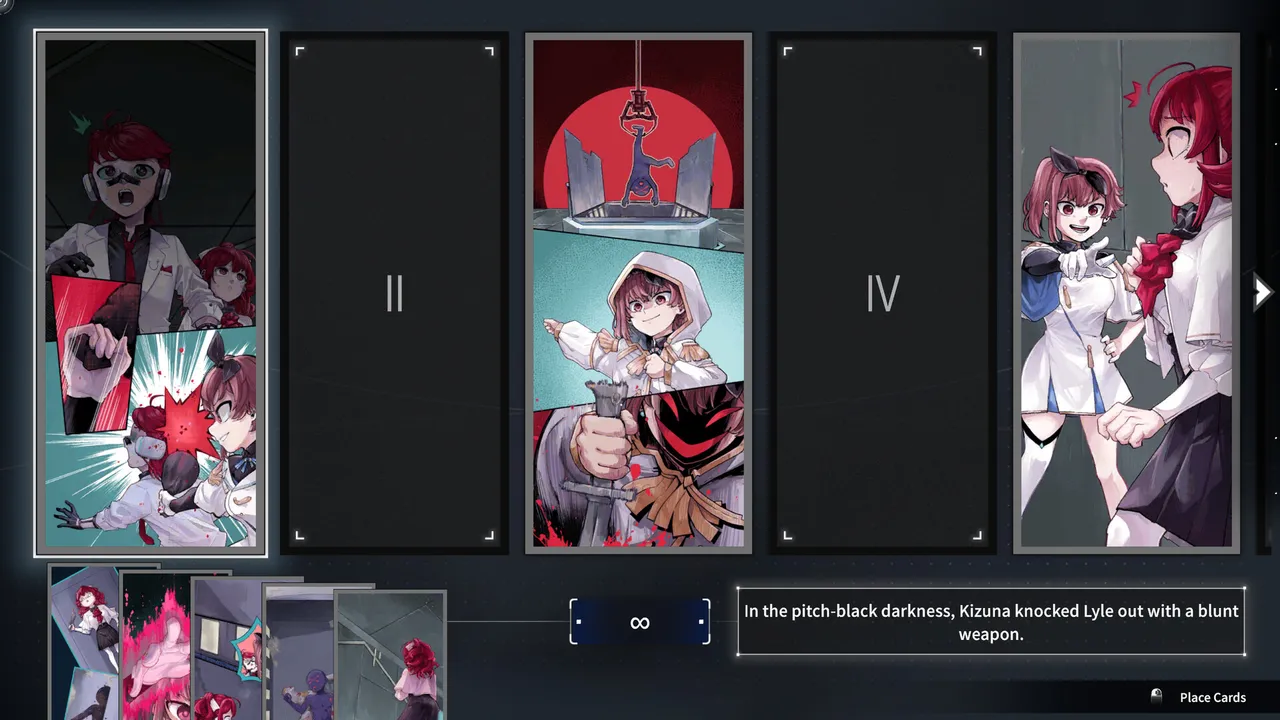
After addressing the questions, I summarize the case effectively. Slide II – Why did Lena have to obey Kizuna? I use the image of Lyle taken hostage . Slide IV – Where were the bloodstained clothes placed? I select the corpse and clothes inside the Cremator . Slide VI – What did Lena carve? I choose “I’m the culprit.” Slide VII – What else did Kizuna prepare? I use the image of the staged knife, corpse, and mask . Slide VIII – Who activated the Pathosync? I select Kizuna activating her Pathosync .
Final refutations play a crucial role, especially for:
Kizuna 2, Statement 4: I present the Testimony of Kizuna as proof of her position during the incident.
- Slide II – Why did Lena have to obey Kizuna? I use the image showing Lyle taken hostage.
- Slide IV – Where were the bloodstained clothes put? I select the corpse and clothes inside the Cremator.
- Slide VI – What did Lena carve? I choose “I’m the culprit.”
- Slide VII – What else did Kizuna prepare? I use the image showing the staged knife, corpse, and mask.
- Slide VIII – Who activated the Pathosync? I select Kizuna activating her Pathosync, shown by her red hand.
Final Chapter 1 Refutation
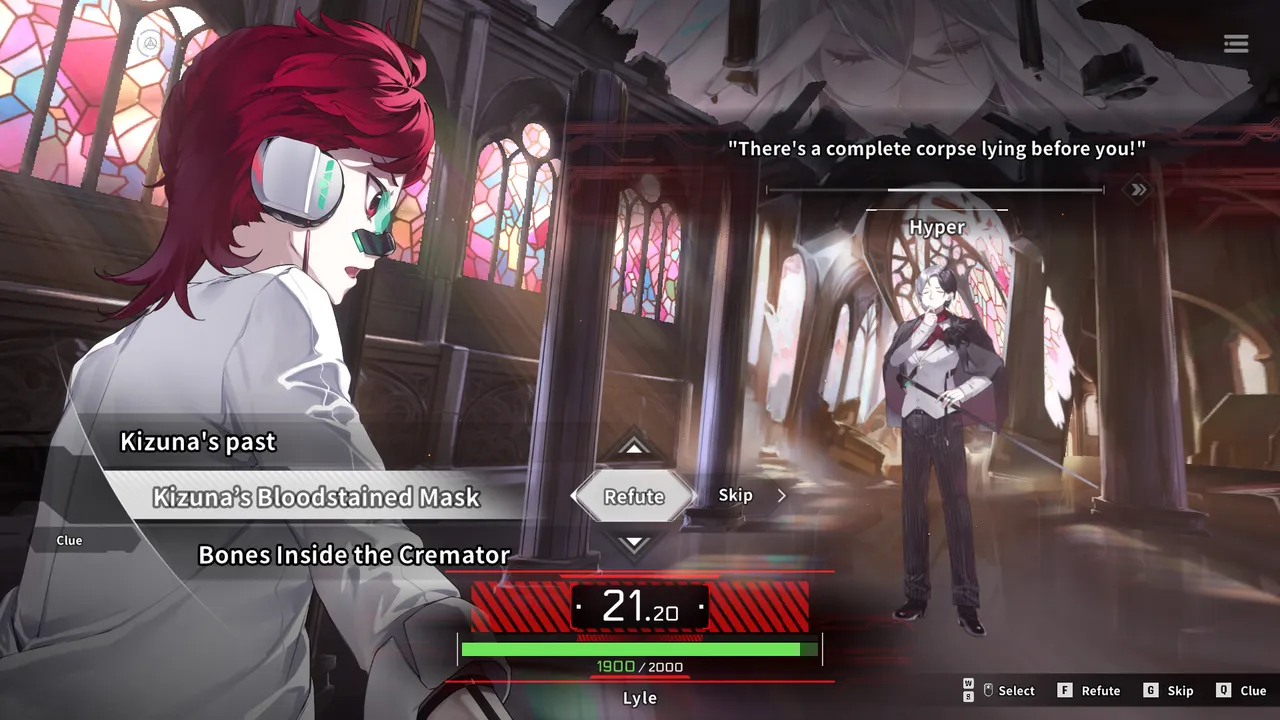
On my second visit to the Hierarch’s Room, my checks cover all critical Doors, the central area of the Portrait Wall, Eirys, and Proxy.
- Who is the charred corpse? I focus my suspicion on Silas.
- Bad Ending Choice: Should Fayse leave? I select Yes to move forward; No is a game over.
- What triggers the Hierarch’s Room death trap? My choice is Someone dying inside.
I wrap things up by inspecting the Charred Head, Broken Skylight, Sea Angel Marking, Body, Fragments in Front of the Statue, Breathing Apparatus, and then conclude at Silas’s Bedroom with checks on the Letter and Memory Chip .
On my initial visit to the Chamber of Offering, I inspect critical objects: Offering Chamber Door, USB Drive, Luke Photo, Outfit, Bank Knife, Crumpled Note, Feather, Treasure Chest, and Sea Angel Tank . Conversations with Eirys, Believer, and Fayse also yield important clues; I finish their conversation topics. Eirys’s third topic prompts me to respond with Alice , as a celebrated actress given in the context.
Continuing, I hit the Dining Hall, Lounge, and Outside the Infirmary. After checking these locales, progression continues:
- Scene Present: Identify suspicious details in the photograph. I focus on the bite mark on the body, the Murder Mark, and the blood-written text beneath the mark.
- Timing Assessment: When could the dismemberer enter the infirmary? I respond, During Limb Severance activation.
On visiting the Infirmary, I inspect the Infirmary Door, Wire Saw on the bed, Murder Marking, Clock, Sea Angel Box, and Proxy.
- How did the Dismemberer disappear from the room? I select Hidden in the Room, blended in when we entered.
- Who is the prime suspect? No correct answer is established, allowing any choice.
Returning to the Chamber of Offerings, I check the Door, Small Window, Cotari (Murder Marking, stumps, Alabaster Box), the Alabaster Box Lid, Severed Limbs, Believer, Clock, and Sea Angel. I note the vibration blade is missing, although it’s not a specific hotspot for investigation.
Next, the Infirmary field requires inspected Believer, Blood on the Floor, Cotari (leg, hand, and Murder Marking), Bandages, Clock, and the Sea Angel Box . My answer to What’s missing in the room? is simply The Lower Legs .
Completing the Chamber of Offerings, I check the Door, Elian, Silas, Alabaster Box, Pattern Made of Severed Limbs, Believer, Eirys, Clock, and Sea Angel.
I round out this investigation segment in the Infirmary, inspecting Cotari (Nano Knife, Murder Message), Clock, and Dada.
Dining Hall, Lounge, and Outside the Infirmary
After the next scene, I visit the Dining Hall, Lounge, and Outside of Infirmary. Once I have checked all three locations, the story continues.
- Present in Scene: Which three details are suspicious in the photograph? I point out the bite mark on the breast, face, or scalp; the Murder Mark in blood; and the blood-written text beneath the mark.
- When could the dismemberer enter the infirmary? I choose During Limb Severance activation.
Infirmary – First Visit
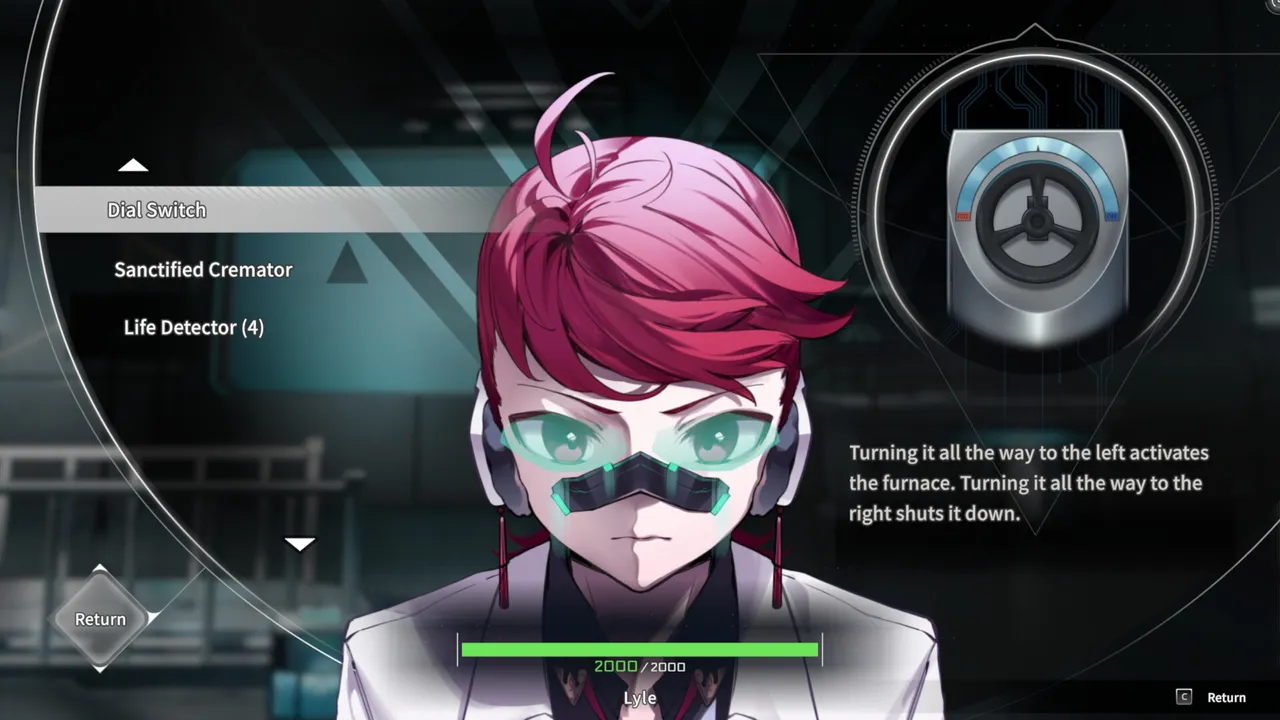
I examine the Infirmary Door, Wire Saw on the bed, Murder Marking, Clock, Sea Angel Box, and Proxy.
- How did the Dismemberer disappear from the room? I choose Hidden in the Room, blended in when we entered. Everyone had been accounted for, so the culprit could not have left.
- Who is the prime suspect? There is no correct answer to this question, so I choose any option.
Chamber of Offerings – Second Visit
On my return, I check the Door, Small Window, Cotari (her Murder Marking, stumps, Alabaster Box, and the mark at the bottom of the box), Alabaster Box Lid, Severed Limbs, Believer, Clock, and Sea Angel. I also note that the vibration blade is missing, even though that is not an investigation hotspot.
Infirmary – Second Visit

I check Believer, Blood on the Floor, Cotari (her leg, hand, and Murder Marking), Bandages, Clock, and the Sea Angel Box.
What is missing from the room? I answer The Lower Legs.
Chamber of Offerings – Third Visit
I inspect the Door, Elian, Silas, Alabaster Box, Pattern Made of Severed Limbs, Believer, Eirys, Clock, and Sea Angel.
Infirmary – Third Visit
I finish this part of the investigation by checking Cotari (Nano Knife and Murder Message), the Clock, and Dada.
Chapter 2 – Trial Answers and Refutations
As I enter the trial phase for Chapter 2, I outline critical responses for success: Refutation – Hyper 1, Statement 3: I present the Infirmary Key , held by Alice. What starts the case? I select A Believer’s limbs being severed by the Dismemberer . Refutation – Everyone 1, Hyper’s Statement 6: I challenge this by presenting the Wire Saw . Strangeness of wire saw use? I confirm There was not enough time to commit the crime . Refutation – Raze 1, Statement 8: I present Cause of Believer’s Death . Refutation – Eirys 1, Statement 5: I submit Logic Church’s Neutrality . Why are there many Believers? I answer For participants to use . Refutation – Everyone 2, Elian’s Statement 3: I utilize Dada’s Strange Behavior . Scene Present: What’s wrong with the window theory? I select the Window . Physical control over Cotari? I assert Alabaster Box Lid . Proof of the Alabaster Box Lid being involved? I point to Blood on the Alabaster Box Lid . Refutation – Everyone 2, Raze’s Statement 8: I respond with Writing on Alabaster Box . Refutation – Hyper 2, Statement 3: I present Eirys’ Testimony . What triggers Dada’s episodes? I choose A strong smell of blood . What proves Dada is a cannibal? I answer Bite Marks . Refutation – Dada 1, Statement 3: I respond with Cotari’s Cause of Death . Refutation – Everyone 3, Elian’s Statement 7: I present Proxy’s Testimony . Did Cotari have lower legs when we first entered the Infirmary? I assert No . Why was the Believer murdered first? I go with To establish the sequence “hands first, then legs.” . How could we have seen Cotari with legs? I claim Someone else’s legs were attached to Cotari . Refutation – Everyone 4, Alice’s Statement 9: I counter with Cotari’s Bleeding Rate . Scene Present: What connected the lower legs? I choose Bloody Bandages on the Floor . Who could have entered the Infirmary? I select Alice . Refutation – Alice 1, Statement 5: I present Time Away from Room . Refutation – Hyper 3, Statement 4: I submit Logic Church’s Neutrality .
As the Chapter 2 trial prompts continue, I must address the following:
- Bad Ending Choice: Should I Accuse, declare innocent, or shift discussion? Opting for Accuse leads to a bad end with no achievement. I select Declare Innocent or Shift Discussion.
- Accomplice Analysis: I confirm They acted alone, as rules dictate that only the Werewolf can exert deadly force.
- Refutation – Everyone 5, Raze’s Statement 8: I counter with the fact that Eirys is blind.
- If there were no accomplices and the key lay in Eirys’s voice-activated dog, what then? I assert Once the room was sealed, no one could tamper inside.
- Who is the Dismemberer? I choose Raze, as she was in the vicinity.
- Why were limbs swapped unnoticed? I determine Limb Severance altered everyone’s perception.
- Refutation – Raze 2, Statement 1: I present the Location Map.
- Refutation – Everyone 6, Fayse’s Statement 12: I counter using Cotari’s Cause of Death.
- Scene Analysis: Where did the Dismemberer hide? I assert from the Believer.
- Possible Dismemberer? I recognize Anyone without an alibi while both rooms were guarded.
- Reason behind the limb arrangement? I conclude To mark where Cotari’s legs were.
As I summarize for Chapter 2, I use the following images: Slide II – What did Raze see through? Dada eating flesh . Slide IV – What idea was suggested? Hands, then legs, then the death message . Slide V – Who was pushed inside? Raze pushing Cotari’s wheelchair . Slide VII – What did Raze prepare for the Chamber discovery? Sea Angel limb pattern . Slide IX – What did Raze do in the chaos? Swapped the limbs inside the box . Slide X – What did Raze do prior to room sealing? Prepared the drinks and put on the disguise . Slide XIII – What did we see upon rushing into the Infirmary? Falling bandages and missing legs . Slide XIV – Who was left alone in the Infirmary? Raze about to stab Cotari . Slide XV – What did Raze do to Cotari? Stabbed her .
In the final decision of Chapter 2, I choose Agree. Choosing Disagree leads to the bad ending as with previous wrong accusations. One letter read after this choice doesn’t affect outcomes.
With Chapters 1 and 2 tackled, I launch into Chapter 3’s intense investigation sequences.
Chapter 3 opens with significant decisions that shape the investigation: Why is it an issue that the Proxy does not announce Werewolf kills? I answer We cannot tell whether the Werewolf killed them . Should I use the Seer power now or later? This choice has no effect , as Lyle stands firm on using it. Should Fayse take the lead? Again, the outcome is unchanged regardless of response.
In the Lounge, I make certain to converse with every character, exhausting all topics for comprehensive insights.
- Silas’s third topic: I answer, Their death would not stop the selection.
- Fayse’s second topic: I choose Silas for potential paternal ties.
- Hyper’s first topic: I affirm They faked their death.
Outside the Hierarch’s Room, I inspect the door and the Proxy to gather further context before entering. Inside, my examination focuses on Lena, Dada, Hanging Clothes Replicas, Fayse, the Bust behind Fayse, the Sea Angel Crown (positioned high up for a clear view), Believer, and Proxy.
- Should we investigate further? This decision bears no impact on the narrative.
- Why can Fayse not rest? My answer here is Because she is about to die.
- Could Dada fit through a narrower window? I confidently select No.
- Why did Alice shrink mysteriously? My answer remains Pathosync.
- What if the knife thrust was directed? I respond Yes.
The investigation splits between visiting the Art Room or the Archive first; I cover both to ensure a complete investigation. In the Art Room , I assess crucial items: Door, Believer, Art on the Back Wall, Sea Angel Lantern, Suspended Paintings, Saw Handle, and Plaster Barrels . Inquiries from Back Wall Art: I conclude There are faces everywhere in the room . What explains the Hierarch’s varied portraits? I determine The Hierarch can change their appearance .
Moving on to the Archive, I conduct my check on the Door, Believer, Terminal, Fayse, ???/X Locker, Kizuna’s Locker, and Lena. Following the visits, several scenes progress, deepening the story’s intrigue.
I return for a second look at the Art Room, focusing on Lena, Alice, Hyper, Eirys, Back Wall Paintings, Suspended Paintings, Body, Bloody Statue Gouges, Burnt Plaster Bucket, Syringe, and Proxy . Hyper: If Silas has died, who is the killer? I state Everyone except Eirys . Back Wall Paintings: Who would feel unwell from the artworks? I decide on Fayse . Body: Why was the head cremated? I suggest To make the victim unidentifiable . What’s wrong with Alice’s deactivation theory? I choose The cutting machine resets upon deactivation . Possibility of a hiding Silas? I answer Hanging upside down on the statue . Who holds the Face Erasure ability? I discern Fayse . Bad Ending Choice: If I call for a trial now , I face an unexpected bad ending, thus I Delay to continue my investigations.
Returning for a second examination of the Archive, I focus primarily on the Terminal , while also checking Raze’s and Cotari’s Lockers for lore. Which role is Silas not? My answer is Werewolf , confirming there’s one per round as established earlier. Should Fayse be contained? This choice bears no influence . On my third visit, I address the three broken Lockers and the Memory Chip .
- Why is it a problem that the Proxy does not announce Werewolf kills? I answer We cannot tell whether the Werewolf killed them.
- Should I use the Seer power now or later? The choice has no effect. Lyle insists on using it.
- Should Fayse take the lead? Either response has no effect, since Lyle allows her to lead.
In the Lounge, I talk to everyone and go through every available topic.
- Silas’s third topic: Why does the Hierarch not fear being killed? I answer Their death would not stop the selection.
- Fayse’s second topic: Who could theoretically be her father? I choose Silas, the only participant old enough.
- Hyper’s first topic: How could the Hierarch have died in a previous round and still be alive? I answer They faked their death.
Outside the Hierarch’s Room and Inside the Room
Outside the Hierarch’s Room, I examine any door and the Proxy. Inside, I check Lena, Dada, Hanging Clothes Replicas, Fayse, the Bust behind Fayse, the Sea Angel Crown (by angling the camera up), Believer, and Proxy.
- Should we investigate? This decision has no effect; Lyle vetoes it.
- Why can Fayse not sleep? I select Because she is about to die.
- Can Dada fit through a window narrower than her body? I answer No.
- Why did Alice suddenly shrink? I answer Pathosync.
- Could a Pathosync-warped knife cut flesh 30 cm away? I answer No.
- What if the knife were thrust toward the target? I answer Yes.
Art Room and Archive – First Visits
The game offers the Art Room or the Archive first. I visit both locations during the investigation.
In the Art Room, I inspect the Door, Believer, Art on the Back Wall, Sea Angel Lantern, Suspended Paintings, Saw Handle, and Plaster Barrels.
- Back Wall Art: Why does Fayse feel dizzy? I choose There are faces everywhere in the room.
- Why does the Hierarch look different in every self-portrait? I select The Hierarch can change their appearance.
In the Archive, I check the Door, Believer, Terminal, Fayse, ???/X Locker, Kizuna’s Locker, and Lena. After I have visited both rooms, several scenes play.
Art Studio – Second Visit
I inspect Lena, Alice, Hyper, Eirys, Back Wall Paintings, Suspended Paintings, Body, Bloody Statue Gouges, Burnt Plaster Bucket, Syringe on the central floor, Proxy, and Fayse.
- Hyper: If Silas has died, who could the killer be? I answer Everyone except Eirys.
- Back Wall Paintings: Who would feel ill from the portraits? I choose Fayse.
- Body: Why was the head burned? I select To make the victim unidentifiable.
- What is wrong with Alice’s theory about deactivating the cutting machine and using the remote? I choose The cutting machine returns to its default position whenever it is deactivated.
- Where could Silas have hidden inside the Art Studio? I answer Hanging upside down on the statue, which would make him the supposed victim.
- Whose ability is Face Erasure? I choose Fayse.
- Bad Ending Choice: Call for a trial or delay? Calling a trial now causes a bad ending. I choose Delay to keep investigating. Under the rules, a Werewolf wins immediately if a trial begins before a death.
Archive – Second and Third Visits
On my second visit to the Archive, I only need the Terminal, although Raze’s and Cotari’s Lockers contain additional backstory.
- Which role is Silas not? I choose Werewolf. There is one Werewolf per round, and Fayse’s role is already established.
- Should Fayse be confined? The choice has no effect; she vetoes it.
On my third visit, I inspect the three broken Lockers and the Memory Chip.
Hierarch’s Room – Second Visit
I inspect the Doors using the hotspot on the left, the center of the Portrait Wall, Eirys, and the Proxy.
- Who is most likely the charred corpse? I answer Silas.
- Bad Ending Choice: Should Fayse be allowed to leave? I choose Yes to continue; No causes a game over.
- What triggers the Hierarch’s Room death trap? I choose Someone dying inside.
Art Room – Third Visit and Silas’s Bedroom
I return to the Art Room and examine the Charred Head, Broken Skylight, Sea Angel Marking, Body, Fragments in Front of the Statue, Breathing Apparatus, and Fayse.
Finally, in Silas’s Bedroom, I examine the Letter and Memory Chip.