
Below the Stone is a roguelike survival game that challenges you to explore the depths of a cave beneath the Dwarven Kingdom. As you navigate through these caverns, you’ll rescue lost inhabitants who help craft essential gear for your adventures. Expect to scavenge for resources, construct upgrades, and prepare to face the lurking monsters in the shadows.
This piece will share seven vital tips to smooth out your initial hours in the game. It’s all about setting a solid foundation to ensure your survival as you dive deeper into the abyss.
Before you plunge into your next run, make sure you familiarize yourself with the NPCs and quest system to maximize your resources and item collections.
In this guide, we’ll give you 7 handy tips and tricks to help make the early hours in the game easier.
This article is part of our Below the Stone Guides Hub.
For more information about Below the Stone, check out its Steam page here.
- Understand the Quest System
- Always Work Toward Better Gears
- Don’t Run In Blindly
- Learn the Enemy’s Attack Patterns
- Upgrading the Bank is a Priority
- Let the Map Guide You
- Be Mindful of What You Pick Up
Understand the Quest System
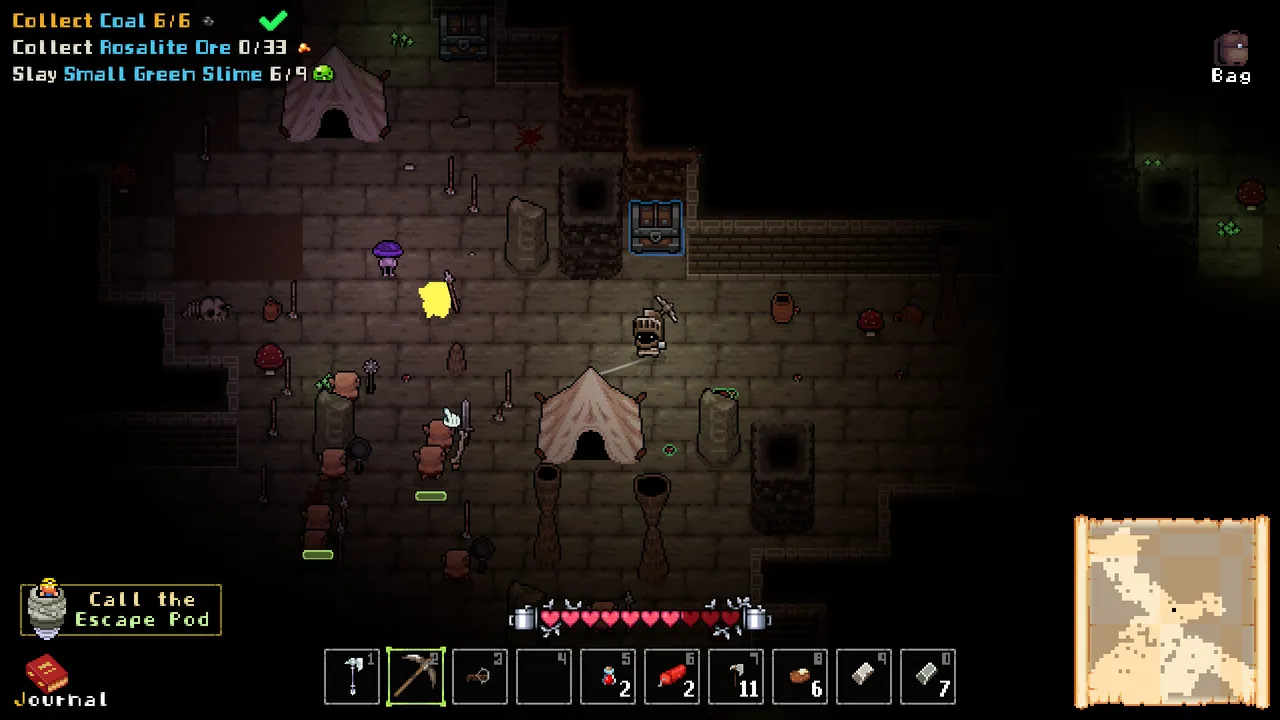
During your adventures in Below the Stone, you’ll encounter various quests that drive your progress. Familiarizing yourself with how these quests operate is crucial for advancement in the game. Story Progression Quests are given by the Head Explorer, located to the right near the exit.
Engaging with different NPCs in the Dwarven Kingdom will reveal side quests that unlock new items and recipes in their shops. Don’t miss these early quests; they often lead to upgrades that make your later dives much easier.
You can also pick up Objectives from the Foreman, an NPC seated by the gate. He allows you to select up to three Objectives from a list you must complete to earn Coins and other rewards. It’s mandatory to select at least one Objective before each run.
To successfully complete a run, focus on accomplishing at least one Objective, then reach an Escape Pod to exit. Prioritize NPC quests to maximize your rewards.
Always Work Toward Better Gears
The upgrade system in Below the Stone can be a bit underwhelming at first. On dying during a run, you lose all your hard-earned equipment, forcing you to start over with just a Mining Helmet, a Rusty Pickaxe, and a Rusty Sword. Your longevity in these depths hinges on continuously upgrading your gear.
Initially, you’ll unlock three vital NPCs:
- The Blacksmith: Crafts armor, weapons, and tools from ores like Iron, Copper, or Tin.
- Craftmaster: Creates various tools and ranged weapons; you’ll need to find the Biotech Arms for her first as part of a Story Quest.
- Alchemist: Crafts potions, but must be rescued from the dungeon during a Story Quest.
In addition to these three, as you progress, you’ll encounter traders who offer various gear and upgrades. However, at the start, leverage the three NPCs to get strong early.
Use the Blacksmith to craft superior Armor Pieces that enhance your Resistances. Investing in robust Melee Weapons lets you deal better with threats during your dives.
Just bear in mind that if you die, those items are lost. Still, having upgraded gear significantly improves your chances of a successful run.
Don’t Run In Blindly
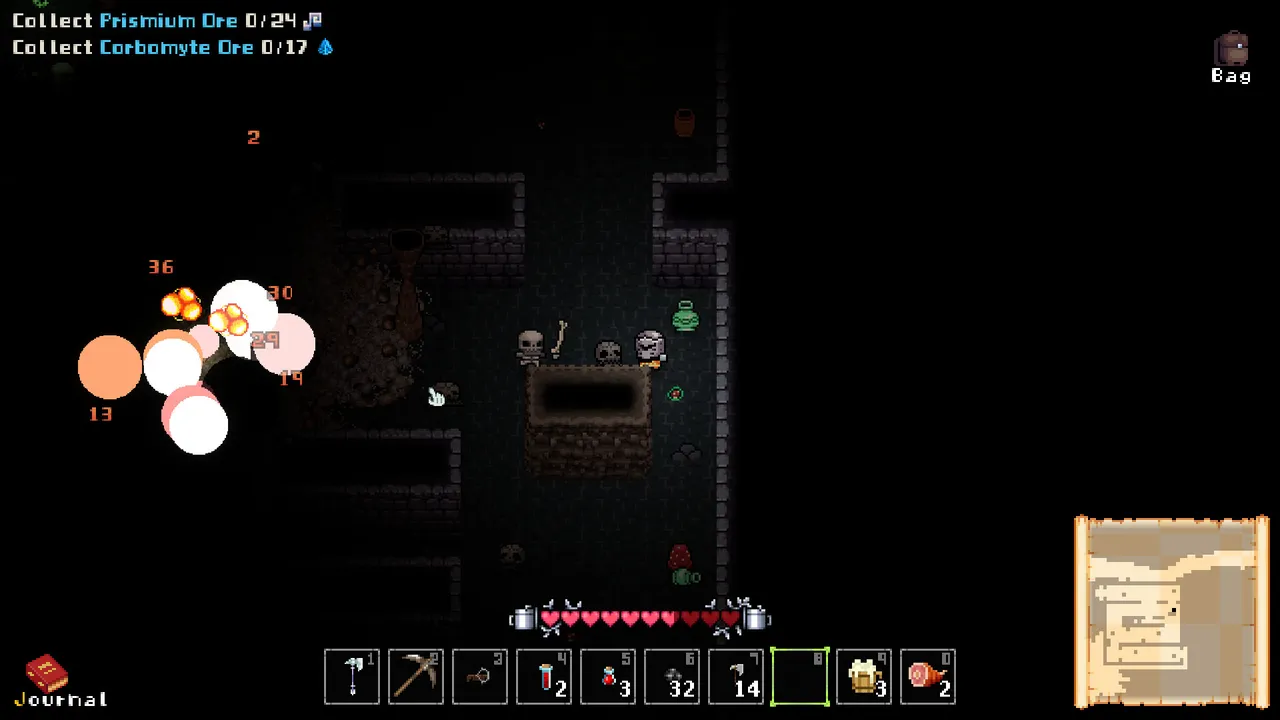
A valuable lesson learned quickly is the importance of strategy over reckless attacks. Enemies in this game tend to pursue you for quite a distance, so rushing into a mob can lead to dire situations, especially if you trap yourself in a dead-end. Take your time to aggro a few enemies and deal with them in manageable groups.
Attacking first can stun enemies momentarily, allowing you to avoid damage if you play it right. However, tackling multiple foes simultaneously can lead to being flanked.
Watch out for lurking Archers who can hit you from afar while you handle melee threats. Narrow passages are great places to draw enemies and take them out one by one.
Learn the Enemy’s Attack Patterns
Each layer hosts various enemies, each with distinct attack patterns. For instance, Tattie enemies charge at you when they sense your presence and drop Potatoes upon defeat, while Big Green Slimes split into Medium and then Small slimes when killed.
Knowing how each enemy behaves will help you dodge damage and navigate through your Objectives safely. The enemy density varies per biome; for example, Slime Caves have many Slime enemies, while Spider’s Nests are filled with Brown Spiders and Baby Spooders.
Upgrading the Bank is a Priority
Your Bank serves as the storage for your loot after each run. At the game’s start, you only have a small storage space of 3×3 tiles, which isn’t sufficient given the loot-heavy gameplay. Luckily, you can expand your storage by using Coins.
Once you’ve secured a decent set of gear, upgrading the Bank should be your next focus. This extra space allows you to keep your materials and spare Weapons and Armor Pieces, ensuring you have backup items even if a run fails. Consistent upgrades will come in handy as you progress.
Let the Map Guide You
The zones in Below the Stone are expansive, featuring multiple biomes. Fortunately, a map helps you stay oriented.
This map indicates key locations, including Lodestones, Broken Escape Pods, Structures, and Dungeons. If a character rescue quest is active, the character’s position will also appear.
Activating a Lodestone unlocks other Lodestones and Dungeons on your map. Use these locations as objectives in your runs. If your goal is a fast progression to the second Layer, direct your efforts toward the Cave Troll and eliminate it—or avoid the area as you explore other paths.
Be Mindful of What You Pick Up
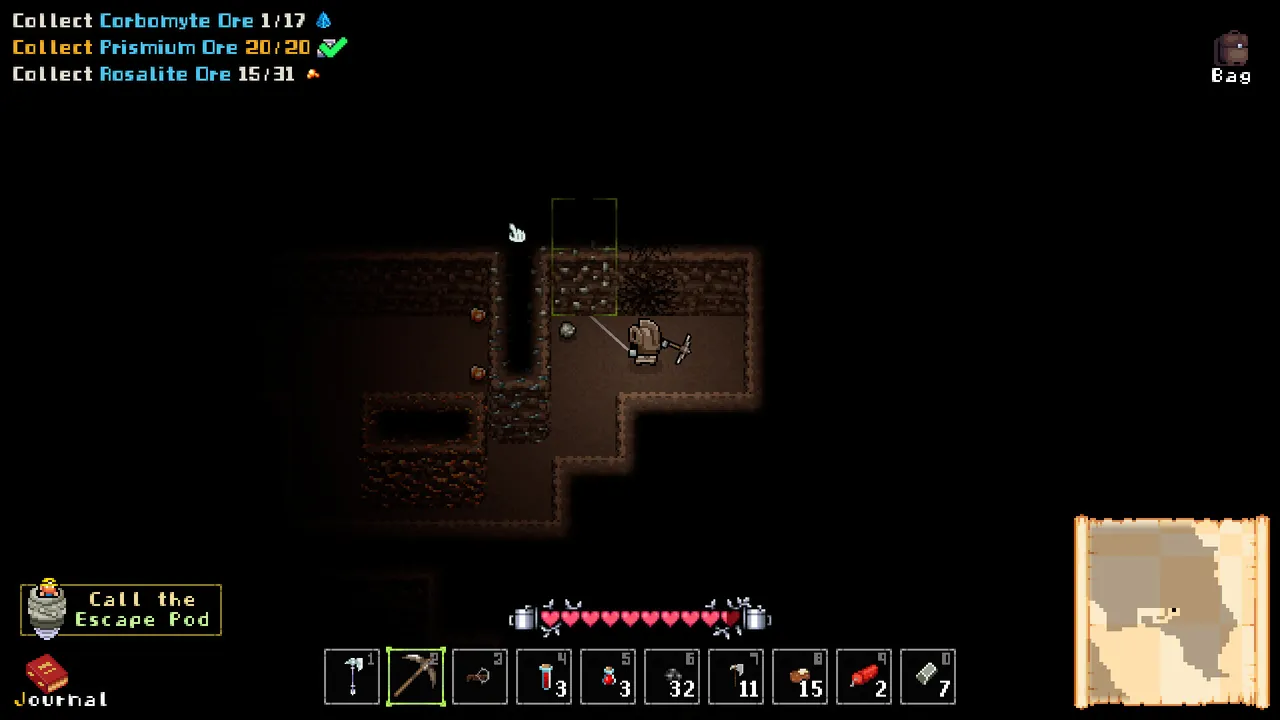
Exploring and gathering resources are fundamental in Below the Stone. You’ll encounter a variety of items, from ores to ammunition and flares.
Anything picked up in the Bag will be safely taken back to the Dwarven Kingdom upon successful escape. Your Bag fills up surprisingly fast, so be cautious!
Just because there’s a Tin Ore deposit nearby doesn’t mean you need to mine it. While Tin Armor and Weapons are handy at first, you’ll soon surpass them as you find Copper and Iron Gear. Anything you gather that you won’t use shouldn’t fill your limited inventory.
Efficiency is key while scavenging since your inventory is finite; prioritize collecting resources that will benefit your progress.
Now that you’re armed with these tips, dive into Below the Stone and enjoy the adventure ahead!
Muhit Rahman lives off two things: gaming marathons and endless cups of tea. He writes guides, reviews, and occasionally forgets that real life doesn’t come with checkpoints. His favorite genres are Soulslike and Metroidvania, with Dark Souls III, Hollow Knight, and Dota 2 forever holding top spots on his all-time list.