
Selling your factory in Can ‘Em All resets your current progress but grants permanent upgrades, giving you welcome boosts in future runs. Although you lose purchased weapons and previous upgrades, you can invest the Gears or credits earned from the factory sale into valuable permanent bonuses.
Your permanent upgrade options include damage, profit boosts, starting cash, and movement enhancements. Picking the right upgrades early can save you significant time in subsequent runs, helping you progress more efficiently.
This article details every permanent upgrade available in Can ‘Em All, from their costs and benefits to the ideal order for purchasing them. You’ll also learn how many Gears you need to unlock every upgrade and when it’s strategically wise to sell your factory to maximize your next run.
You can unlock upgrades for damage, profits, starting cash, and movement. However, choosing the right upgrades early can save you a lot of time during your next run.
This guide covers all permanent upgrades in Can ‘Em All, including their costs, benefits, and the best order to purchase them. You’ll also find out how many Gears you need to unlock every upgrade and when it’s worth selling your factory to get the most out of your next run.
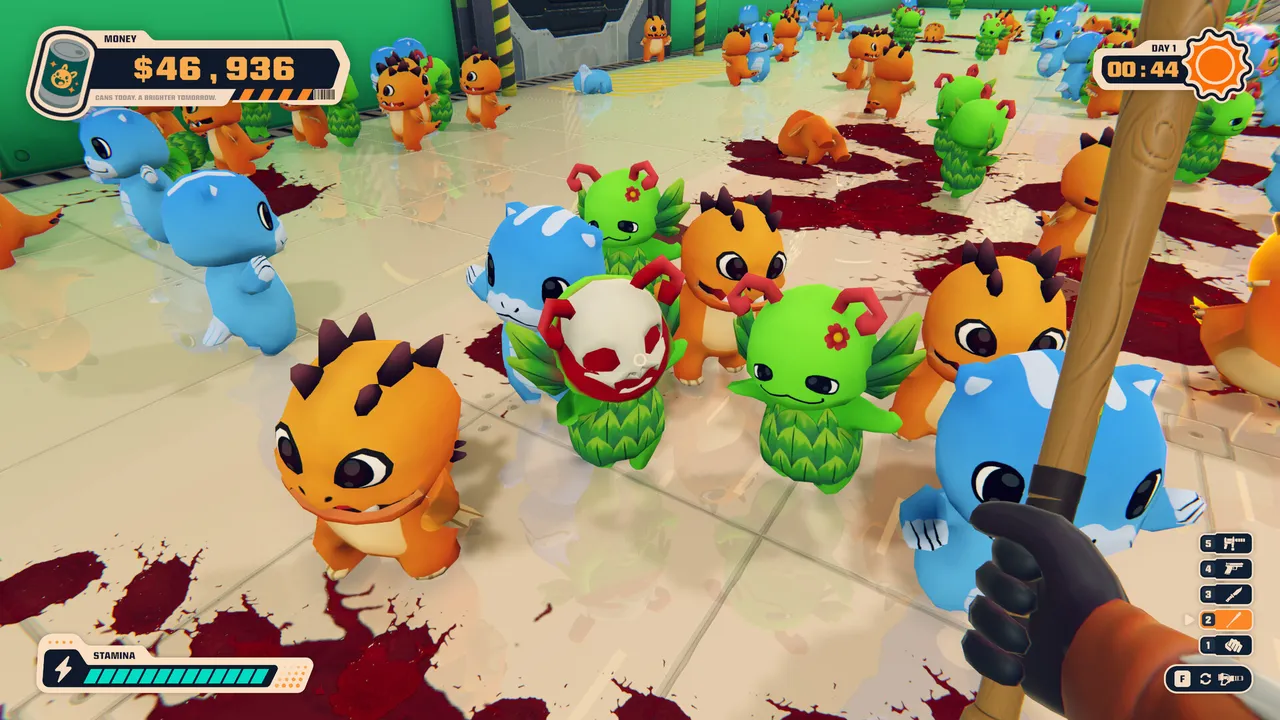
To unlock permanent upgrades, you need to advance far enough in the game to receive an email offering the chance to sell your factory. You’ll face two choices:
Once you progress far enough, you will receive an email giving you the option to sell your factory.
- Continue Working: Retain your current factory, weapons, and upgrades to keep hunting creatures and collecting money.
- Sell Your Factory: Reset your current progress in exchange for Gears to spend on permanent upgrades.
- Continue Working: Keep your current factory, weapons, and upgrades. You can continue killing creatures and earning money.
- Sell Your Factory: Reset your current progress and receive gears that you can spend on permanent upgrades.
After selling, you restart from zero, but all permanent upgrades are available for your future runs.
There are several categories of upgrades: damage, profit, starting cash, and movement. It will take around 570–600 Gears to unlock the entire upgrade tree.
There are several upgrade categories, including damage, profit, starting cash, and movement.
You can unlock the entire upgrade tree with approximately 570–600 gears.
Damage upgrades enhance your ability to eliminate creatures quickly, reducing the hassle of dealing with tougher enemies.
These upgrades help you kill creatures faster and reduce the time spent dealing with higher-tier enemies.
| Upgrade | Cost | Effect |
|---|---|---|
| Brute Force I | 5 | Increases damage by 100% |
| Brute Force II | 10 | Increases damage by 100% |
| Brute Force III | 20 | Increases damage by 100% |
| Brute Force IV | 35 | Increases damage by 100% |
| Starting Shockwave | 15 | Increases chance of triggering a Shockwave |
| Lucky Hits | 20 | Increases critical hit chance |
| Damaged Delivery | 25 | Some delivered creatures arrive wounded |
| First Blood | 30 | Adds bleeding damage |
| Death Touch | 30 | Gives attacks a chance to instantly kill creatures |
Brute Force should definitely be one of your first priorities; its levels provide a consistent 100% damage increase. Opt for the cheaper levels first before spending on pricier options.
The Starting Shockwave upgrade is also handy. It boosts the chance of triggering a Shockwave, potentially wiping out lower-tier creatures instantly—this can save you both time and ammo.
Damaged Delivery helps against high-level enemies, as some creatures will arrive already injured, making them easier to take down.
While Lucky Hits, First Blood, and Death Touch are useful, it’s typically best to hold off on them until after you secure more reliable damage upgrades.
Starting Shockwave is another useful upgrade. It increases the chance of triggering a Shockwave, which can instantly kill lower-tier creatures and save you time and ammunition.
Damaged Delivery is helpful against higher-tier creatures because some of them arrive already wounded.
Lucky Hits, First Blood, and Death Touch are useful additions, but I would leave them until you have purchased the more dependable damage upgrades.
Profit upgrades directly enhance your earnings, allowing you to generate cash quicker in every run.
Profit upgrades increase your earnings and help you generate money faster during each run.
| Upgrade | Cost | Effect |
|---|---|---|
| Profit Boost I | 5 or 10 | Increases profit by 100% |
| Profit Boost II | 20 | Increases profit by 100% |
| Profit Boost III | Not confirmed | Increases profit by 100% |
| Profit Boost IV | 70 | Increases profit by 100% |
| Grinder Speed | 10 | Speeds up the grinding process |
| Luxury Cans | 20 | Increases value of shiny cans |
| Shiny Shipment | 25 | Makes your first daily meat shipment shiny |
| Cold Storage | 100 | Preserves unprocessed creatures and meat overnight |
Cold Storage is one of the most valuable upgrades here. It prevents any unprocessed creatures from going to waste overnight, letting you pick up right where you left off. It even retains surviving Cutelings until the next day.
Shiny Shipment is another smart investment. It ensures that your first daily meat shipment is shiny, providing a hefty boost to your income for that day.
Grinder Speed is also advisable to pick up early. This speeds up the processing of creatures, keeping your machines clear and efficient.
It’s often wise to hold off on Luxury Cans until later since the other profit upgrades usually yield better results.
Shiny Shipment is another strong choice. Your first meat shipment each day arrives shiny, which gives you a big boost to your daily income.
Grinder Speed is also worth purchasing early. It processes creatures faster and frees up space in your machines, allowing more creatures to move through the factory.
I would leave Luxury Cans until later. Although it increases the value of shiny cans, the other profit upgrades provide better overall benefits.
Starting Cash upgrades offer a financial boost as soon as you reset, allowing you to jump into purchasing weapons and other upgrades rather than grinding at the beginning of each run.
Starting Cash gives you money at the beginning of your next run. This helps you purchase weapons and upgrades sooner instead of repeating the slow early-game grind.
| Upgrade | Cost | Effect |
|---|---|---|
| Starting Cash I | 10 | Gives starting money |
| Starting Cash II | 25 | Gives starting money |
| Starting Cash III | 50 | Gives starting money |
Investing in Starting Cash III is a great move since it provides around 20,000 in starting funds, which can significantly aid your early game.
Usually, it’s best to grab these upgrades after you secure the more crucial damage and profit enhancements.
I recommend investing in these upgrades once you have purchased the most important damage and profit bonuses.
Movement upgrades are beneficial for overall gameplay, enhancing your character’s stamina and mobility during the game.
| Upgrade | Cost | Effect |
|---|---|---|
| Never Skip Leg Day | 10 | Makes stamina drain slower |
The upgrade Never Skip Leg Day reduces stamina loss, allowing you to run longer during your time in the factory.
Although it’s a solid quality-of-life upgrade, I’d recommend putting it at lower priority compared to others that provide more immediate benefits.
It’s a useful quality-of-life upgrade, but I would put it near the bottom of your priority list. Other upgrades provide much better benefits for your Gears.
When deciding the best order to purchase upgrades in Can ‘Em All , focus on improving damage, income, and starting money. Prioritize your purchases as follows:
You don’t need to purchase everything immediately after your first factory sale. Focus on upgrades that improve your damage, income, and starting money first.
- Cold Storage: Acquire this early to safeguard unprocessed creatures overnight.
- Brute Force: Invest in the cheaper tiers first to boost your damage quickly.
- Profit Boost: Start with the lower-cost tiers to maximize your earnings.
- Grinder Speed: Boost processing efficiency to keep your factory running smoothly.
- Starting Cash: Gain extra funds for your upcoming run.
- Starting Shockwave: Increase your chances of instant kills on lower-tier enemies.
- Shiny Shipment: Bolster your daily income with shiny shipments.
- Damaged Delivery: Make some more demanding creatures easier to manage.
- Luxury Cans: Further enhance the value of shiny cans.
- Lucky Hits, First Blood, Death Touch, and Never Skip Leg Day: These can wait until you have the essentials.
- Cold Storage: Buy this as early as possible to preserve unprocessed creatures overnight.
- Brute Force: Purchase the cheaper levels first to increase your damage.
- Profit Boost: Start with the cheapest available levels to improve your earnings.
- Grinder Speed: Process creatures faster and keep your machines running.
- Starting Cash: Get extra money for your next run.
- Starting Shockwave: Improve your chances of instantly killing lower-tier creatures.
- Shiny Shipment: Increase your daily income with shiny meat shipments.
- Damaged Delivery: Make some creatures easier to kill.
- Luxury Cans: Increase the value of shiny cans.
- Lucky Hits, First Blood, Death Touch, and Never Skip Leg Day: Purchase these after getting the more important upgrades.
When I reset my factory, I typically completed about three resets to acquire most of the permanent upgrades. Here’s a rough outline of my spending: First Reset – Around 125 Gears
I used three factory resets to purchase most of the permanent upgrades. Here’s how I spent my Gears during those runs.
During this reset, I focused on:
I purchased these upgrades:
- Cold Storage
- Starting Cash I
- Brute Force I
- Profit Boost I
- Grinder Speed
Prioritizing upgrades that would enhance my next run was my strategy rather than small item bonuses.
Second Reset – Around 160 Gears
For my second reset, the upgrades included:
- Brute Force II and III
- Starting Shockwave
- Profit Boost II
- Starting Cash II
- Shiny Shipment
- Luxury Cans
- Damaged Delivery
This selection helped speed up my gameplay and improved factory income considerably.
Third Reset – Over 275 Gears
During my final reset, I collected remaining upgrades surprisingly quickly.
You may want to adopt a similar strategy rather than waiting to gather enough Gears for everything at once.
One important tip: Avoid rushing to sell your factory the moment you’re able to. If your current run is generating a decent number of Gears, keep grinding and save up a reasonable total before making the decision to reset.
One important tip: Don’t rush to sell your factory as soon as the option becomes available. If your current run is still generating a good amount of Gears, keep playing and build up your total before resetting.