
To get through Chapter Two of Terrible Lizards, you’ll need to activate generators, solve puzzles, and stay ahead of the relentless Bronto. This chapter can be tricky, especially if you’re not prepared for the parkour sections and the back-to-back tasks. Players often get caught up in platforming or take too long on puzzles, losing time and resources.
As you delve deeper, be ready for quick reflexes and sharp thinking. You’ll find several tasks listed, each essential for progressing through the caverns and eventually escaping danger. It’s a mix of exploration, puzzles, and some pretty heart-racing moments.
Before diving into the details, make sure you have your controls sorted out and know your parkour skills. You’ll be doing a lot of jumping and crawling, so a little practice can go a long way!
- The First Generator
- The Second Generator
- Foreman Tower
- Escaping The Bronto
- Fixing The Keypad
- Exploring The Caverns
- The Three Sub-Switches
- Finding The Elevator
- The Padlock
- Dynamite Locker
The First Generator can be found shortly after starting. Keep moving straight until you hear Jordan call out to Stella. Turn left after the call, jump over crates, and hit the button to unlock the door on your right. Make sure to rush through the door as it starts closing. Follow the generator cable to find another button that opens an auxiliary-powered door. Prepare for some fast parkour—jump through the crates and gaps to reach it before it shuts. After turning on the generator, keep going through the cavern path. Once you drop down, head right and press the button to unlock the door, allowing your return to base.
Keep going straight ahead and wait for Jordan to call Stella. Head left after the call and jump over the crates here.
Press the button here to unlock the door on your right. Quickly run through the door and get to the other side before it closes.
You’ll find a generator cable here that you need to follow. Keep heading straight ahead to find another button that opens up an auxiliary-powered door. Get ready to do some quick parkour and jump through the crates and gaps to quickly reach the door before it closes.
You will find a generator here that you need to turn on. After powering up the generator, follow the linear path ahead through the cavern. When you jump down, head right and use the button here to unlock the door, which allows you to get back to base.
The Second Generator is located a bit further on. Move straight ahead and slightly to the right to spot a cable; crawl through the hole to find a lift you can use. This section involves more parkour, so stay nimble and keep moving. After some jumping across pillars, activate the generator to power it up. Crawl back to base by retracing your steps through the hole you came from.
For your next generator, head straight ahead and a little to the right to find a cable. Follow this cable through the small hole by crawling through this section. You’ll find a lift here, which you can use to gain some altitude.
Continue platforming towards your right, and you’ll find your generator at the end of this platforming section. Jump across gaps using the pillars and power up the generator on the other side. Make your way back to base by crawling through the same hole that you used to come here.
Foreman Tower awaits you next. When you crawl out of the previous area, turn left and head up the stairs. Use the code 0451 to unlock the office door. Inside, hit the red button to unlock the gate leading to the next section. Grab the camera from the table before leaving and continue through the caverns. There are some tough jumps ahead, so pay close attention to your movement.
Once you crawl out, turn left and climb up the stairs to reach the foreman tower. Use the code 0451 to unlock the office and get inside. Press the red button inside to unlock a gate in the base, which leads into your next area.
Before leaving the tower, make sure to grab the camera on the table located on the other side of the red button. Continue through the caverns and do a little platforming to go further underground.
In one of the platforming sections, you’ll have to climb up the shelf of crates and then make a jump to the next platform while controlling your movement in the air. You will eventually reach the next location after these sections.
Escaping The Bronto is a tense moment. Climb to the top, where a cutscene featuring Bronto will have you running for your life. Backtrack along the path you just took on the right, making sure to dodge obstacles while parkouring your way through.
Continue climbing towards the top to make your escape. A cutscene triggers at the end, which brings back Bronto, and you’ll have to run away from the monster.
Turn around and keep following the path on your right. Sprint your way through this section while also taking care of platforming in between.
Fixing The Keypad becomes your next objective after evading Bronto. As you navigate the caverns again, keep following the linear path until you find a platform to lower. Use this lowered platform to progress further, but watch out—it won’t be long before you need to fix the broken keypad near a bunker door. After getting the keypad fixed, go left to another set of platforms to continue your climb. You’ll eventually reach a working keypad near a gate where you can type in the code 0978 to unlock it and pursue onward.
Once you escape the Bronto, you’ll find yourself back inside the caverns. Keep following the linear path ahead until you find a platform.
Jump and hang on to the platform to lower it.
You’ll arrive at a lift, but it won’t be functioning. Head left, and you’ll find a bunker door with a broken keypad. The game requires you to fix the keypad so that you can move on to the next section.
Take another left from the keypad to arrive at more platforms that you can lower. Climb up the rocks and lower these platforms.
You can use them to climb on top of the railing, which you’ll need to follow. Head left after climbing the rocks to use the newly positioned platforms to reach the railing.
When the railing breaks down, head right and use the metal structures to continue climbing. When you reach the top, drop down towards the right.
Use the red button in your way to unlock the gate. Keep following the linear path ahead and jump down at the end.
You’ll find a working keypad here near the gate, which you can use to fix the keypad from before.
Exploring The Caverns will introduce balancing mechanics while navigating narrow paths with Stella. After more parkouring, Bronto will reappear, so stay on your toes and follow the right path through the caverns.
Keep heading straight to stay on course through this segment, where you’ll need to maintain composure amidst the balance challenges.
Exploring The Caverns
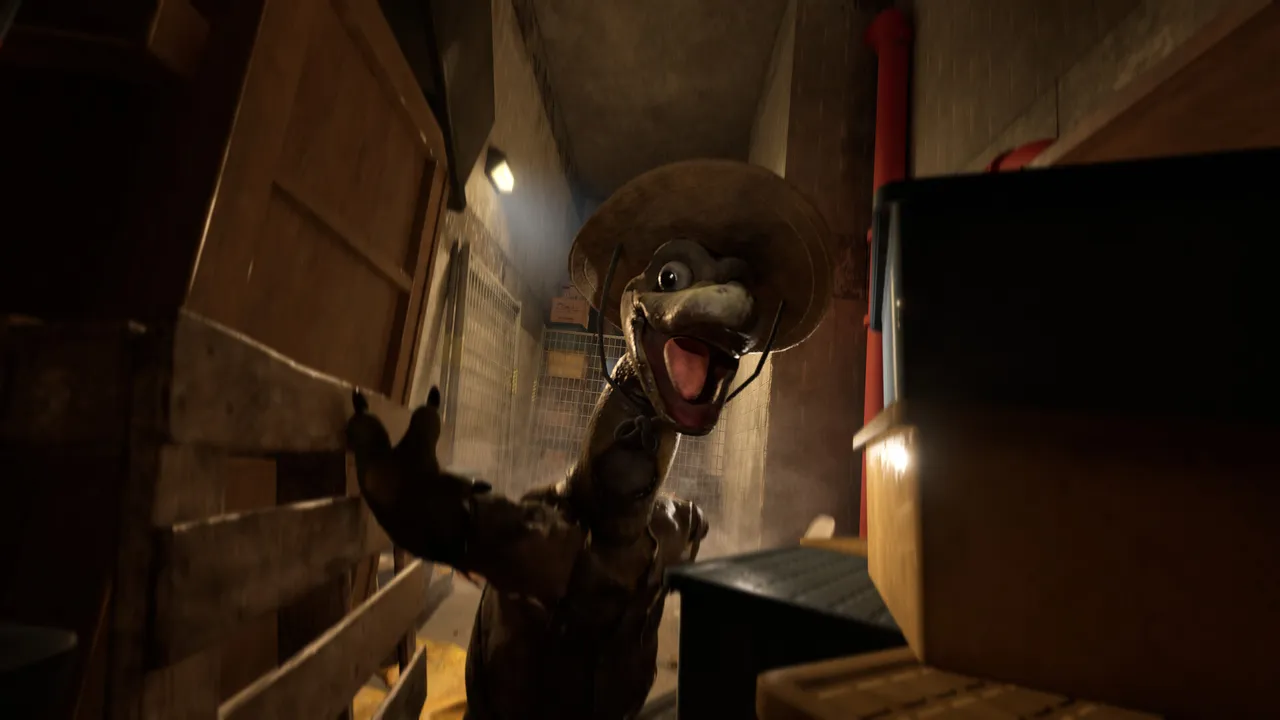
The game also introduces the balancing mechanic, and you’ll have to balance your character while crossing narrow passageways. You will also speak with Stella again during this long section of parkouring.
Bronto comes back when you start crawling through a narrow path in this section. Once it leaves, get out of this path and just follow the road on your right through the caverns. The parkouring is not done yet; just stick to the linear path ahead.
The Three Sub-Switches come next. Upon arrival, go right and up a ladder to find the first switch at the top. After activating it, continue towards your second switch. Head left again to spot your final switch. Bronto will begin hunting you again at this point. Make sure you consult Stella and be ready to sprint—finding the switches quickly is key to your escape!
After the parkouring section ends, you’ll arrive at your next location with a new mission. Head right first and go up the ladder.
Then take another right to spot ledges, which will take you to the first switch. You’ll find your first switch at the top.
Next, jump to your left and continue parkouring further ahead to reach your second switch. Head left again after turning on the second switch to find your final switch.
Bronto will start hunting you again at this point, so speak with Stella. You’ll have to find three more kill switches to find a way out of this situation.
Leave the bunker and run towards your right to find the first switch at the end. Sprinting is your best friend in this part.
Head left from the second switch and take another left when you come out of the tunnel to find the second switch. Next, go right from the location of the second switch to find your final switch.
Sprint through the tunnel on your right and just make a run for it towards the narrow passage at the end to escape the Bronto. Climb the rocks on your left when you crawl out and jump towards the platform in front. Continue following the linear path ahead, which also contains a lot of platforming.
Press the red button after the first parkour section and quickly make a run towards the auxiliary door on the other side. Use the ledges on your left to reach the door before it closes.
There is a huge climbing section waiting for you in the next part. Just keep looking upwards to spot the ledges that you can use to go up. You’ll arrive at the location of the lift at the end, and at this point you’ll call Stella once more.
Finding The Elevator
Stella gives you a code during the call, which is 1677, and you can use this on the keypad near the lift to gain access to another path. Use the ledges here to safely descend to the elevator shaft below. Continue descending until you reach the bottom.
When you reach the location of the elevator, head left to find a fuse box. You’ll need to find an extra fuse for it, which can be picked up from the table on the right side of the fuse box. Place the fuse back in its location.
Then use the crates on your left side to jump to the platform in front. Keep following the straight path ahead while platforming.
At the end, one of the platforms will break down. You’ll have to crawl beneath it to get to the other side.
You will eventually arrive inside an office with another auxiliary door button. Press the button, quickly run outside, and use the ledges in front of you to parkour your way to the door before it shuts down on its own.
The Padlock is your next hurdle. Along the linear path, you will encounter a padlocked gate. First, reach the top of a high rock to spot more ledges for traversal. After making your way over, grab the key from the gondola to open the gate. Get through the gate and keep progressing, but be prepared because Bronto returns to chase you again and you’ll need to run into the next area.
Finding The Elevator requires you to remember the code Stella gives you, 1677. Use this on the lift keypad to access further paths.
Follow the ledges to safely descend into the elevator shaft and head left. You’ll find a fuse box, but you need an extra fuse from the right table to proceed.
After placing the fuse, continue your platforming through the area. Expect to crawl under collapsing platforms while progressing to the next auxiliary button to press and quickly get through before it shuts on you.
Climb up to the big rock in the middle to spot more ledges up top. Use the ledges to carry yourself over large distances.
When you descend a little, look to your right to spot a gondola. Jump inside to grab the key to the padlock and also to trigger a cutscene.
Pick the key back up again after the cutscene ends. Then, continue to follow the straight road ahead.
You will find ledges which will help you to reach the padlock. Use the key to open the gate and progress.
You’ll have to engage in more parkour again; however, near the end, Bronto will start hunting you again. So, make a U-turn and just run while sticking to the path on your right. Once you escape the Bronto, speak with Stella.
Dynamite Locker
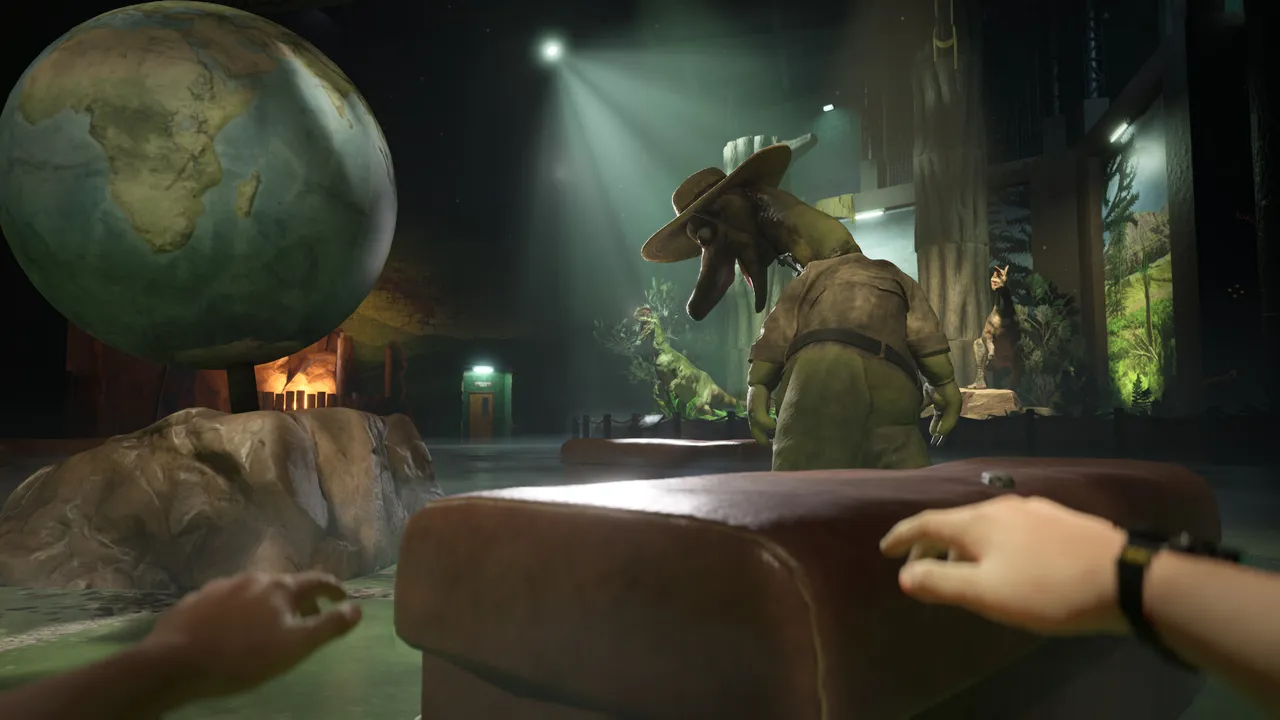
Dynamite Locker can be accessed with the code 0180. Inside, grab the dynamite and head right to plant it.
Follow the red wire leading to the detonator. This triggers a chase sequence where you’ll need to time your jumps and navigate pitfalls while being pursued by Bronto.
Make sure to collect the four dynamite sticks needed to destroy the large structure, carefully navigating round the outer tunnels to find each piece before making your final escape through the narrow passage at the end.
You will enter a chase sequence on the other side, so be ready for some timed jumping and parkouring. Bronto will start chasing you again, and you’ll have to make your escape.
Bronto follows you into the next area where you have to place four dynamites around the large structure. Keep running in this section to keep your distance from the monster while you’re looking for dynamite.
Three of the four dynamites are located in the outer hallway of this area. Just rotate inside the outer tunnels of this section to find dynamite.
Your final dynamite is present just behind the structure that you need to destroy under the lights. You can also find the location where you need to place the dynamite by following the red wires around the structure. Red lights also mark these locations.
After placing all the required dynamite, you’ll find the detonator in the last area. Hit it to create an explosion and finish this chapter with an exciting cutscene to conclude your journey.
This concludes our walkthrough of Chapter Two in Terrible Lizards! This chapter’s puzzles and platforming challenges really keep you on your toes. Prepare for the next part by practicing your parkour skills!
Explore walkthroughs for other chapters and video games to keep advancing your skills.