
Glimmer’s quest to enter the Queen’s Castle is almost at its conclusion. There are just three more Golden Feathers to gather, and this walkthrough details exactly how to find each one. Get ready for an adventure through some challenging zones!
As you navigate through the game, you might find yourself mismanaging resources or getting caught in tricky boss battles. Knowing your strengths and planning your route can help, especially when timing your jumps and dodges during intense encounters with the likes of the Shrine of the Seven Sons or the Gravedigger.
Pro tip: Before diving into the bosses, make sure to visit the Save Tents frequently to keep your progress secure and to refresh your health. Let’s jump into the details on how to track down those elusive Golden Feathers!
This article is part of our Well Dweller Walkthrough Hub.
For more information about the game, check out its official website here.
- Obtaining the Golden Feather in Midnight Drench
- Exploring the Midnight Drench
- How to Beat the Shrine of the Seven Sons
- Obtaining the Golden Feather in Burial Vault
- Entering the Burial Vault
- Heading to the Party in the Catacombs
- How to Beat the Gravedigger
- Obtaining the Golden Feather in Webdrench Inn
- Entering Webdrench Inn
- Exploring the Zone
- Escaping the Inn
- Entering the Queen’s Castle
Obtaining the Golden Feather in Midnight Drench
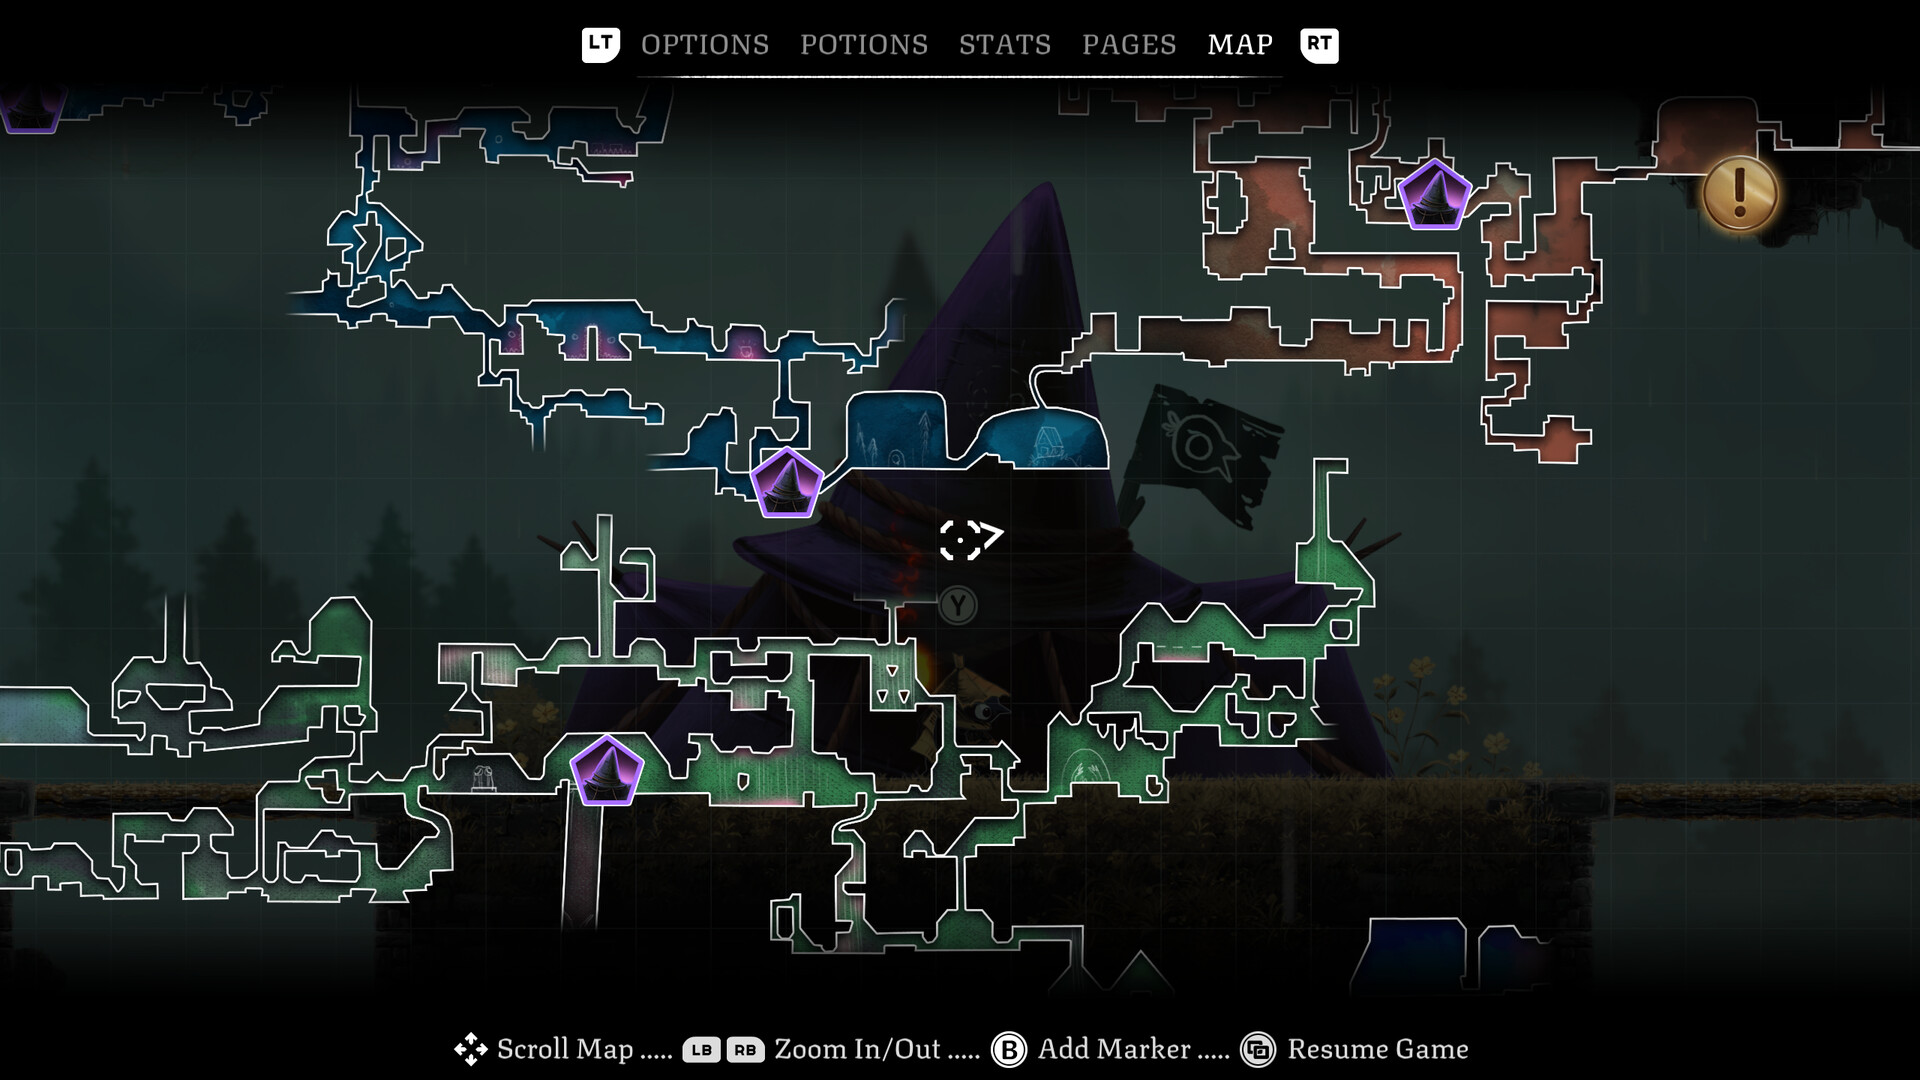
Exploring the Midnight Drench
Your journey through Midnight Drench began during your loot run in the Desiccated Castle, but now it’s time to dig deeper. To secure the Golden Feather in this region, prepare for some platforming challenges.
Begin by heading to the area shown in the associated image. You can either travel south from Gravenvalley or take the northeastern path from the Desiccated Castle.
Leap across using the floating bubble found in the middle of the room and take the exit to the right.
In the next room, use another floating bubble to elevate yourself. Head to the exit on the right, which leads to a Save Tent. Make sure you save your progress here before heading east.
Continue bouncing on floating bubbles until you can reach the switch at the top. Move along the path right and then drop down into the room directly below.
Jump onto the water wave and hit the switch to open the door to your left. Proceed through.
After dropping down, head left until you find another water wave. Use your Slingshot to propel yourself toward the wall, then ride the water wave to reach the matchstick allowing passage to the other side of an obstacle.
Keep going left until you see another water wave puzzle. Jump on the floating bubbles to hit the switch above and then move over using the floating bubble to get onto the platform at the upper left.
Press on westward until you encounter an area with two water waves. Time your jump so that the wave on the right pushes you toward the left wall.
Stick to the path and continue left until you come across another Save Tent. Save your game here, as the boss is just up ahead.
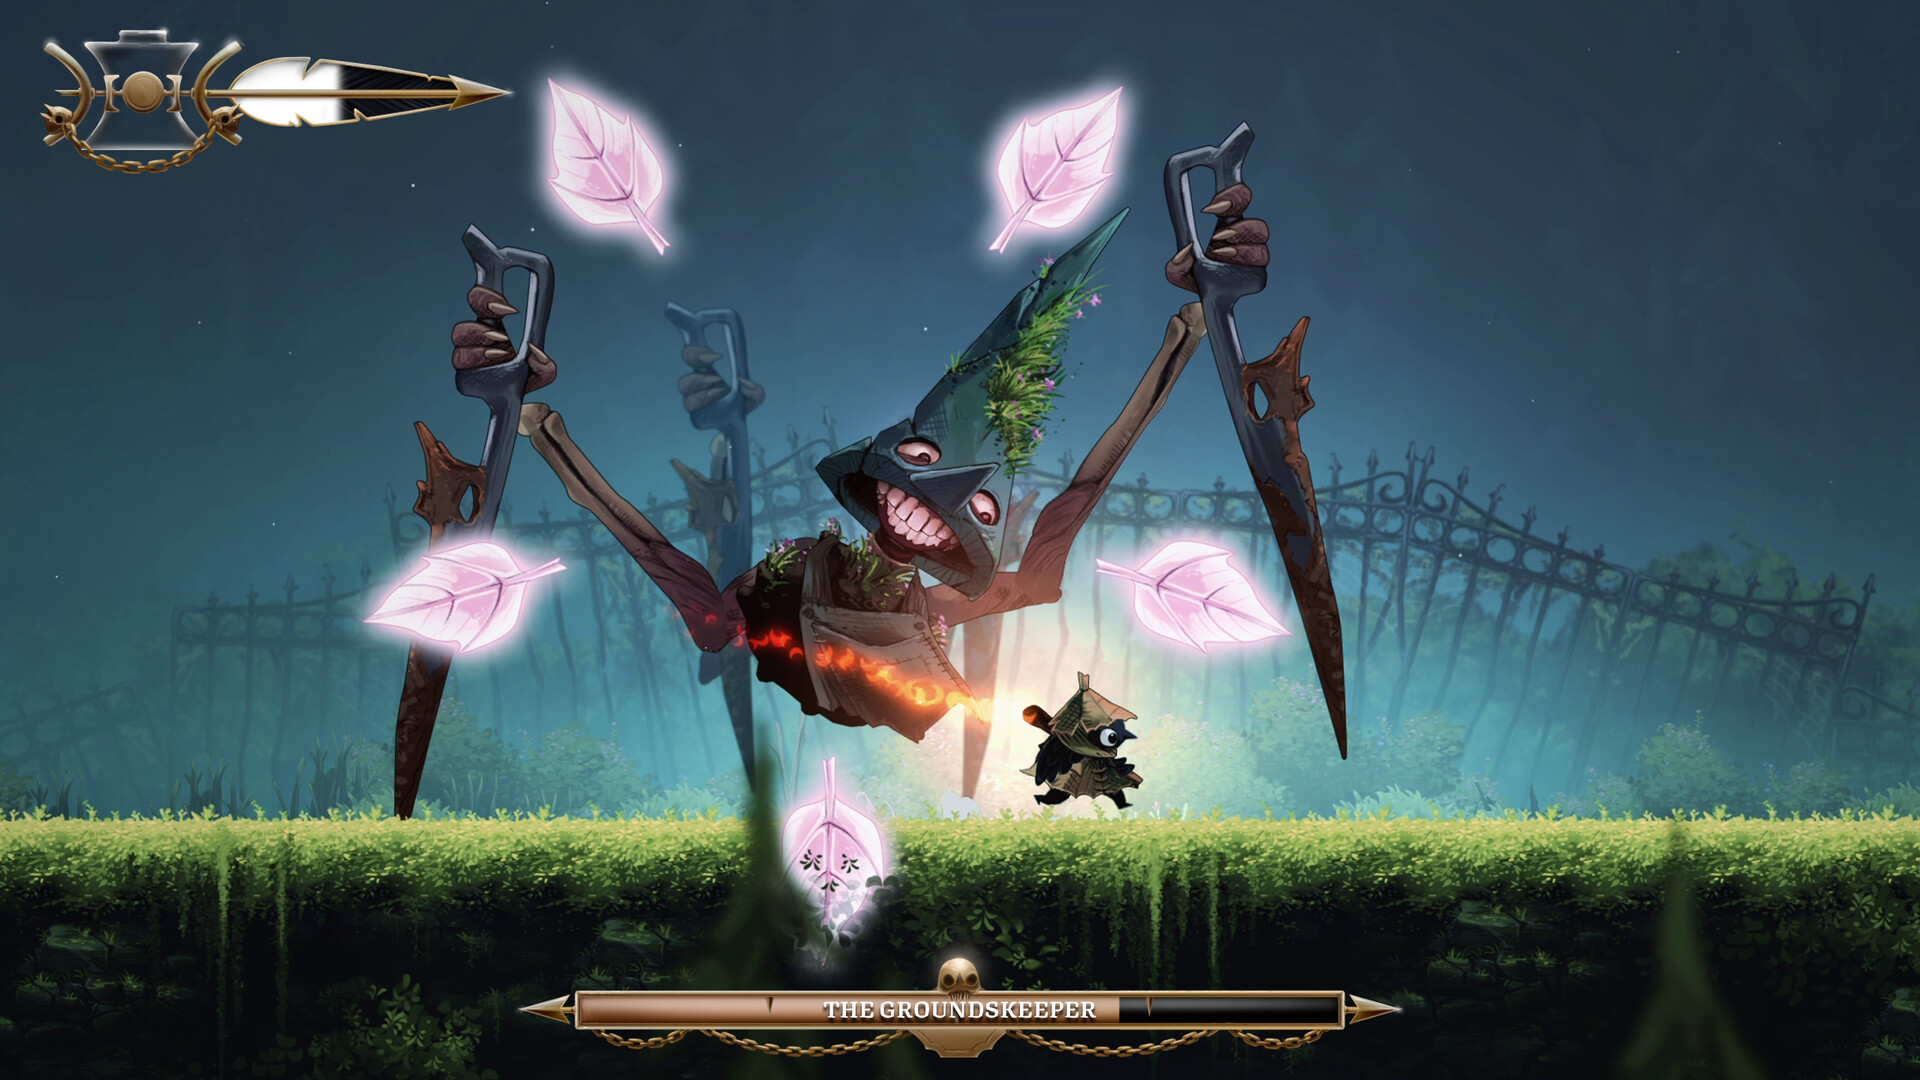
How to Beat the Shrine of the Seven Sons
The encounter with the Shrine of the Seven Sons is the main boss fight for this area. At this point in the game, it shouldn’t be too difficult to overcome.
The fight kicks off with the boss sending an electric orb bouncing around the arena, creating an electrical shockwave when it lands—stay clear!
Afterward, the boss will call forth skeletal hands and six electric orbs. The hands will sweep across the arena while the orbs disappear after touching the ground.
If the boss starts charging, quickly dash to the side and prepare to jump and hover; it will unleash a wide shockwave across the entire arena.
Lastly, the boss will summon electrical wires around the arena, giving you a brief moment to position yourself safely to avoid damage.
These four attacks will repeat throughout the battle, without any secondary phase, so just keep up the pressure until it’s taken down.
When the fight concludes, head left to collect the zone’s Golden Feather. You can also hit a switch now to link this zone back to the Desiccated Castle.
Obtaining the Golden Feather in Burial Vault
Entering the Burial Vault
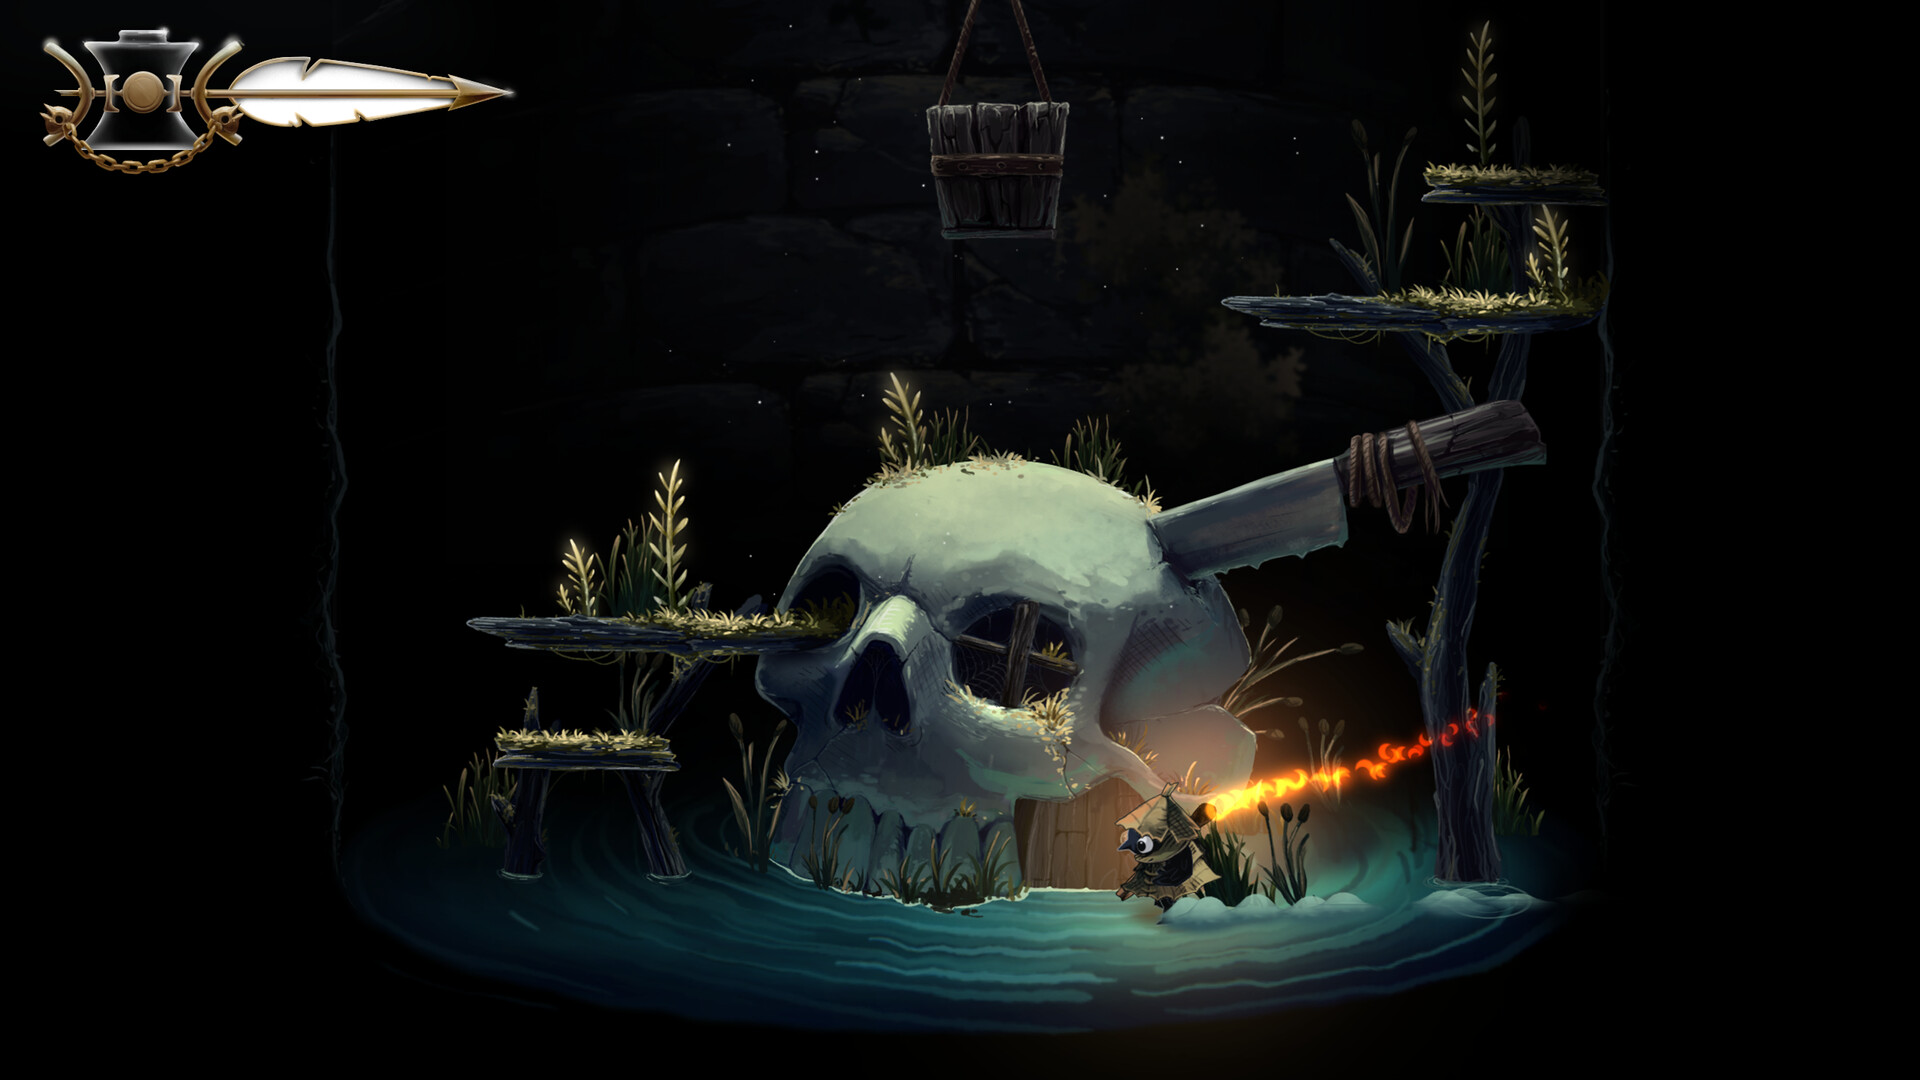
The entrance to the Burial Vault is located to the left of the Midnight Drench. Refer to the image above to accurately reach this area.
The fastest way to access this location is by taking the elevator near the Save Tent in The Drains and then heading south.
Once you’re at the right spot, use your Slingshot to ascend above the spikes and drop down to the left to enter the Burial Vault.
Continue moving left past a sign. As you run, watch out for a wooden pillar falling behind you.
Head left and drop down before the two pillars crush you. Choose the exit on the left to keep progressing.
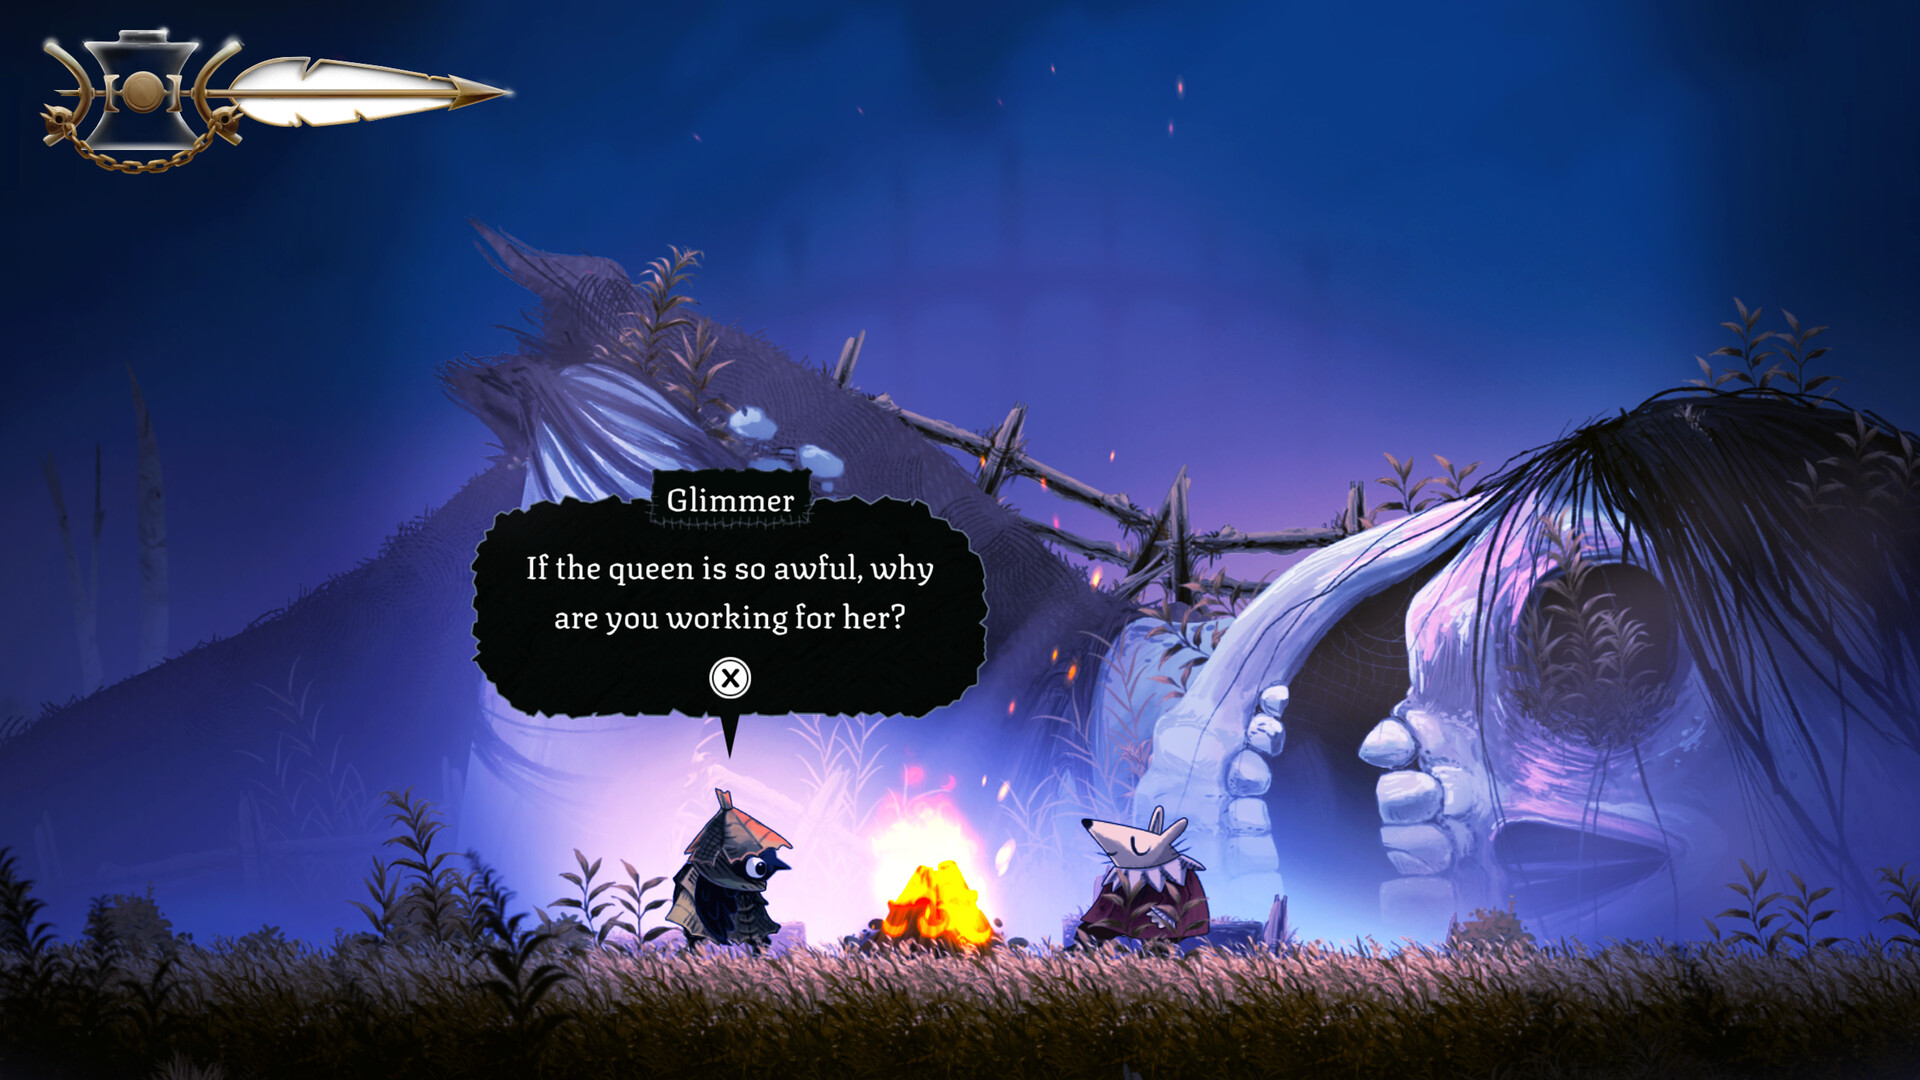
As you move forward, you’ll encounter a snail named Irma. She’ll need a lift to the party located on the far west side of the catacombs.
Remember to save your game at the nearby Save Tent before proceeding.
Heading to the Party in the Catacombs
After saving, continue leftward along the path where you’ll face a combat encounter in the upcoming room.
Clear the enemies here to move forward, then drop through the hole to find the room below.
Defeat more monsters before taking the exit in the bottom left corner.
Beware of the spikes in the next section; they briefly pop up when you stand on them. Keep moving!
After making it across, jump onto the platform above and exit to the left corner.
Another spike section appears right after climbing up. Be quick to cross this and head left immediately after the exit.
In the next room, climb the spiked walls and use wooden beams to ascend to the top.
Upon reaching the top, Glimmer will ask Irma if they’re on the right path. After this, jump left to reach the exit above.
In the next room, the exit is to the left, requiring a loop around a spiked section on the right to get there.
Cross more obstacles in the subsequent room while continuing left.
You’ll arrive at a room with three exits; take the one at the top left.
Save again at the Save Tent up ahead. Continue left along the path until you face the boss of this area.
How to Beat the Gravedigger
The Gravedigger awaits as the boss of the Burial Vault. It might seem tough initially, but once you recognize the attack patterns, it becomes manageable.
The boss can vanish and perform a diagonal slam attack, often followed by a shovel strike that sends out a small shockwave.
If you notice a ring of bones around the boss, prepare for a jumping attack that launches three bone wheels outward. Stay clear to avoid damage.
He can also burrow under the ground, moving horizontally while raising bones that can damage you. Sliding through is advisable to dodge this.
After inflicting enough damage, he transitions into a second stage where his attacks become amplified. Keep attacking until he is defeated.
After the fight, follow the left path until you find a house. Irma will inform you this is the destination. Enter the house.
Once the conversation concludes, Squinton, the birthday worm, will gift you the next Golden Feather.
Obtaining the Golden Feather in Webdrench Inn
Entering Webdrench Inn
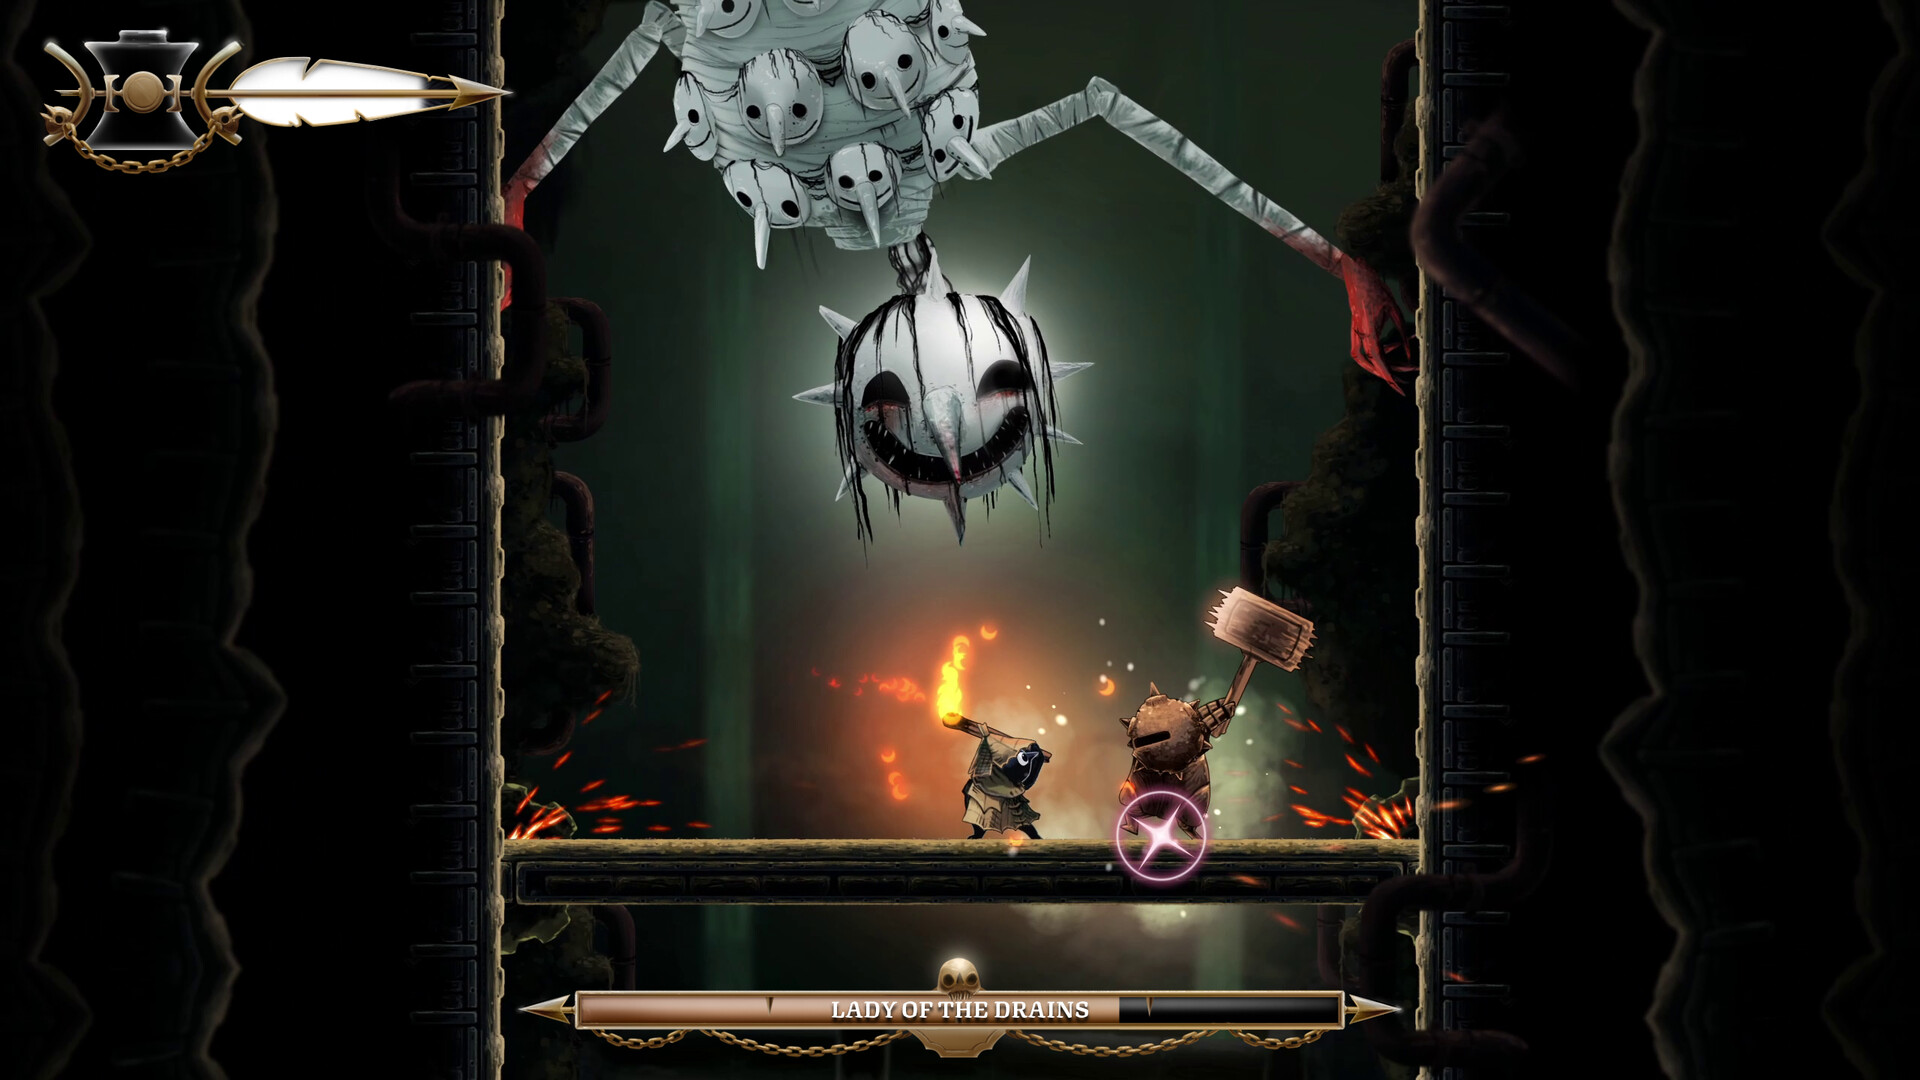
The last Golden Feather is hidden in the Webdrench Inn, which is accessible through the Midnight Drench.
Consult the marked location in the accompanying image for precise entry to this zone.
Here, use your Slingshot to navigate over the spikes and reach safety.
Keep going right until you lay eyes on the Webdrench Inn in the distance and enter.
The first Save Tent for this zone is situated directly ahead.
Exploring the Zone
Proceed right and use the yarn balls to climb upward. This area features several yarn balls that you’ll need for puzzles and overcoming obstacles.
Strike the bell when facing the Innkeeper, who mistakes you for the Queen.
Move past the Innkeeper and enter the adjacent room to encounter a larger room filled with enemies. Dispatch them to unlock the exit at the top and proceed to the room above.
The right path is now blocked. To the left, there’s a bell overhead between two platforms.
Jump onto the first platform, then strike the bell while leaping to the second platform covered in spikes. The spikes will retract and you can cross safely.
Clear the next obstacle and proceed. You want to take the exit at the top in the following room.
Utilize the yarn balls to ascend and hit the bell encountered on the right. You can then jump across to the section on the left.
Having rung the bell, jump up the platforms to the left exit.
This route leads you to the second Save Tent in this zone, where you should save your progress.
Ascend with the yarn balls nearby and enter the room above. Go all the way up and drop to the section on the right, then take that exit.
Keep moving forward and you will face another combat encounter, so eliminate the enemies to proceed.
Continue right until you run into the Innkeeper again. She’ll ask you to sign the guest book and guide you to the back of the Webdrench Inn.
After the conversation, proceed and exit to the room on the right. Clear the obstacle by hitting the bell to pass through and drop down to the room below.
Head down while sticking to the western map edge, facing more obstacles along the path.
You’ll come across yet another Save Tent. Save your game and descend from the right, continuing forward to meet the Innkeeper once more.
Escaping the Inn
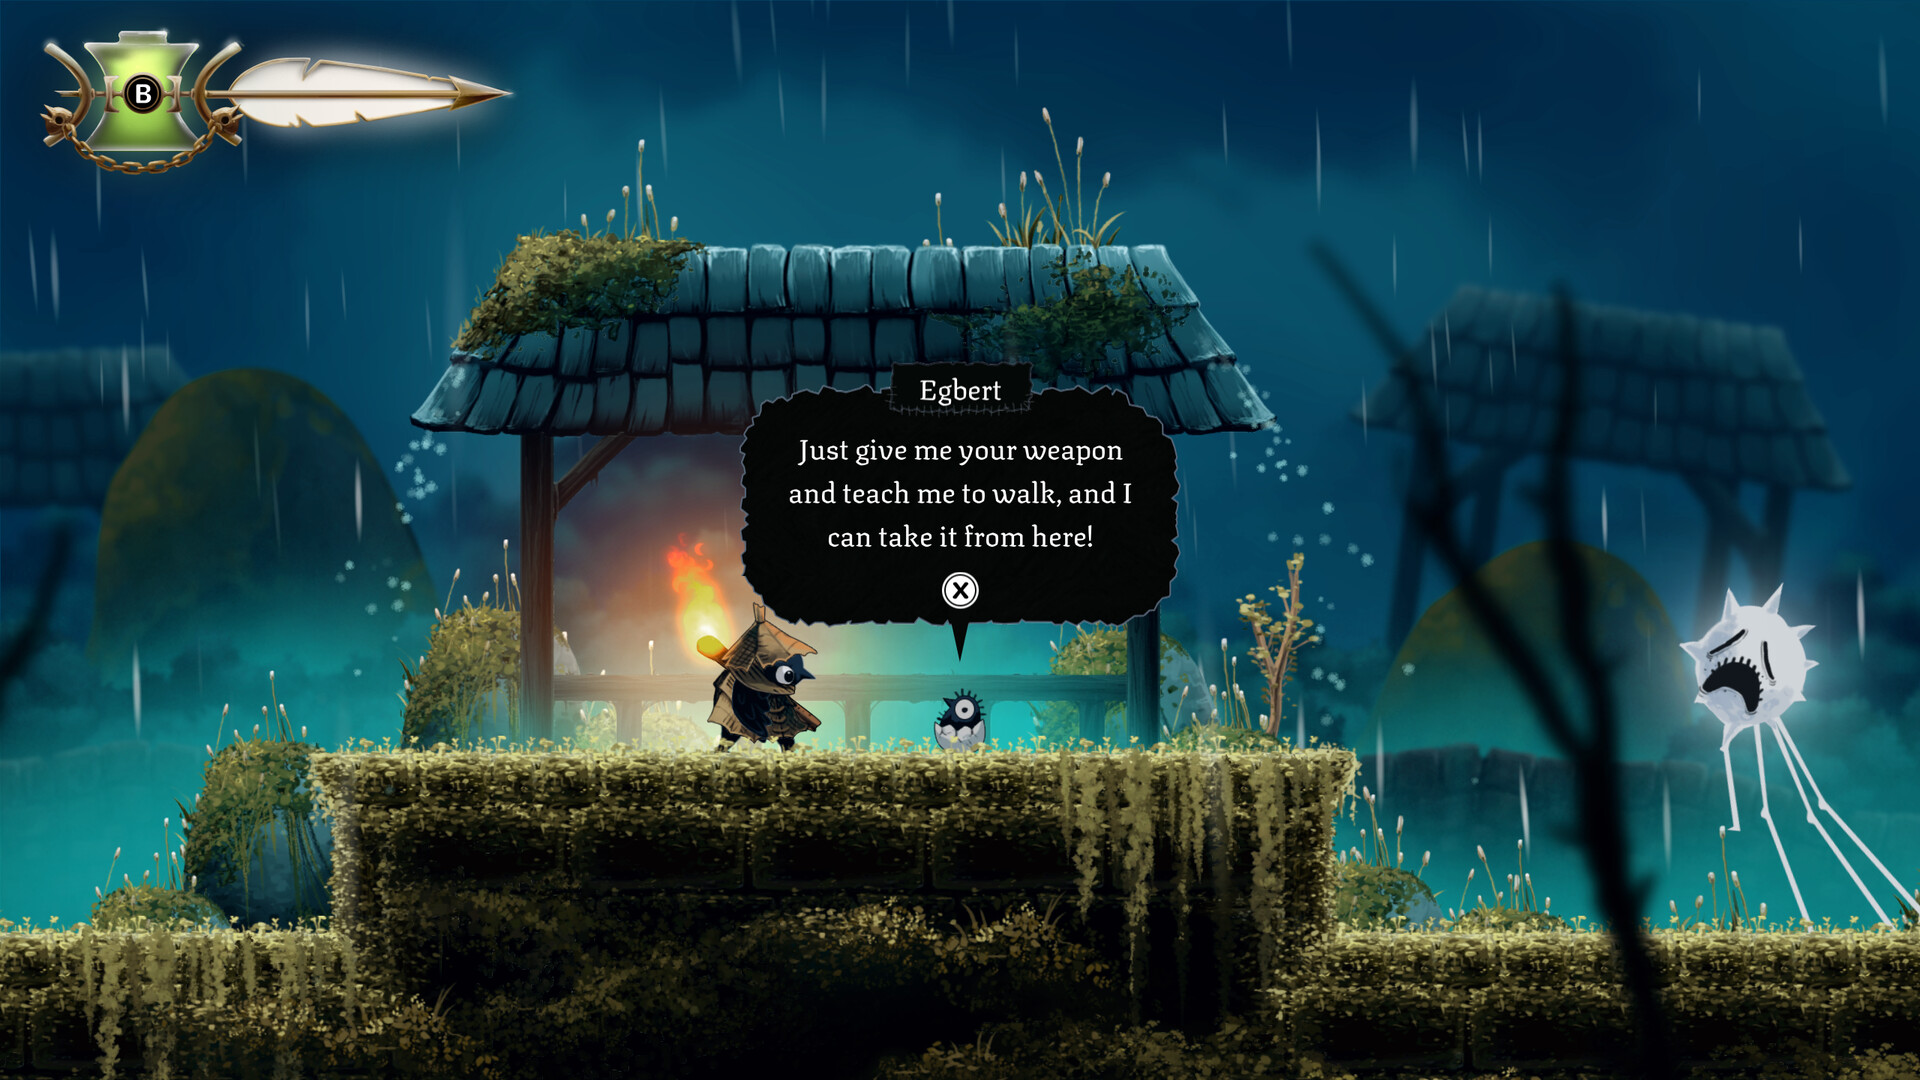
In the ensuing conversation, the Innkeeper drops a pen, which Glimmer struggles to use, revealing his true nature as a bird. This sparks a chase sequence.
Your objective is to race east, evading the Innkeeper who’s hot on your tail. There are a variety of obstacles, so quick reflexes are necessary.
During the chase, there are three checkpoints to save your game. Keep moving until you slide under a narrow passage, successfully escaping the Webdrench Inn and returning to Midnight Drench.
The final Golden Feather awaits just ahead. Once collected, you’ll be set to enter the Queen’s Castle.
Entering the Queen’s Castle
Head to the gate of the Queen’s Castle located north of The Bog. Interact with the gate to gain entry.
To access the castle itself, you still have to scale the mountain and overcome numerous parkour challenges.
The abilities you’ve acquired on your journey will come in handy to bypass those obstacles. Midway up the path, you’ll find Ilda waiting.
Keep climbing until you reach the summit and take the exit on the left. Progress forward and present the Golden Feathers to the guard, then continue left to officially step into the Queen’s Castle, the final zone of the game.
This wraps up part 10 of our walkthrough for Well Dweller. Good luck on your adventures!
Muhit Rahman lives off two things: gaming marathons and endless cups of tea. He writes guides, reviews, and occasionally forgets that real life doesn’t come with checkpoints. His favorite genres are Soulslike and Metroidvania, with Dark Souls III, Hollow Knight, and Dota 2 forever holding top spots on his all-time list.