
Finding your way through the Dollmaker’s House requires mastering your mobility and keeping a sharp eye on environmental hazards. This tricky zone tests your platforming precision just as much as your combat reflexes, making it a real turning point for our avian hero.
I found myself getting turned around in the winding corridors on my first run, especially when trying to link up the second checkpoint. Grab your Fire Vessel and stock up on patience before diving into these needle-filled rooms.
This walkthrough breaks down the exact path from The Bog, the puzzle solutions you need for the bell rooms, and a reliable strategy for beating the Dollmaker’s Mirror boss.
This article is part of our comprehensive Well Dweller walkthrough hub.
You can check out official updates and community pages on the game hub.
- Heading to the Dollmaker’s House
- Reaching the Second Save Tent
- Opening the Eastern Path
- How to Beat the Dollmaker’s Mirror
Heading to the Dollmaker’s House
| Detail | Info |
|---|---|
| Location | Northeast of The Bog |
| Starting Point | Southeast Save Tent |
| Required Ability | Endless Climb |
To reach the Dollmaker’s House, fast travel to the Save Tent on the southeast corner of The Bog. From here, walk left and up until you spot the climbing wall.
Clear out any local enemies guarding the approach, then use your Endless Climb ability to scale the vertical wall on the left. Continue heading upward while dispatching monsters until you reach the main entrance of the house.
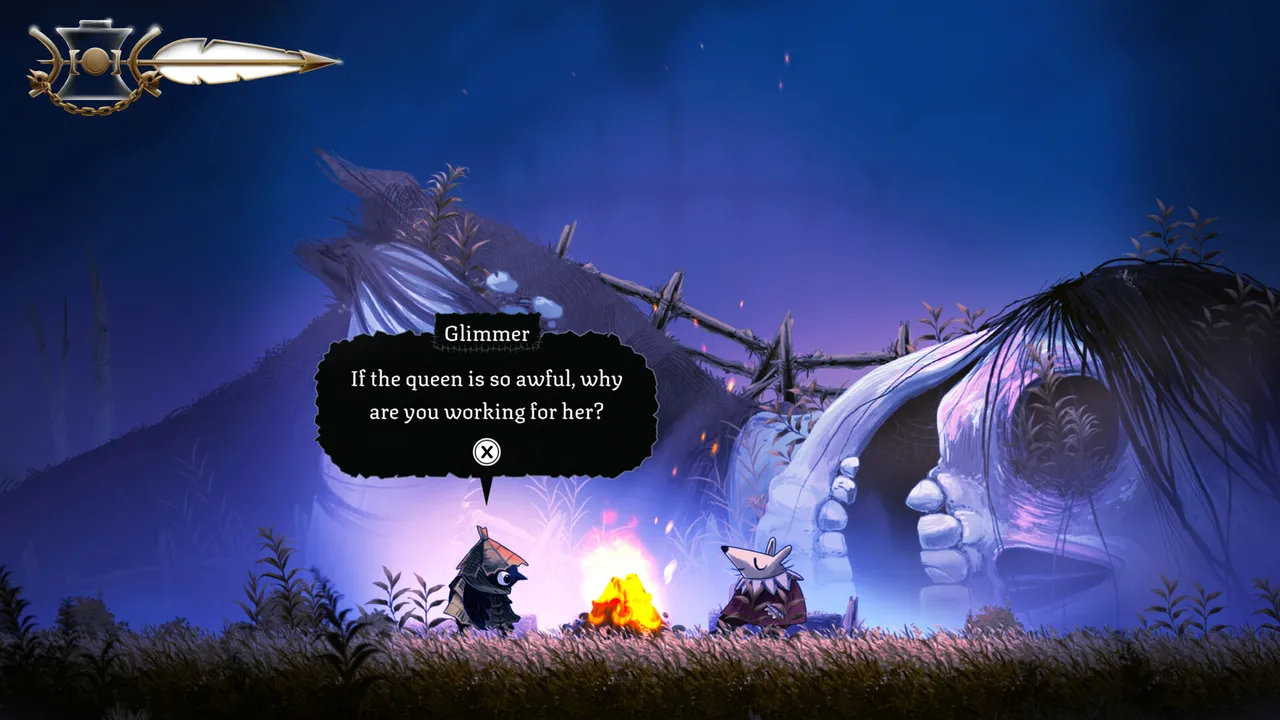
Approach the front door to trigger a short event where Glimmer spots a doll resembling his sister. Step inside the zone and run left to encounter The Dollmaker for a brief conversation.
Clear the enemies heading east, drop through the left exit, and walk downward. This leads straight to the first Save Tent of the zone, where you should record your progress.
Pro tip: Always clear the immediate room of minor enemies before attempting precise platforming jumps here.
Reaching the Second Save Tent
| Detail | Info |
|---|---|
| Zone | Dollmaker’s House |
| Key Tools | Slingshot, White Bells |
| Destination | Second Save Tent |
Head right from the first Save Tent and follow the path while ignoring the initial hole in the floor. Take the far-left exit to enter the puzzle chambers.
Stand on the wooden crate and strike the white bell above you to launch yourself toward the top-left platform. In the following room, hit the bell to activate the temporary platform, then hover over it until the timer expires.
Use your Slingshot to hit distant bells and pin your matchstick into incoming crates to bridge gaps. Clear out the subsequent combat arena, strike the bell, and drop downward.
Follow the path right and hit the switch near the blockade to open a vital shortcut back to the upper Save Tent. Drop down the hole on the right, dodge the patrolling enemies, and continue into the large chamber to speak with the Dollmaker again.
Cross the upcoming spike hazards and flying enemies by timing your movements carefully. Follow the corridor past the falling needles and drop down the final hole to reach the second Save Tent.
Opening the Eastern Path
| Detail | Info |
|---|---|
| Action | Activating Switches |
| Connected Area | Burial Vaults |
| Reward | Trinket Point |
Drop through the hole next to the second Save Tent and strike the white bell to temporarily deactivate the adjacent spikes. Climb up and slip through the passage before the traps reactivate.
Head right into the Burial Vaults and flip the switch to clear out lower blockades. Loop back into the Dollmaker’s House through the left exit and navigate to the elevator room.
Ride the elevator upward while hitting the white bells to clear out incoming spike hazards. Slide into the hidden alcove near the top to collect a Trinket Point before entering the final room.
How to Beat the Dollmaker’s Mirror
| Detail | Info |
|---|---|
| Boss | Dollmaker’s Mirror |
| Phases | Two Phases |
| Recommended Gear | Fire Vessel |
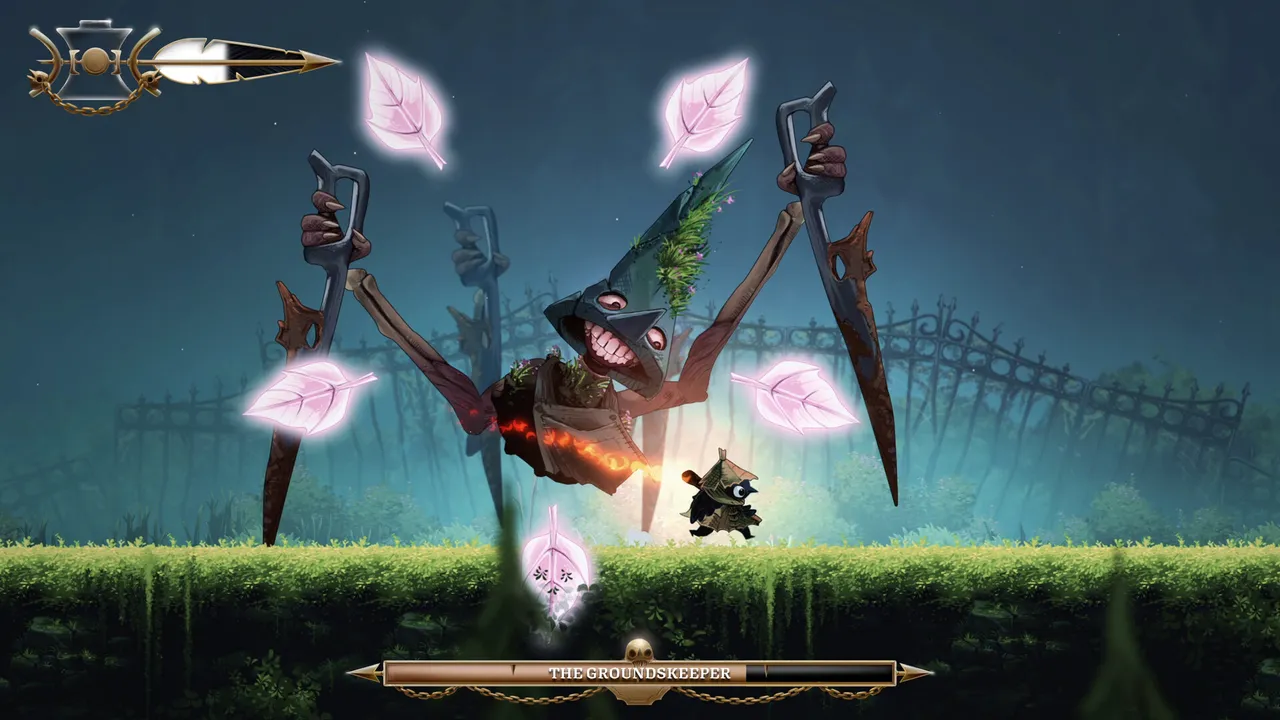
The Dollmaker’s Mirror boss fight tests your spatial awareness across two distinct phases. Stay calm and use your Fire Vessel to deal consistent damage throughout both stages.
- Mirror Eyes: Stand directly beneath the mirror where the painted eye looks upward to avoid incoming damage.
- Fingers Slam: Move away immediately if you see a finger pointing downward, then slide to dodge the horizontal sliding shockwave.
- Stone Summons: Dodge around the four floating stones the boss spawns while circling the arena.
- Mirror Laser: Slide directly through the moving laser beam as it sweeps across both halves of the split arena.
- Falling Orbs: Keep an eye on your reflection to ensure falling ceiling orbs do not damage your other half.
Once the boss falls, head left through the chamber to locate Magda and finish the dialogue. Grab the glowing egg on the left side to unlock the Wall Sling ability, letting you fire your Slingshot while clinging to walls.
Take a quick second to test out the Wall Sling tutorial before moving on to the next chapter.
Keep your health topped off with items before triggering the boss cutscene.
Make sure you explore every nook near the elevator shaft for hidden upgrades.
Always check your reflected position during the mirrored phase to avoid cheap hits.
Utilize the elevator shortcut to quickly return if you happen to fail the boss encounter.
Practice your timing with the white bell puzzles to save precious health.
Watch out for falling needles in the narrow vertical shafts.
Clear out flying enemies immediately so they do not interrupt your jumps.
Keep moving during the laser phase to stay ahead of the sweeping beam.
Take advantage of save tents whenever you unlock a new shortcut.
Master the Endless Climb technique early to speed up exploration.
Listen closely for audio cues before hidden traps trigger.
Equip your favorite trinkets before stepping into the boss arena.
Check the map often to ensure you have not missed any side paths.
the game Dollmakers House zone entrance with the avian hero standing outside
the game puzzle room featuring a wooden crate and white bell above
the game shortcut switch location near the second Save Tent
the game hidden Trinket Point location near the elevator shaft
the game Dollmakers Mirror boss fight split arena during phase two
the game Magda rescue scene after defeating the Dollmakers Mirror
the game Wall Sling ability unlock pedestal inside the chamber
the game avian hero using the Endless Climb on a vertical wall
the game Burial Vaults switch area connecting to the Dollmakers House
the game combat arena filled with floating enemies and spike traps
the game elevator room with white bells removing spike hazards
the game Save Tent interior resting spot in the Dollmakers House
the game Slingshot target practice puzzle in the narrow hallway
the game falling needles hazard corridor requiring fast movement