In Escape Academy 2: Back 2 School, Chapter 3 puts you in the Humanities Campus, where you’ll encounter challenges that tickle your brain while resonating with history. As you navigate this exciting chapter, watch out for tricky puzzles and collectibles that can easily stump you if you’re not paying attention. It’s a rewarding journey full of twists and turns, especially when you uncover the hints hidden in plain sight.
The chapter kicks off with a quest to gather three banned books for Quanty, so make sure to check every nook and cranny—trust me, these early collectibles are essential. After that, you’ll find yourself back in the lecture hall for a quiz and then into the museum where clever puzzle-solving will lead you to unlock a beautiful golden chest.
Pro tip: Before diving into these puzzles, ensure you’ve gathered enough money for the crowbar permit—this will save you a lot of backtracking later on!
Exit the dormitory and head down the stairs. Turn left at the bottom to find the entrance to the Humanities Campus where Professor Jeberson awaits. Make sure to speak with him to get started.
Want to read more chapters?
Check out our complete Escape Academy 2: Back 2 School Walkthrough Hub for links to all available chapters and guides.
- Historic Beginnings
- Banned Together
- Quiz Pro Quo
- Unlock and Load
- Think Inside the Box
Historic Beginnings
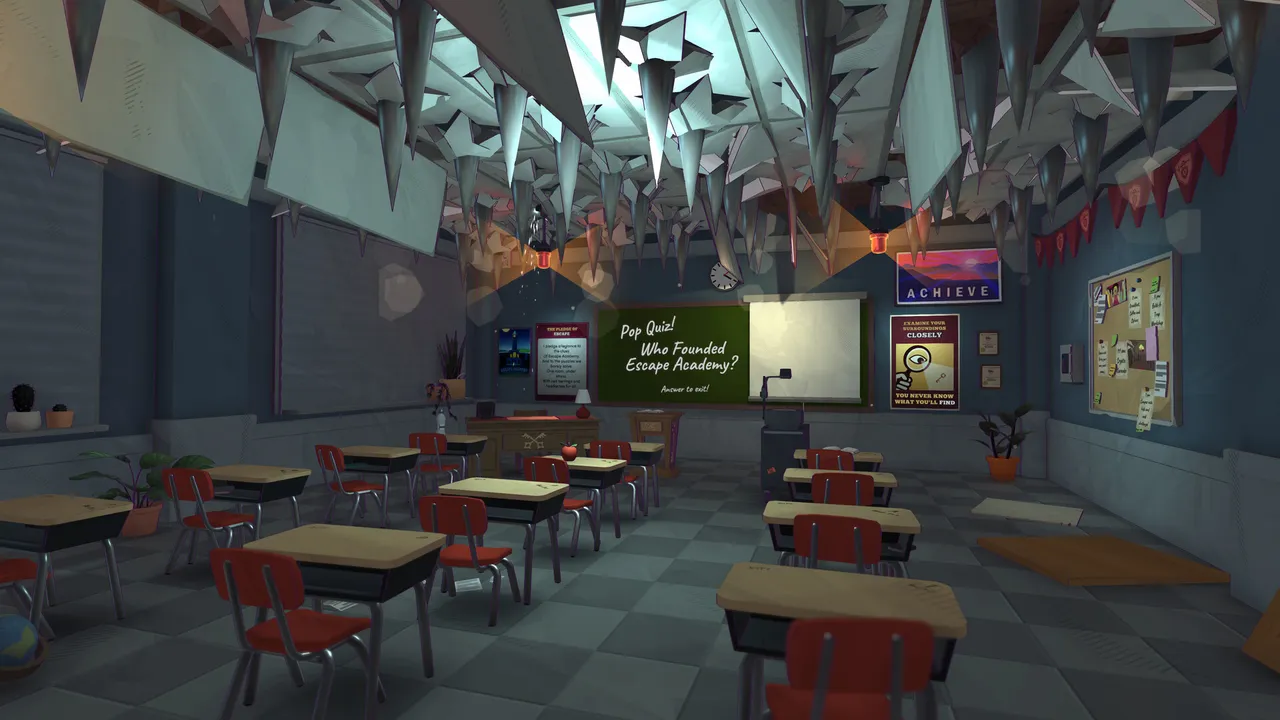
Exit the dormitory and main building and head down the stairs. Once at the bottom, turn left to find the entrance gate to the Humanities Campus. Enter and find Professor Jeberson.
Banned Together
Enter the Humanities building. Pass through the doors into the library. To your left you will find Quanty.
Before you do anything else, look at the book on the left and read through it. From the note, we can see that we need to look at the even pages. Within these pages, we can find a clue.
The message reads: “Pay attention! I Professor Grumble, now look towards etiquette.
Pupil Pleasant considers fashion. Pupil Maxwell focuses on dance!
Worst of all: Pupil Saunders copies Professor Grumble”
We need to use this information to arrange the four statues in the correct position. Turn Professor Grumble and Saunders to face Etiquette, Pleasant to face Fashion and Maxwell to face Dance.
Once done, a hidden book will appear from the ground. Take it and you’ll have your first banned book; How to Open Doors With a Crowbar.
Now look for the trolley with four books on. Each of these books has a number on which can be used to create the combination.
However, we need to know what category each of the books are. Look at the ‘Cluey Decimal System’ poster on the opposite side of the room.
From left to right, the categories are Religion, Biography, Philosophy and Languages. Enter 2914 into the combination lock to unlock your second banned book; A Primer on Brute-Forcing Puzzles.
With two books collected, head upstairs to the mezzanine. You should see a few drawings of faces on the floor.
Step over them and listen carefully. Some of the tiles will make a creaking sound.
Note which faces make the sound.
Now look for the door in the centre of the mezzanine. This door has all the same faces on it. Select the four faces which made a creaking sound to unlock the door.
Enter the room and collect your third and final banned book; Escape Rooms Are Overrated: A Manifesto.
Head back downstairs and give the three books to Quanty.
Quiz Pro Quo
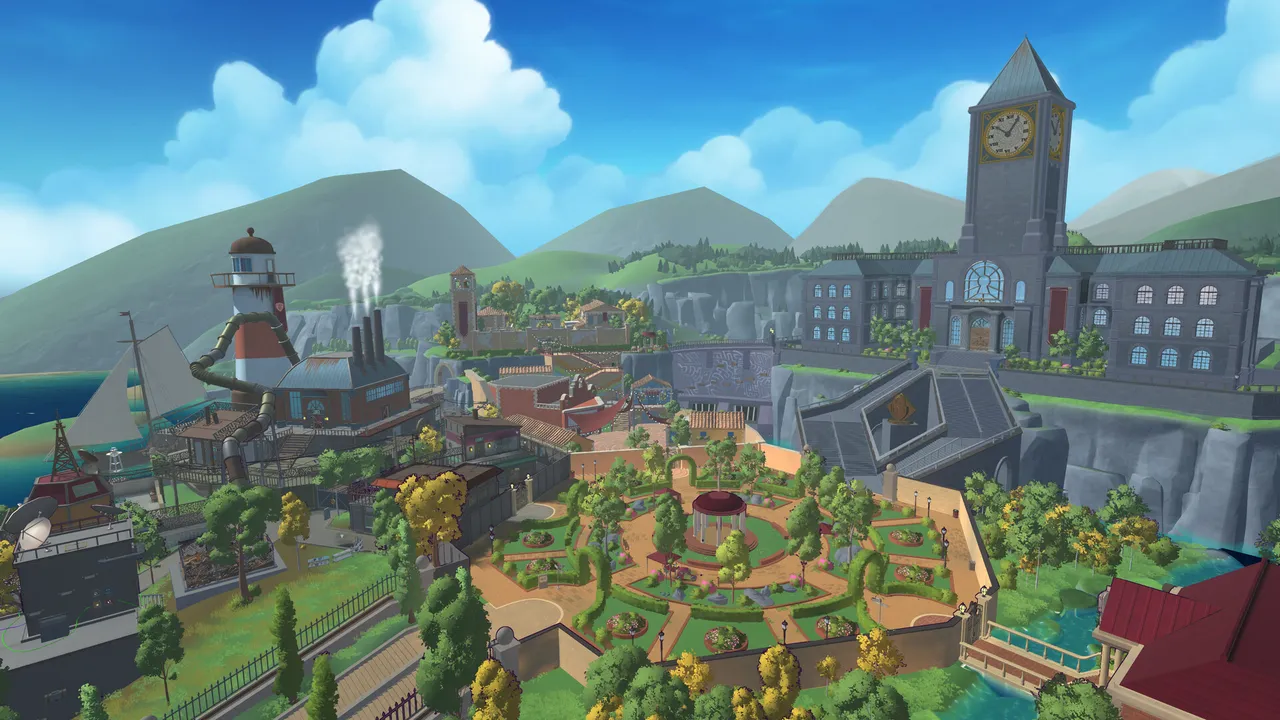
Head to the lecture hall. Exit the library through the locked door on the opposite side.
Follow the path until you reach a round building and enter. Find the seat with a key icon on and sit down.
To pass this part of the game, you must answer all of the questions correctly. If you need help finding the answers, you can use your laptop. However, here are the answers.
- Question 1: B
- Question 2: A
- Question 3: B
- Question 4: B
- Question 5: D
Interact with the quiz sheet to your right of your laptop. Input the answers to each question. Once all answers are correct, you can move onto the next part.
Unlock and Load
Head to the museum. Exit the lecture hall and follow the path back to the library.
Pass the library and enter the museum. Talk to Professor Jeberson who will give you a crowbar permit.
This can be used to buy a real crowbar from the storeroom.
The crowbar costs $10 so ensure you have enough money. Head to the Science Campus and go upstairs to the storeroom.
Talk to the assistant and when asked for your permit, show them. Pay the $10 and collect your crowbar.
Head back to the museum and enter the back room. Look at the signs on the wall.
The most important sign is the one titled ‘Identifying Dangerous Crates’. This will give you the information needed to work out which three crates are safe.
Once you’ve worked out which crates to open, you’ll find a few artifacts. These need to be put into the correct museum displays.
Each display shows a clue to what goes in there. Here are the matches.
- Display 1: Key to many groundbreaking discoveries – Sameer’s Shovel.
- Display 2: A 10 gallon thinking cap – Sameer’s Hat.
- Display 3: Most powerful when empty – Fernando’s Checkbook.
- Display 4: Far mightier than Display 5 – Reina’s Pen.
- Display 5: Gets to the point – Fernando’s Sword.
- Display 6: Sounds wealthy – Reina’s Bell.
- Display 7: Is wealthy – Fernando’s Ring.
- Display 8: True gentleman – Sameer’s Mustache Wax.
Once all eight artefacts are in their correct displays, find Professor Jeberson.
Think Inside the Box
Look at the poster above the large golden chest. It says “This lock is the key to opening the chest”. This is our clue for the first combination.
Look at the image of the lock. There are 12 separate squares just like the grid on the chest.
There are 4 coloured squares. Match these 4 sections to the coloured squares on the lock.
Once matched, enter the combination to unlock the next part.
Open the chest and collect the Aztec Death Whistle. Take it to the Aztec shaped statue and use it. This will reveal two puzzles.
Firstly, take a look at the ball puzzle. Our aim here is to get four green balls in a line.
This can take a few attempts. We found it easiest to keep changing direction so we could drop green balls on one side and black balls on the other.
Eventually you’ll be able to get four green balls together and drop them into one line. Once solved, a drawer will open.
Take the Ancient Key.
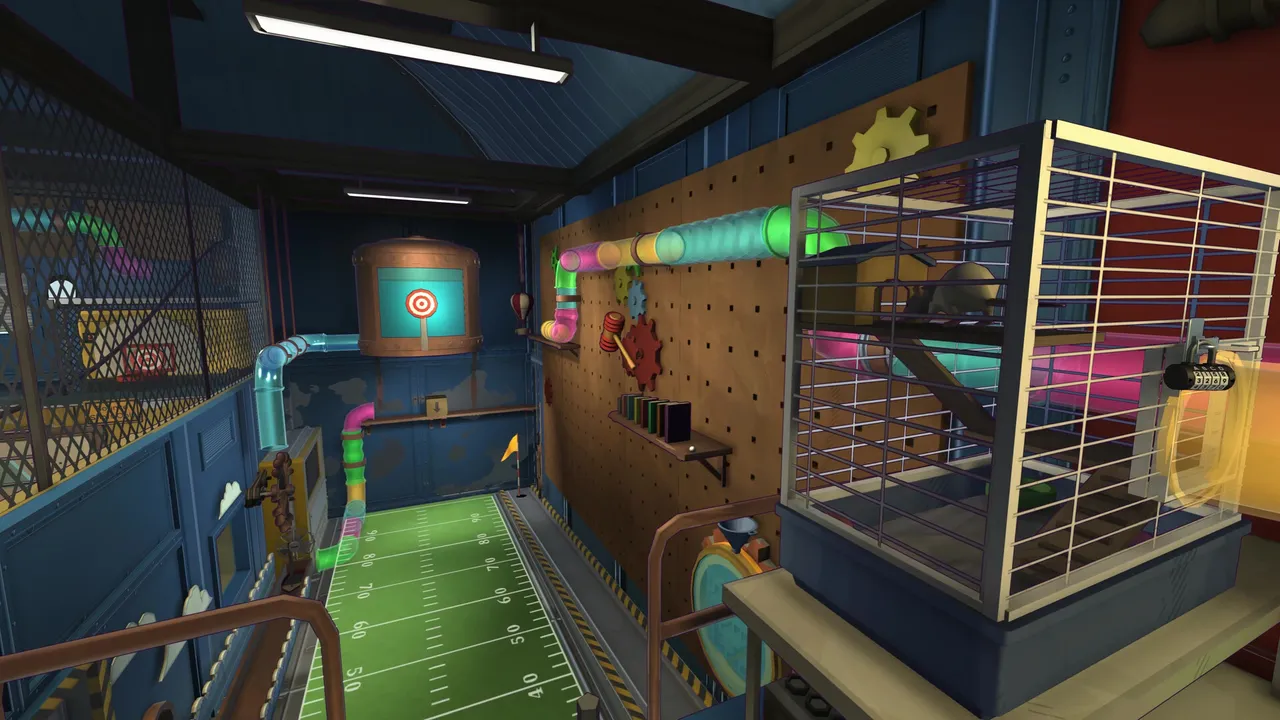
Now move around to the other side of the statue. Take a look at the pipe puzzle.
We need to arrange the green pieces to form pipes to blow the darts through to hit the targets.. Ensure that the pipes connect to the correct points.
Once all 3 pipes are used to hit the targets, a drawer will open. Take your second Ancient Key.
With both keys, move around to the other side of the Aztec box. There are two keyholes which look like eyes.
Insert an Ancient Key into both. This will open the top of the box.
Inside you’ll find a Jade Snake. Take it and head back to the golden chest.
Look at the indentation in the bottom right corner and insert the Jade Snake. This will reveal 5 symbols.
Look at the poster above and work out which squares on the grid match the symbols. Select the squares on the grid to the left.
Once solved, another section of the chest will open. Take the Folded Fan and Torch Sculpture.
We’ll need the Torch Sculpture for the next puzzle. Use it on the Lockrates’ Box.
Look at the side of the box with the water feature. There are a number of wooden pillars which can be moved up and down.
We need to arrange them so that the symbols and their reflection in the water spell EKHO. Use the poster on the wall to help you.
Once arranged correctly, three Wedge pieces will appear. Take them all.
Move around to the other side of the box. Insert the Wedges into their matching slots.
Move the rounded Wedge from its original position to the final position. Once arranged, the dome on top will open.
Look inside the dome. There is a projection on the ceiling.
This shows a constellation of keys. Take note of how it looks.
Now look at the tall oriental box. Interact with it and insert the Folded Fan.
This will reveal 6 coins. The symbols above the fan will clue us in on where to place them on the Coffer of Keyfucius.
We need to place the coins on the 3 sides. Place the Pronged Coin and Dagger Coin on the tree side.
Insert the Shovel Coin and Crescent Coin on the mountain side. Finally, place the Hexagon Coin and Circle Coin on the bird side.
Once all coins are in the correct places, the box will open. Take the Ancient Compass and equip it.
Look at the map on the wall to your left. This shows us where the earthquakes are.
There is one to the North, one to the East and one to the Southwest. We need to recreate this using the pots and balls on the oriental box.
However, the Ancient Compass is pointing South as the handle is pointing that way. Use the Ancient Compass as your guide.
Place the balls in the positions for the 3 earthquakes. Once all 3 are in the correct spots, you’ll get the Unusual Star Chart.
Pin the chart up and compare to the key constellation. We need to find the 3 pieces which match exactly. In our game we had the top left, last piece of the third row and bottom left.
Now go back to the golden chest. Move the 3 tiles to the red holes.
This will unlock the final part. Once the mechanism has been completed, interact with the bottom of the chest to open it.
For more interesting articles related to indie games, check out the links below:
Videogames.
Gym.
My dog.
Sneakers.
Manga.
In that order.