Your adventure in Escape Academy 2: Back 2 School kicks off in Chapter 1, which features an array of clever puzzles that will challenge you right from get-go. The first mission involves navigating from a tram station to the academy itself, solving various mind-bending tasks along the way.
From collecting money for your tram ticket to decoding secret messages and completing mechanical puzzles, it’s a whirlwind of brain teasers. I found myself caught off guard by a couple of details, so attention to your surroundings is key. Don’t rush; there’s plenty to discover if you take the time to explore.
Before diving in, make sure you’re prepared to collect items and unravel clues. Grab a notepad to jot down hints you find throughout the academy. It’s easy to miss connections, and trust me, having everything noted can save you headaches!
In Escape Academy 2: Back 2 School, your first day at the academy is anything but ordinary. Chapter 1 takes you through a series of increasingly elaborate puzzles, starting with a simple tram ticket and eventually leading to a rooftop escape involving hidden messages, cryptic codes, mechanical contraptions, and a rather musical finale.
You’ll need to pay close attention to your surroundings, collect useful items, and connect clues scattered throughout the academy. This walkthrough covers every puzzle and solution to help you make it through your first day without getting stuck.
| Detail | Info |
|---|---|
| Location | Escape Shack Station |
| Objective | Get a tram ticket to the academy |
Start your journey by securing a ticket at the Escape Shack Station . You’ll need to tackle the machine next to the booth to purchase your ticket. Three dials will present you with a puzzle that you’ll need to solve by using the tram station map on the wall to your left. Each dial corresponds to a crossing point on the map where colored lines intersect. The resulting symbols for the dials are Triangle, Cog, and Square. Enter the code 9625 , but first, gather the $3 required for the ticket. Money can be found in a few locations: check inside the phone booth for the first dollar, crawl through the vent for the second, and scale the luggage beside the booth to snag the final dollar. Once you have enough cash, return to the ticket machine, insert your money, and enter 9625 . Grab your ticket from the green slot and head over to the gates to continue your journey.
| Detail | Info |
|---|---|
| Location | Classroom |
| Objective | Open the classroom backpack |
After finding the first slide, check out the notice board in the classroom. Here’s another puzzle involving a locked safe!
Each activity listed corresponds to a symbol and time. Press the button sequence according to the times:
- 8AM: Coffee
- 11AM: Karaoke (Music)
- 1PM: Jigsaw
- 3PM: Workshop
- 9PM: Hide and Seek (Eye)
Once the safe opens, look through the peephole to get another clue and then dial the numbers from the note on the telephone for your second projector slide.
Once you’ve collected the slides, head out to find Headmaster Solange. Speak with her to receive a key for your locker and an orientation checklist.
Proceed down the corridor to a wall filled with student portraits. Find your own portrait and note your student number.
Don’t forget to check the restroom stalls for two dollar bills! After you get your number, locate your locker—its number will be different in each playthrough.
In mine, it was 1898. Unlock it with the key and snag the $3 inside.
Next, follow the path to the dorms. You’ll encounter a combination lock on the door.
Examine the clue with the playing cards next to it. Each ace of spades, hearts, and clubs points to a count of portraits you will need to analyze across floors of the academy.
Count the number of each symbol found in the portraits.
So, for example, the code might be 346 if there are three spades, four hearts, and six clubs. Input the code to open the door and proceed to your dorm, which is identified by your portrait number.
Now, you’ll need to find three specific books from the academy’s bookstore on the first floor. Use the map you have to locate it past the courtyard. Before heading out, collect escape bucks you see lying around as they can aid your progression.
At the bookstore, each book is locked behind a puzzle:
Ciphers From B to A
The first puzzle reveals FVSFLB as a cipher, where each letter is shifted back one in the alphabet. The answer is EUREKA. Cost: $3.
Hiding and Seeking
The second book has colored eyes that match shapes. You need to press the shapes that correspond to the eye colors:
- Green: Square
- Brown: Diamond
- Blue: Triangle
- Yellow: Circle
Also costs $3.
A Book of Lockpicks
This final book requires you to find directional arrows concealed in the author’s name. Enter the directions Up, Left, Up, Down, Left, Up, Down into the lock and you can pay for this last book.
You’ll eventually work your way to a telescope where you need to order planet shapes in a mirrored view from top to bottom. After arranging successfully, you’ll gain shears, crucial for cutting through obstacles in your path.
Find additional hidden letters by harnessing the moonlight you collect; order these by their lunar phases. Enter ECLIPSE at the final challenge on a combination lock. This will allow progress further into the academy’s intricate puzzles.
Once you’ve navigated through everything, use the shears on a moving pendulum to solve your last puzzle. Obtain a lens that will help you through the final locks.
Your final test involves translating numbers to musical notes—ringing the bells in the correct order will end your adventures in Chapter 1 and open the way to further challenges!
With persistence and clever thinking, you’ll prevent any mishaps and conquer this chapter successfully!
Press the buttons on each signal to change the colour to Green, Red and Yellow. This will match the coloured signals to the symbols. Once you’ve worked out the right order, you’ll notice the symbols spell out STEAM.
Type in STEAM on the combination lock above the board. This will open the doors of the tram. Climb into the tram and pull the lever.
A Clued Awakening
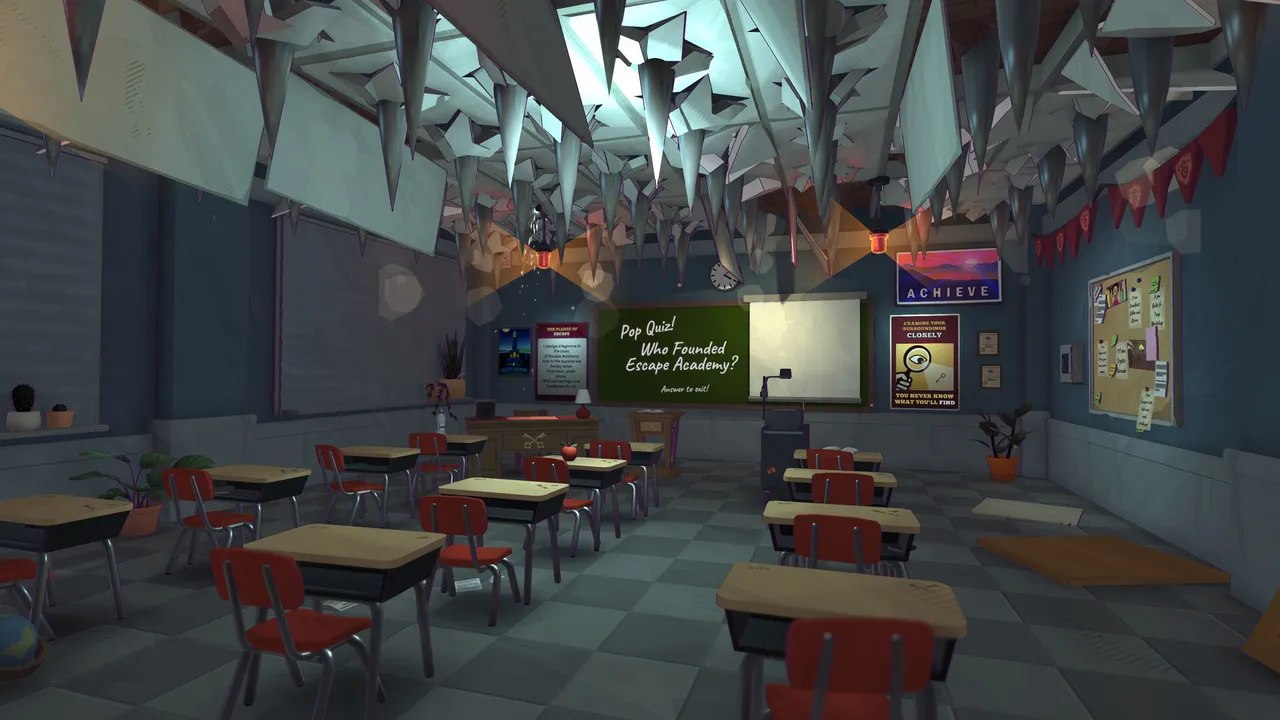
You’ll find yourself in a classroom. You’ll need to open the backpack at the back of the classroom.
First, look at the backpack and the clue underneath. It says Start at X2 Y2.
This means you’ll need to move between the desks using the X and Y coordinates.
Each desk has a coordinate and a letter. Follow the clues given.
Start at X2 Y2. This desk has the letter P.
The next clue tells you to move one along on the X axis. X+1.
This will take you to X3 Y2. This desk has the letter A.
The clue says to move two up on the Y axis. Y+2.
This will take you to X3 Y4. This desk has the letter T.
The clue says to move two back on the X axis. X-2.
This brings you to X1 Y4. Finally, this desk has the letter H. When you have all four letters you’ll have PATH.
Go back to the backpack and type in PATH into the padlock. Inside you’ll find one of the three projector slides needed for another puzzle.
There are two more slides to find. Investigate the notice board.
Next to it is a locked safe with several symbol buttons. The notices on the board have a list of activities, each with a time.
Each activity matches one of the symbols on the safe. Press the symbols in the order of the times.
The order should be:
- 8AM = Coffee
- 11AM = Karaoke (Music)
- 1PM = Jigsaw
- 3PM = Workshop
- 9PM = Hide and Seek (Eye)
Once you’ve pressed the right order, the safe will open. Look through the peep hole. Notice the sign says In trouble: Call 772.
Head to the telephone on the desk at the front of the classroom. Pick it up and dial 772.
This will activate the mechanism in the centre of the desk. The desk will spin and you’ll find your second projector slide.
Investigate the poster with the key on. You can pick up the key, so add it to your inventory.
Use it to unlock the chest at the back of the classroom. Inside, you’ll find your third and final projector slide.
Now you have all three slides, insert them into the projector. Look at the names and faces. You’ll need this information to solve the puzzle with the founders.
Look towards the back of the classroom. There is a picture of the three founders of the academy.
Each has a different symbol below their face. Match the faces to the faces on the projector slides.
This will show you which name goes with which founder. Once you have all three names, interact with the device on the left.
Type in their names.
Locker’d and Loaded
Go find Headmaster Solange. Talk to her and she’ll give you a key to a locker. She’ll also give you a checklist for your orientation.
Head into the corridor. Go left and you’ll come across a wall full of student portraits.
Find your portrait and note down the student number. If you aren’t sure what you look like, there is a mirror in the restroom.
You can also find two $1 notes in the stalls.
Once you’ve noted down the student number, find the matching locker. In our game it was 1898, but it will be different for you.
Use the key given to you by Headmaster Solange to unlock the locker. Inside, you’ll find $3.
Dorm Sweet Dorm
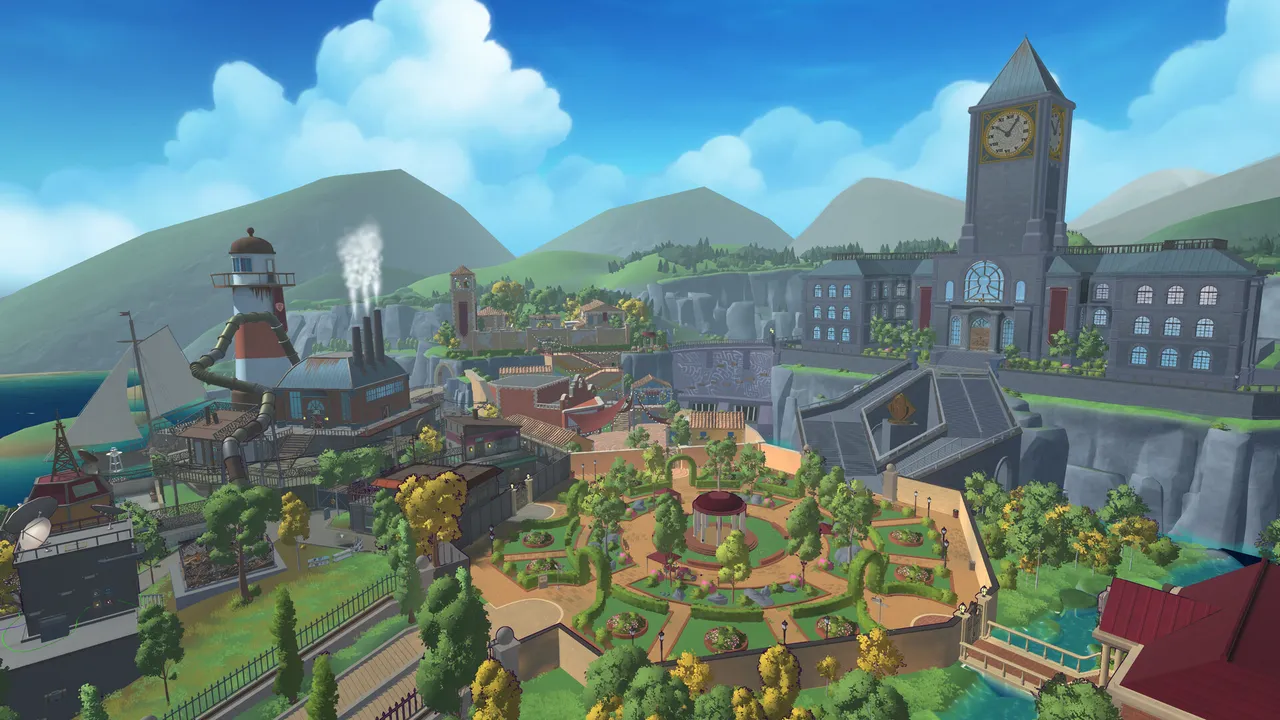
Head through the door and you’ll find yourself in the main lobby. Climb the stairs to get to the dorm.
The door is locked with a combination lock. Look at the clue next to the door.
There are three cards, Spades, Hearts and Clubs. You’ll need to find three portraits of the academy founders.
Each floor has a portrait. Each portrait has symbols representing one of the cards.
Look at all three portraits. Count how many of each symbol there are.
There were three spades, four hearts and six clubs. So our code was 346.
Type in 346 into the combination lock. Head inside.
There are several dorms, each with a student number. Find the dorm with your student number.
In our game it was 1898. Unlock the door.
Better Book It!
You’ll need to find three specific books from the academy book store. Look at the map of the building to find where the book store is.
It is on the first floor, past the courtyard. Tip: There will be escape bucks in different locations around the building, pick them up as you find them.
You can pick up a side quest “Fizzness as Usual” from a student in the corridor.
Go to the vending machine and enter A4 and a dollar to buy the energy drink. Giving it to the student will get you $5.
Head downstairs. Open the door to go outside.
Cross the courtyard and enter the book store. The three books you need are behind glass.
Each book has its own puzzle to solve.
Ciphers From B to A
The first book is Ciphers From B to A. The code on the lock is FVSFLB.
This looks like a random set of letters but the title gives you the answer. This is a cipher where each letter is one letter preceding the code letters in the alphabet.
So, each letter becomes EUREKA. Type this in and pay $3 for the book.
Hiding and Seeking
The second book has a puzzle involving the eyes on the front. Look closely at the different eye designs. The eyes are looking at the shapes.
Match the eye colours to the colours on the lock. Press the shape that matches each colour. The correct answer is:
- Green = Square
- Brown = Diamond
- Blue = Triangle
- Yellow = Circle
Once you’ve pressed all four shapes, pay $3 for the book.
A Book of Lockpicks
The final book has a directional code. Look at the author’s name on the front.
Hidden within the name are several arrows. This shows you the order to press the buttons.
Read the directions from left to right. Up, Left, Up, Down, Left, Up, Down.
Type this into the lock. This will open the display and you can pay for your final book.
Head to Head
Now you have all three books, go back to the headmaster. You’ll need to go up to the third floor where Headmaster Solange’s office is.
Head back inside the building and go up the stairs to the office. Head inside and interact with the telephone. Answer the call.
A Surprising Start
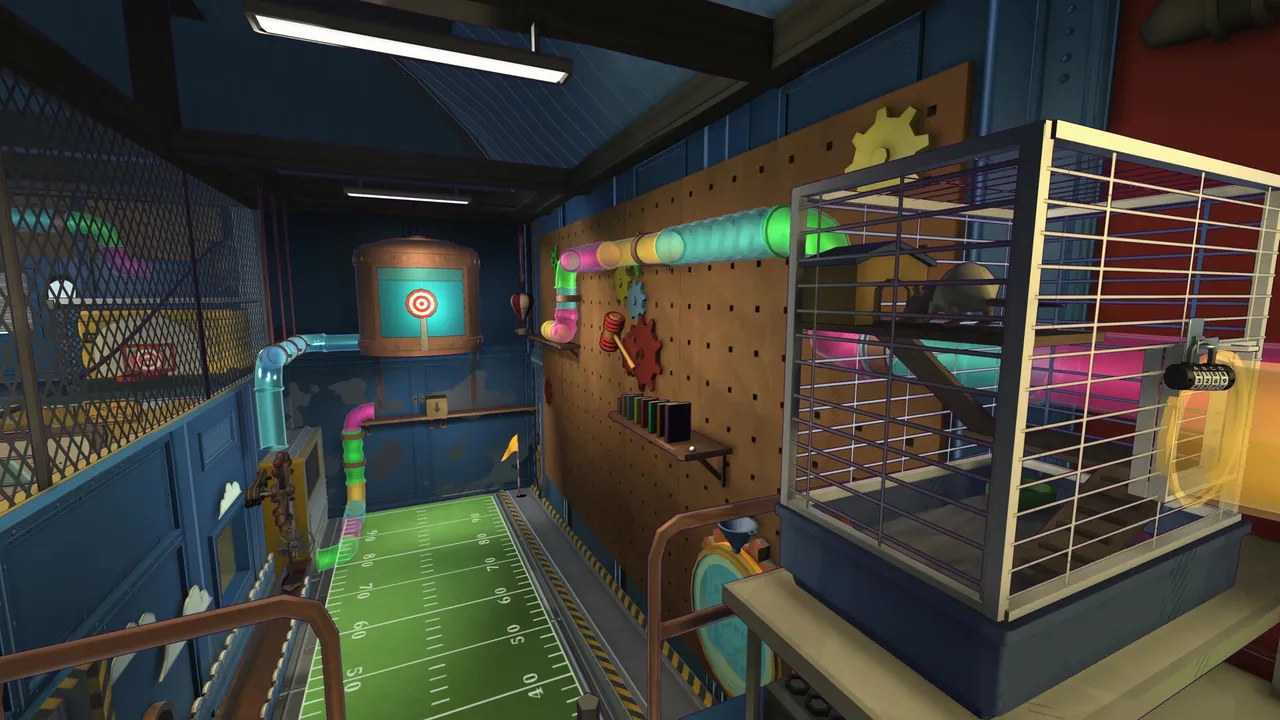
You’ll need to get to the roof. The door is locked with a password.
Exit the headmasters office and go up the stairs. Once you’re at the roof door, look at the keypad.
Look for clues.
Instead of guessing the password, look for a few clues around the stairs. Turn around and go down the stairs.
The clues tell you that the secret phrase starts with two words beginning with S and T. The second word has a U, which needs to be doubled – Double U or W.
The whole phrase has three As. Finally, both words end with the same letter.
This means the phrase will be two words. We know the first letters are ST so we can start typing in possible answers. Using the other clues we can work out the answer is STAY AWAY.
Type in STAY AWAY on to the keypad. This will unlock the door.
Go through and climb the stairs. Interact with the door at the top to begin the next set of puzzles.
That Rings a Bell
Investigate the colourful combination lock. Look around for coloured stars.
Each star has a different number of points. The number of points on the star will be the number you need to put in for that colour.
Find all the stars and count the points. This will unlock the rope.
Now the rope is unlocked, look around for four printed symbols on the wall. This will tell you which handles to thread the rope through.
Look through the telescope. The rope should look like a constellation.
Look at the eight animal pictures on the wall. Look closely and find which one matches the shape of the rope.
The answer is CAMEL.
Type in CAMEL into the combination lock on the wall. This will unlock a lever. Pull the lever to lower the ladder.
Once you’re up there, look around for three missing gears. There should be one small, one medium and one large gear. Collect them and place them in the mechanism on the wall.
Turn the gears so the arrows line up. Pay attention to the direction of the arrows. The next mechanism will need Right, Down, Up, Left, Right, Down.
Find the cog mechanism with the crank. Type in the six directional code.
Right, Down, Up, Left, Right, Down. This will solve the puzzle and activate another ladder.
Look through the telescope. There will be five shapes on top of each other. Note down the order from top to bottom – Pentagon, Triangle, Circle, Hexagon, Square.
Look at the planet model next to you. Rearrange the planets to match the shapes.
Be careful with this as you need to input them from right to left. Its mirrored.
Once you have the planets in the right order, you’ll be able to collect a pair of shears. Add this to your inventory.
Before moving on, climb down the ladder. Look around for some boxes. Climb up them and collect the cipher table.
Use the cipher table to work out the right combination. Look at the symbols on the locked chest with the clocks on top. The answer is LUNAR.
Type in LUNAR to open the chest. Inside you’ll find some moonlight.
The moonlight will allow you to see hidden letters. Look around the room and look at the purple moons on the walls. As you approach each moon, a hidden letter will appear.
Arrange the letters in the right order. The letters need to be in order of the moons phases.
Start with the new moon (no moon) and end with the full moon. This will spell out ECLIPSE.
Take the word to the escalator. Type in ECLIPSE into the combination lock. Pull the lever to activate the escalator.
Once you’re up there, look for the pendulum. Use the shears to cut the rope.
This will stop the pendulum from moving. Use it to get to the next area.
Go back down using the lift. Climb the ladder attached to the pendulum.
Look at the note under the clock face. This has the numbers 9795639.
This is your final clue.
You need to open the sundial box in the middle. Match each side to the position of the sun on the four clock faces on each side.
Opening it will get you a lens. Add that to the minute hand and spin the hand to correlate a number to the letter on the sundial face.
Each number represents a bell. 9 = A, 3 = G.
This means you can translate the numbers into notes. The order should be A, C, A, E, D, G, A.
Ring the bells in this order. If you’ve done everything right a bell will drop down.
Interact with it to ring it. This will solve the final puzzle and you’ll escape the academy.
Also, check out the articles below.
Videogames.
Gym.
My dog.
Sneakers.
Manga.
In that order.